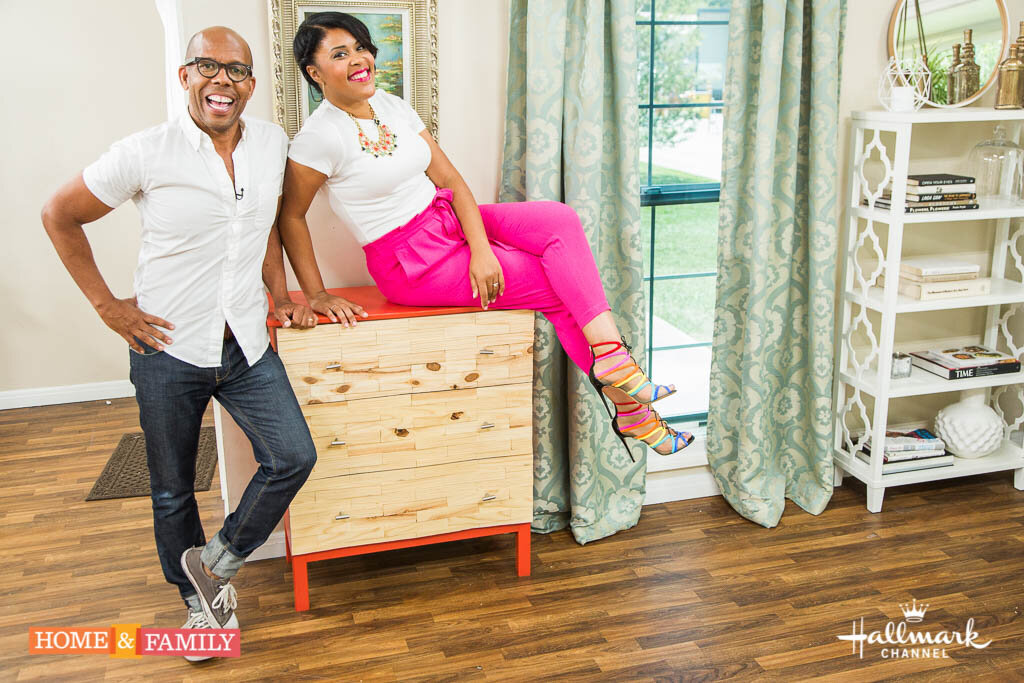
Shim Dresser Re-do

Who doesn't have an old dresser in the house that could use a facelift? We certainly did! I've also always loved the simple beauty of wood shims...I know, I'm a little weird. But c'mon, they're nice, pretty wood and cheap - so I can't help myself. For those who don't know what shims are, they're the little wood pieces that are cut at an angle and used to even a multitude of things out. So, with a dozen packages of shims in hand (they are $2.00 a pack)...I started my adventure!!

IMG_1323 2
MATERIALS
Dresser
Paint
Shims
Wood glue
Clear polyacrylic
STEPS

IMG_1359
Remove the drawers and give them an undercoat of paint in a neutral color, this way you won't have any color peeking through the cracks.

FullSizeRender 5
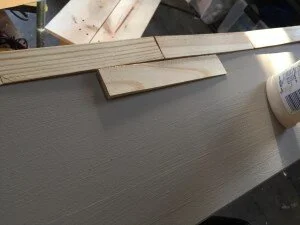
Set your drawer face up and find the center point of the top edge. Using wood glue, attach your first shim with one edge up against the middle mark and one side against the top edge. I put the thicker part of the shim up against the center mark.
IMG_1364
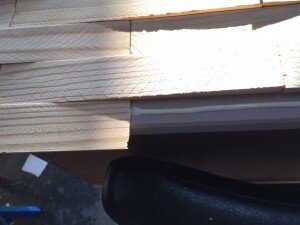
Continue the row across the top, butting the thicker part of one shim up against the thicker part of another, and then the thin part of the next shim against the thin part of the one before, so on and so forth. When you get to the end, you'll have extra shim hanging off each side, we'll deal with that later. Start your second row by finding the center of one of the shims and lining the edge of the shim with it and glue it down. Now continue that row.

FullSizeRender 4
From here on out you can just eyeball it. I laid down a long thick bead of glue and just popped the shims down. Again, alternating lining up thick and thin ends to create almost a basket weave pattern.
FullSizeRender 2
When you get to the last row, you're going to have some over hang on the bottom (as well where we already talked about on the sides.) Let your wood glue dry. I left mind overnight.
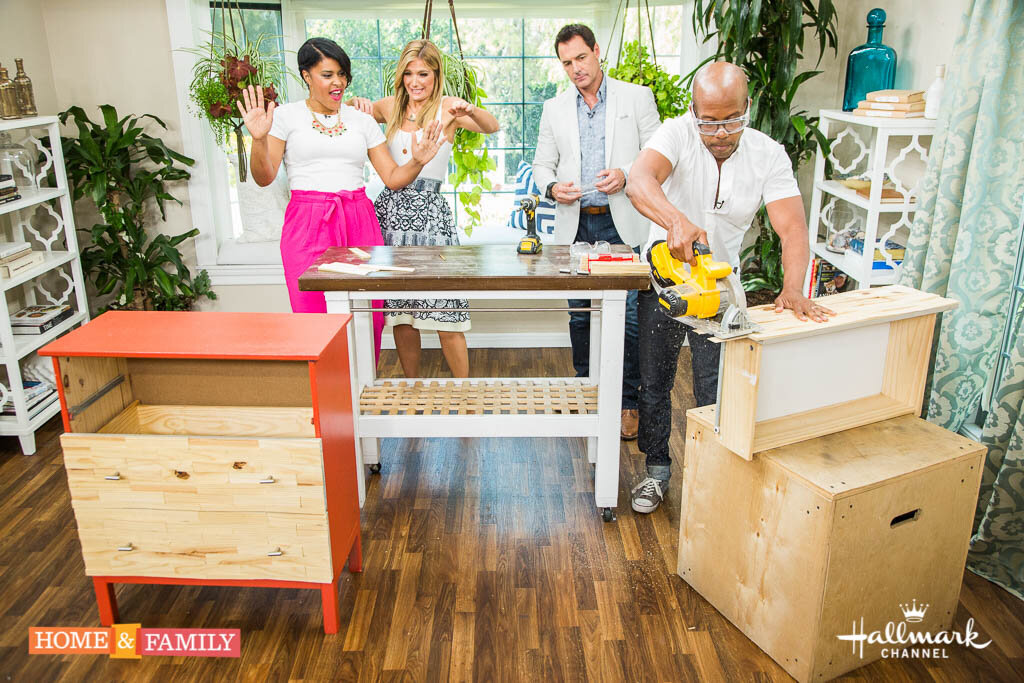
Now trim off the overhanging wood on three sides using a saw. I used a battery powered circular saw, but you could also use a jig saw or even a hand saw. Just make sure you get a straight line and give the rough edges some sanding when you're done.
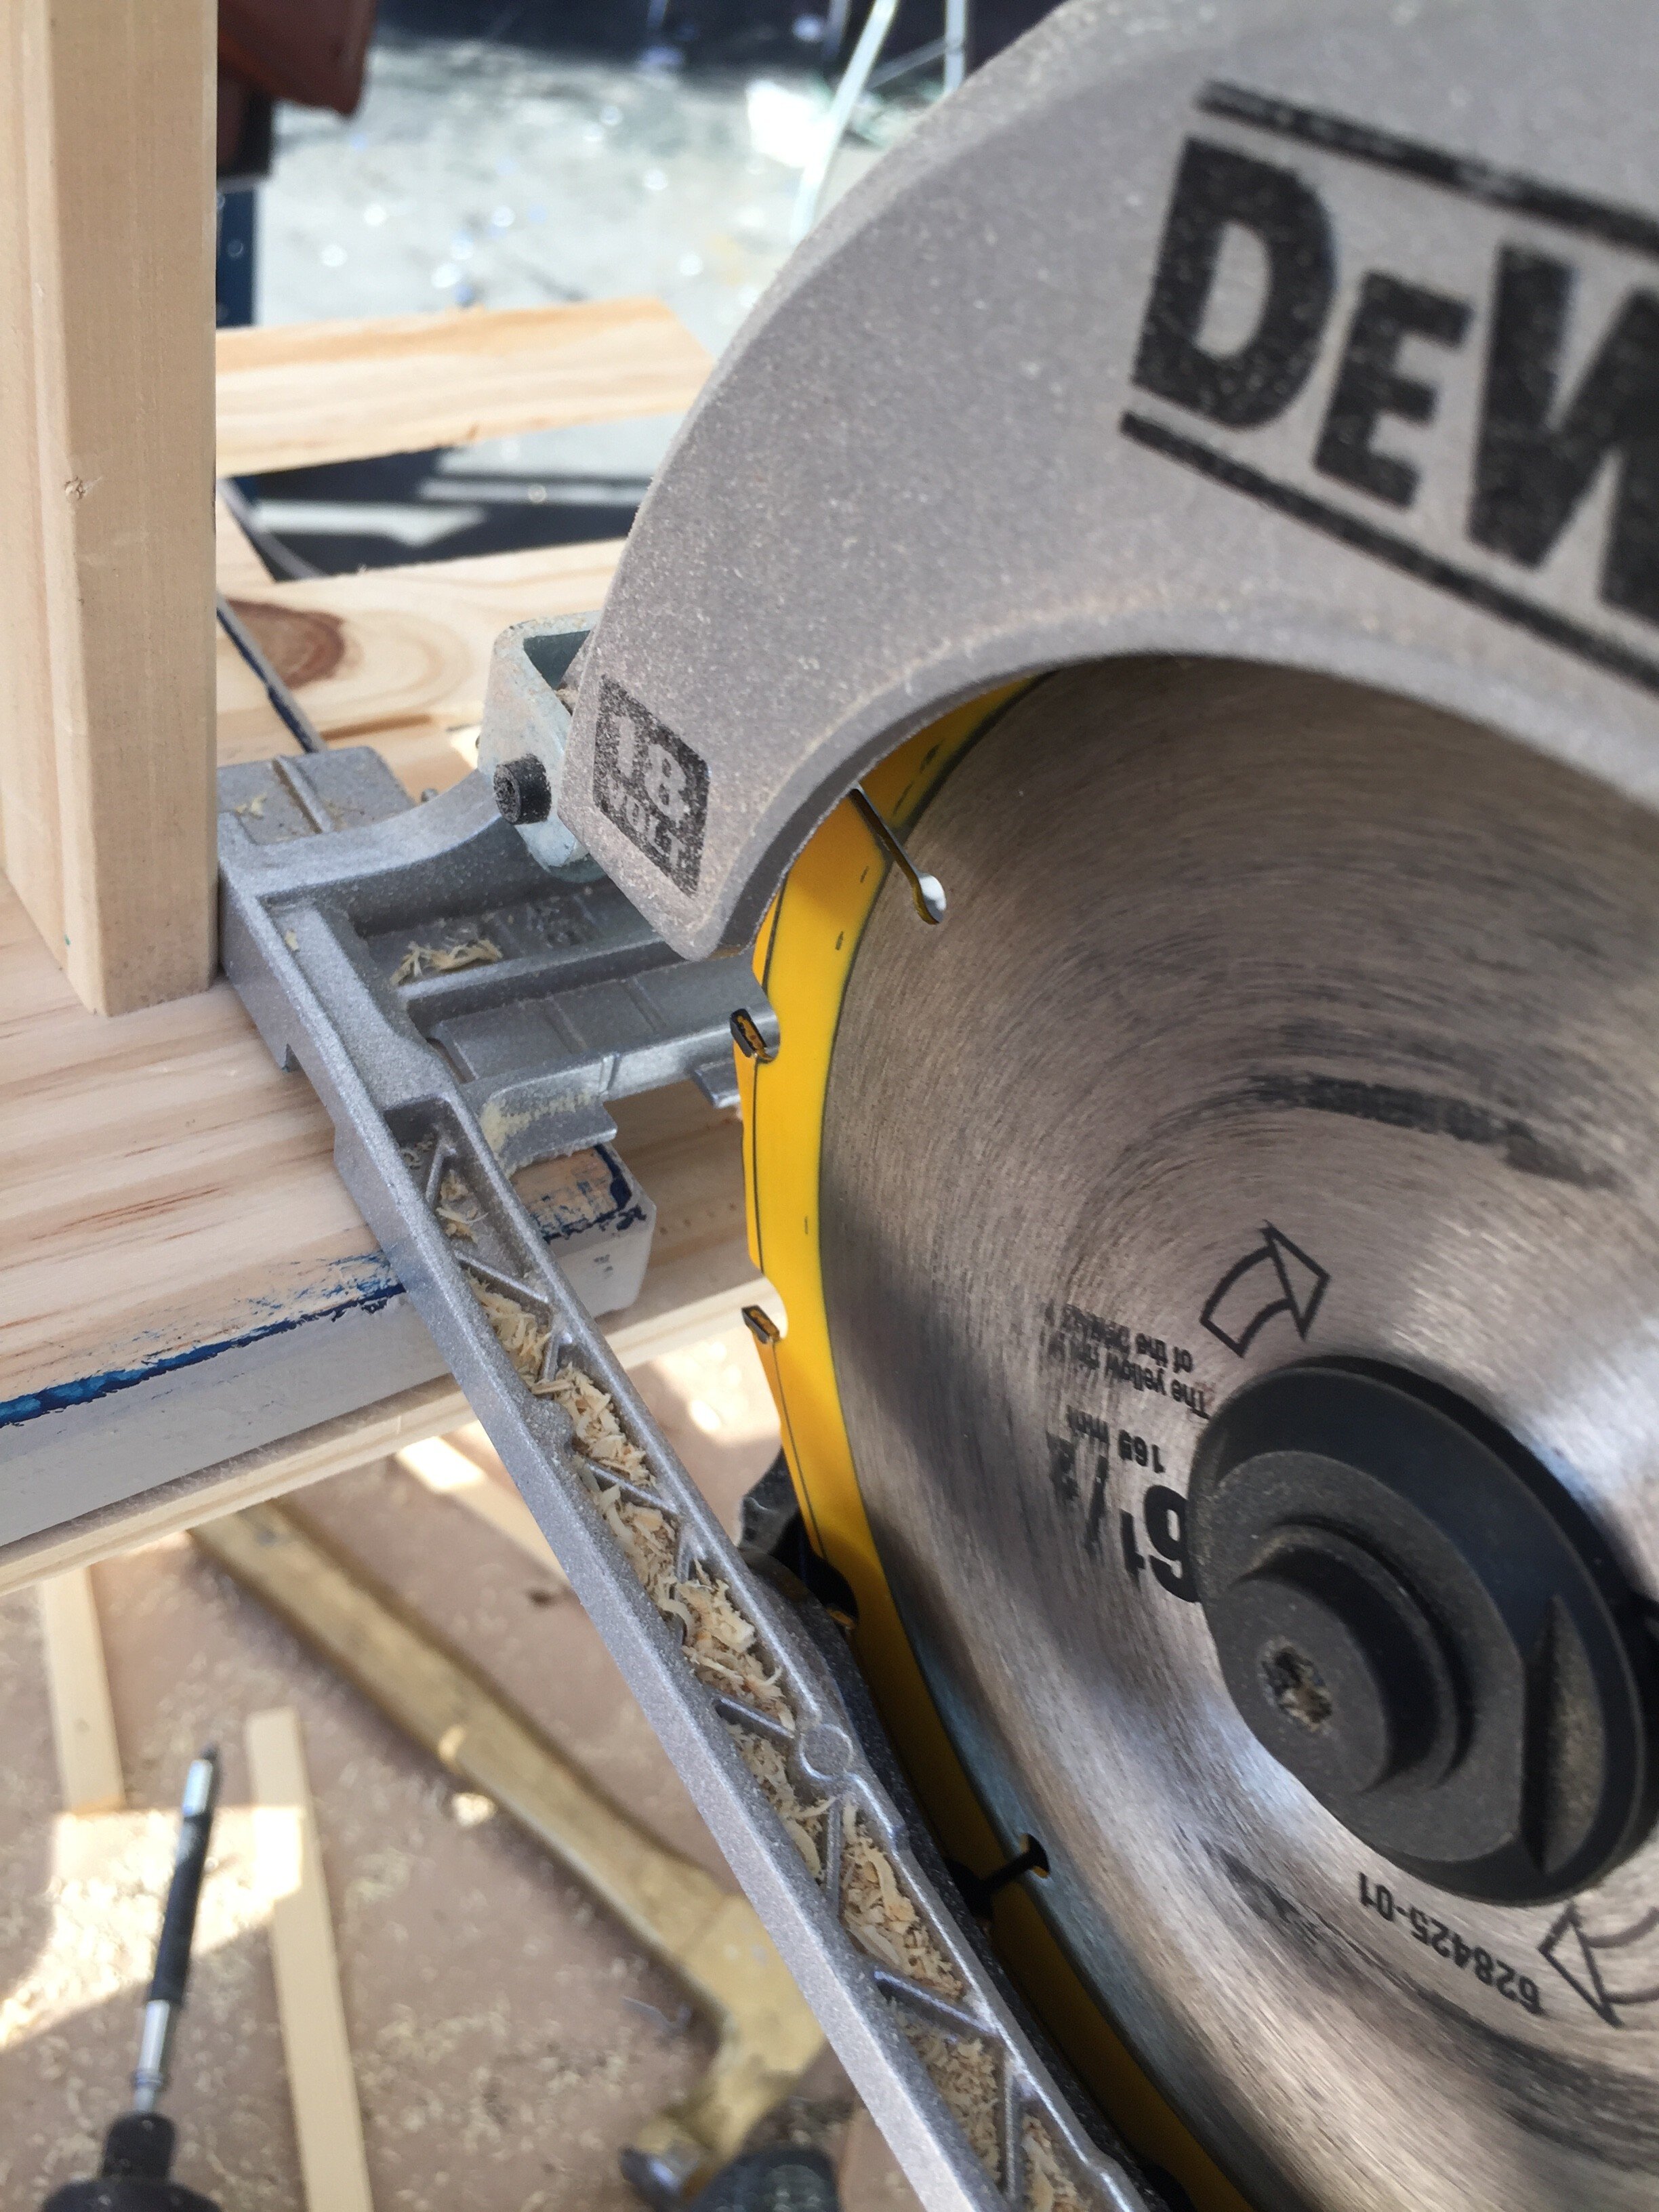
IMG_1418
Take a drill bit to match the knob screw hole that's already in the drawer and drill through the shims so you can re-attach your hardware. Give the wood a coat of clear polyacrylic to seal everything up and to make cleaning finger prints off a little easier.

FullSizeRender 3
I picked out some sleek new hardware to finish the look. Now sit back, or on top of it, and enjoy!