
Rag Wreaths

90
As American as apple pie, baseball and the Fourth of July, rag wreaths have been around forever. Originally made from, uh, rags, they were an easy and inexpensive way to decorate. Not much has changed as you can make these from any sort of fabric scraps and pull one together in an hour for a couple of dollars!
I've played around with a few versions of these - some a little more polished, some a little more rag-tag. Forgive the pun.
BANDANA WREATH
MATERIALS
Round styrofoam wreath form
Red, white and blue bandanas
White cardboard or craft foam
STEPS
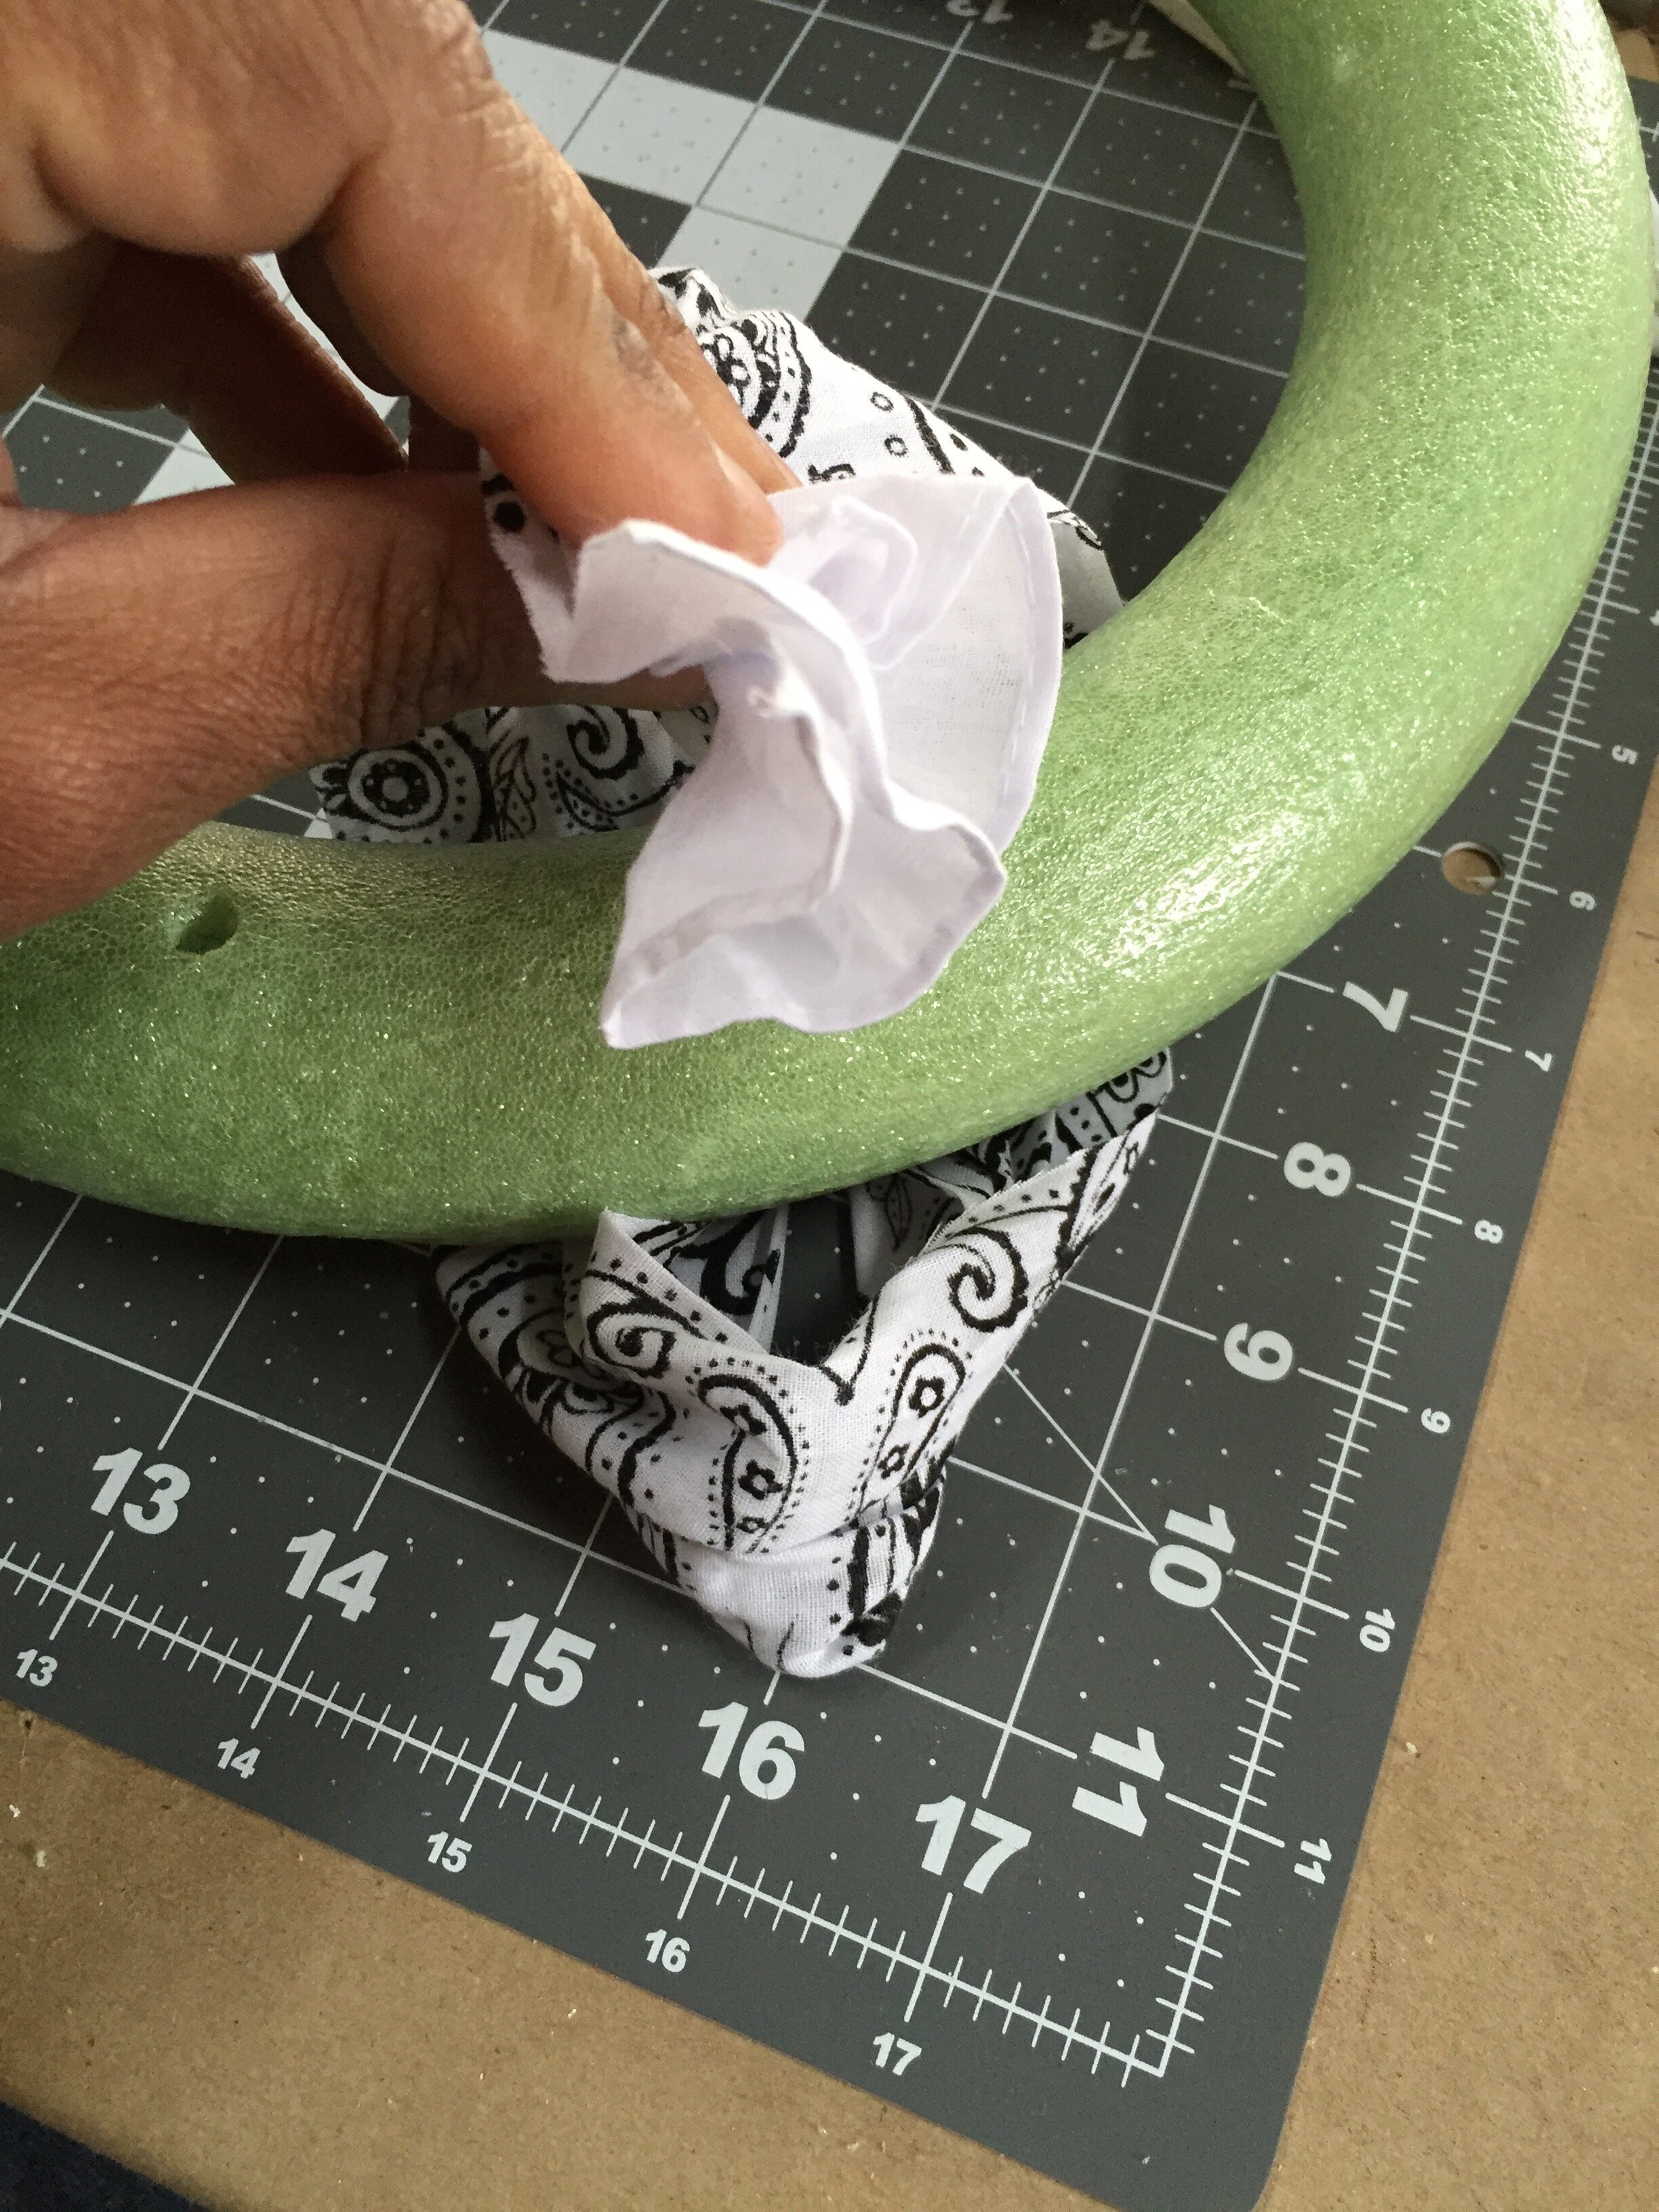
Cut each bandana in half, I found a full bandana was too thick to wrap around the wreath form. Fold the half bandana in half, place under wreath form and pass the ends through the loop. Okay, I know that made no sense, so just look at the photos...
IMG_0573
IMG_0574 (1)

IMG_0575

IMG_0576
Got it?! Alternate red and white (remember to start with red and do 13 of them if you want to be accurate). Fill the rest of the wreath with the blue bandana. Cut out a few stars from the craft foam and attach them with a dot of glue.
BURLAP WREATH
MATERIALS
Wire wreath form
Burlap
Various red, white and blue ribbons
STEPS
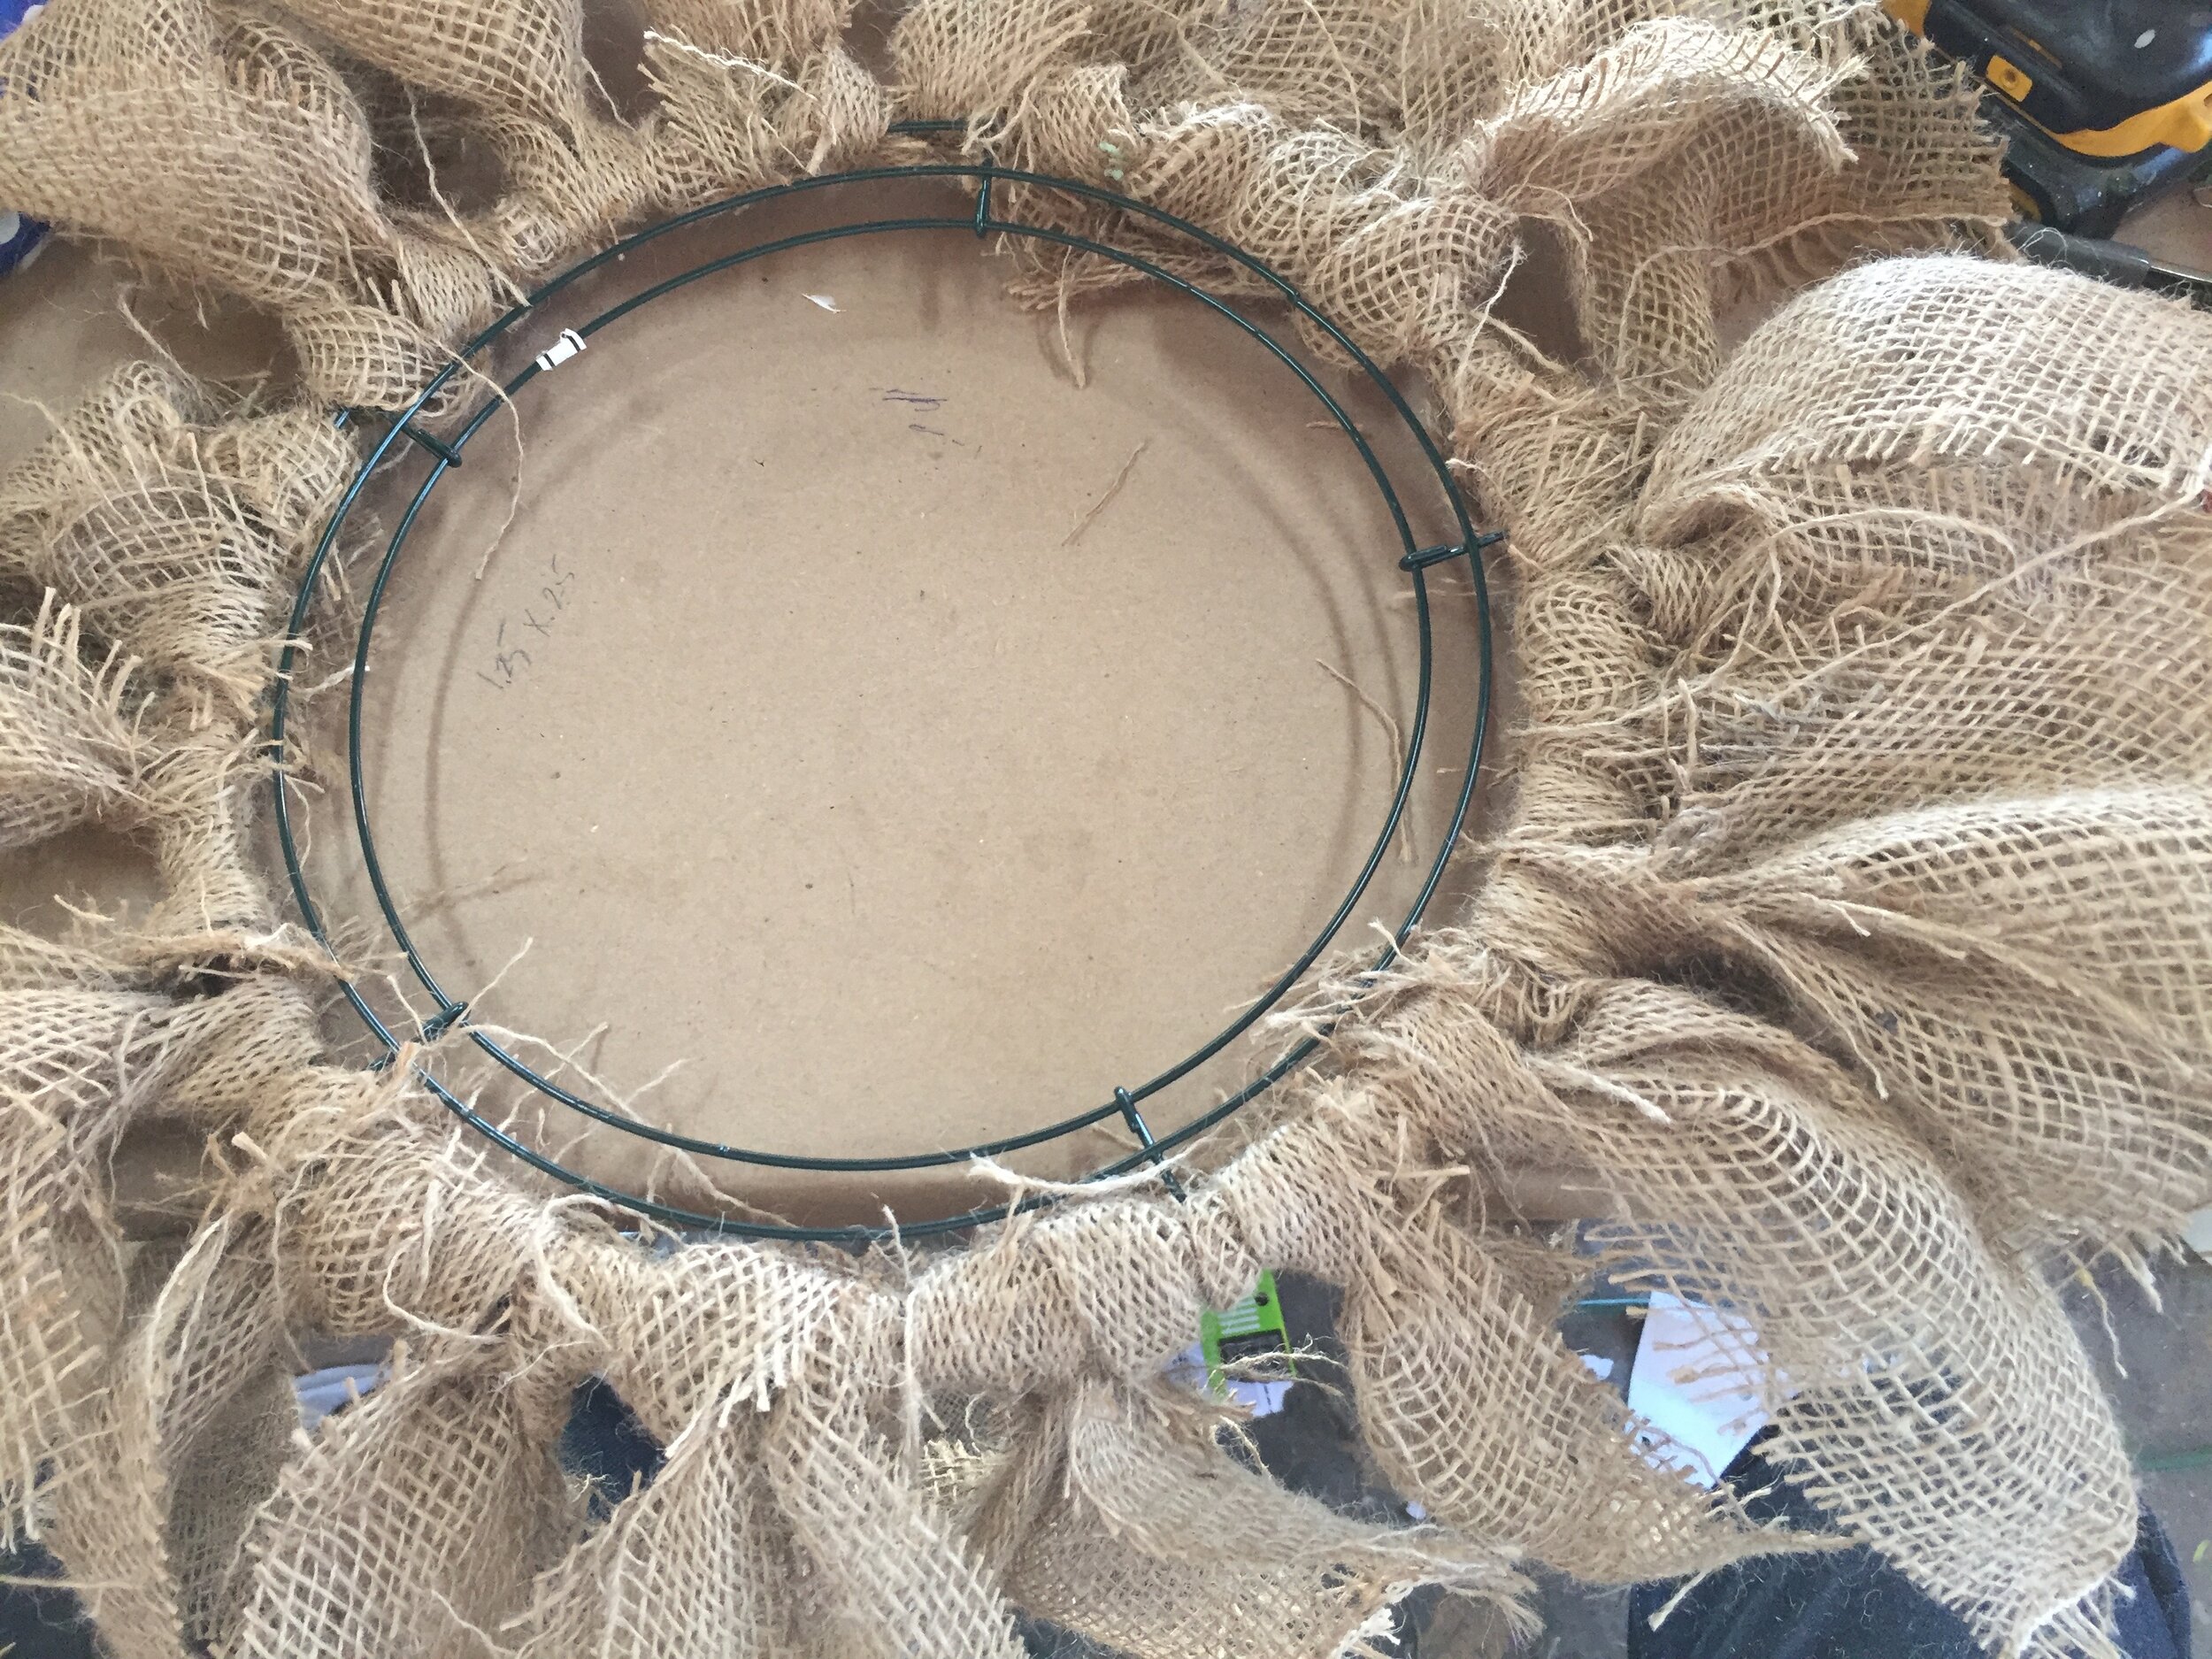
Cut the burlap into strips approximately 3" wide and 12" long.
Fold in half and tie onto outer rings of the form using the same method as for the bandana wreath. Put them close together to get a solid outer ring.
IMG_0577
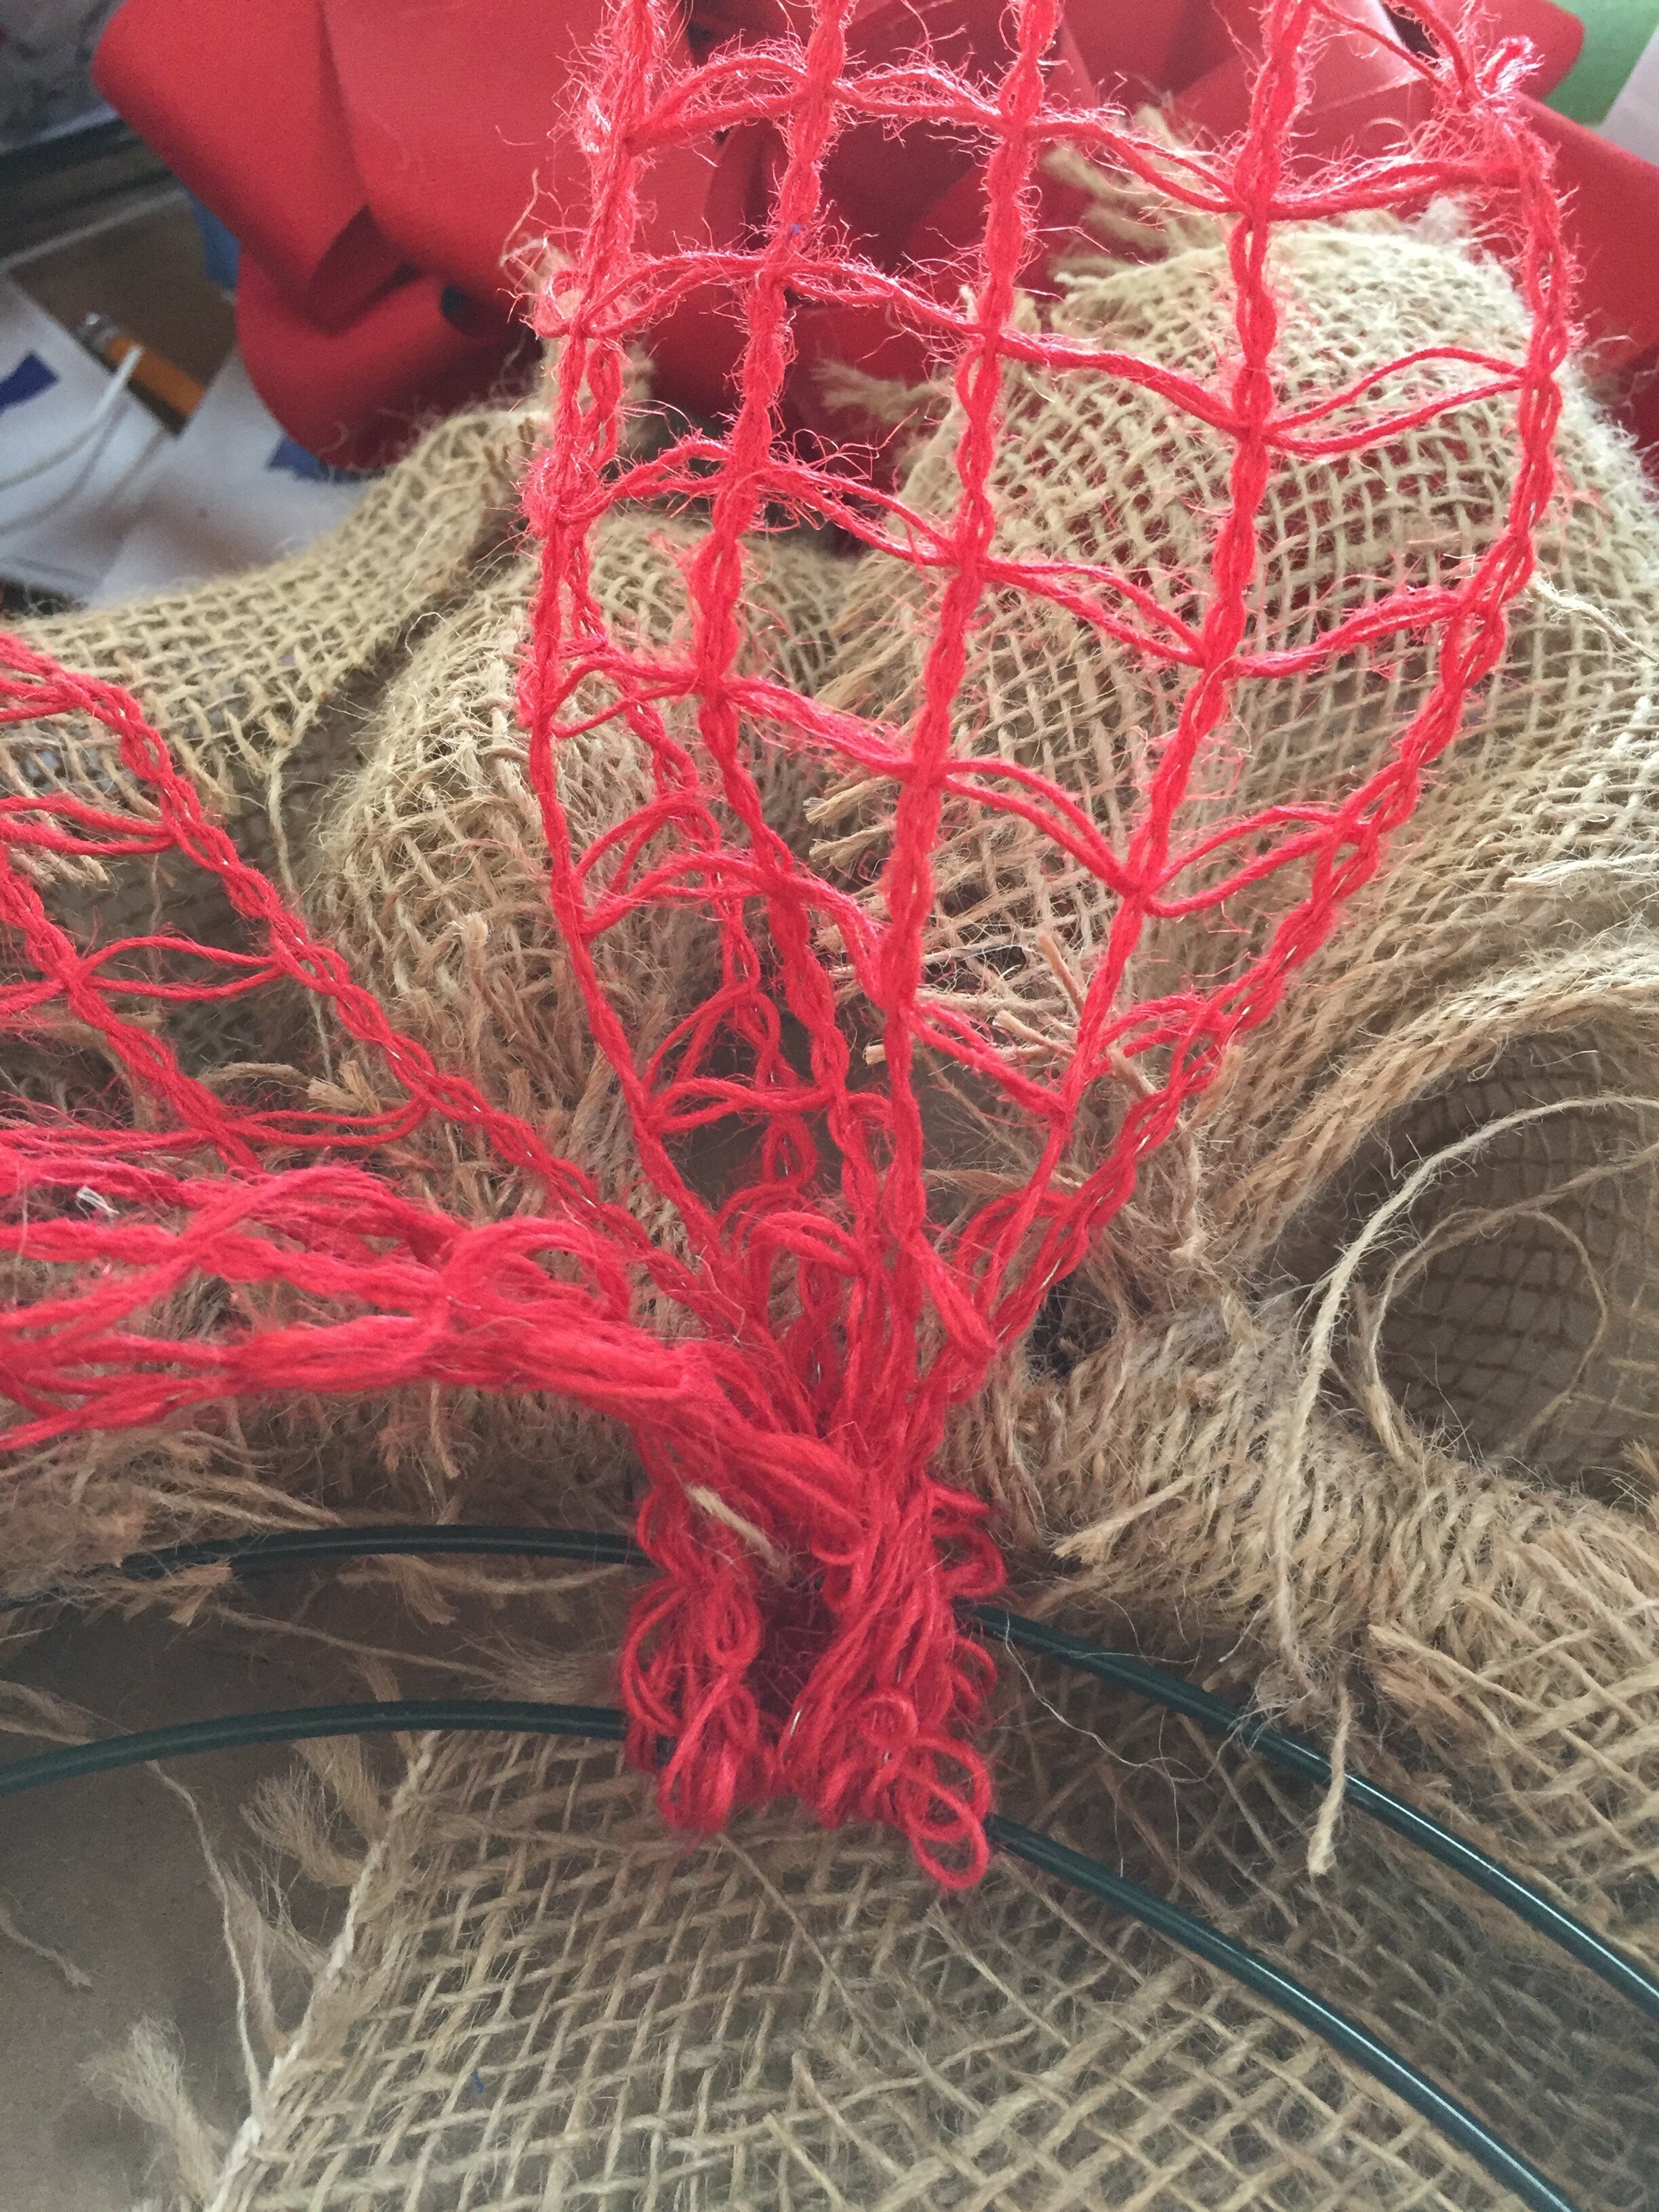
Cut your ribbon into slightly shorter lengths (aprox. 8"-10") and use the same method to tie them to the inner ring. I used an open weave red ribbon and alternated it with a blue and while polka dot ribbon.
IMG_0579
Since I didn't want to break the bank, I placed them a few inches apart from each other.

IMG_0580
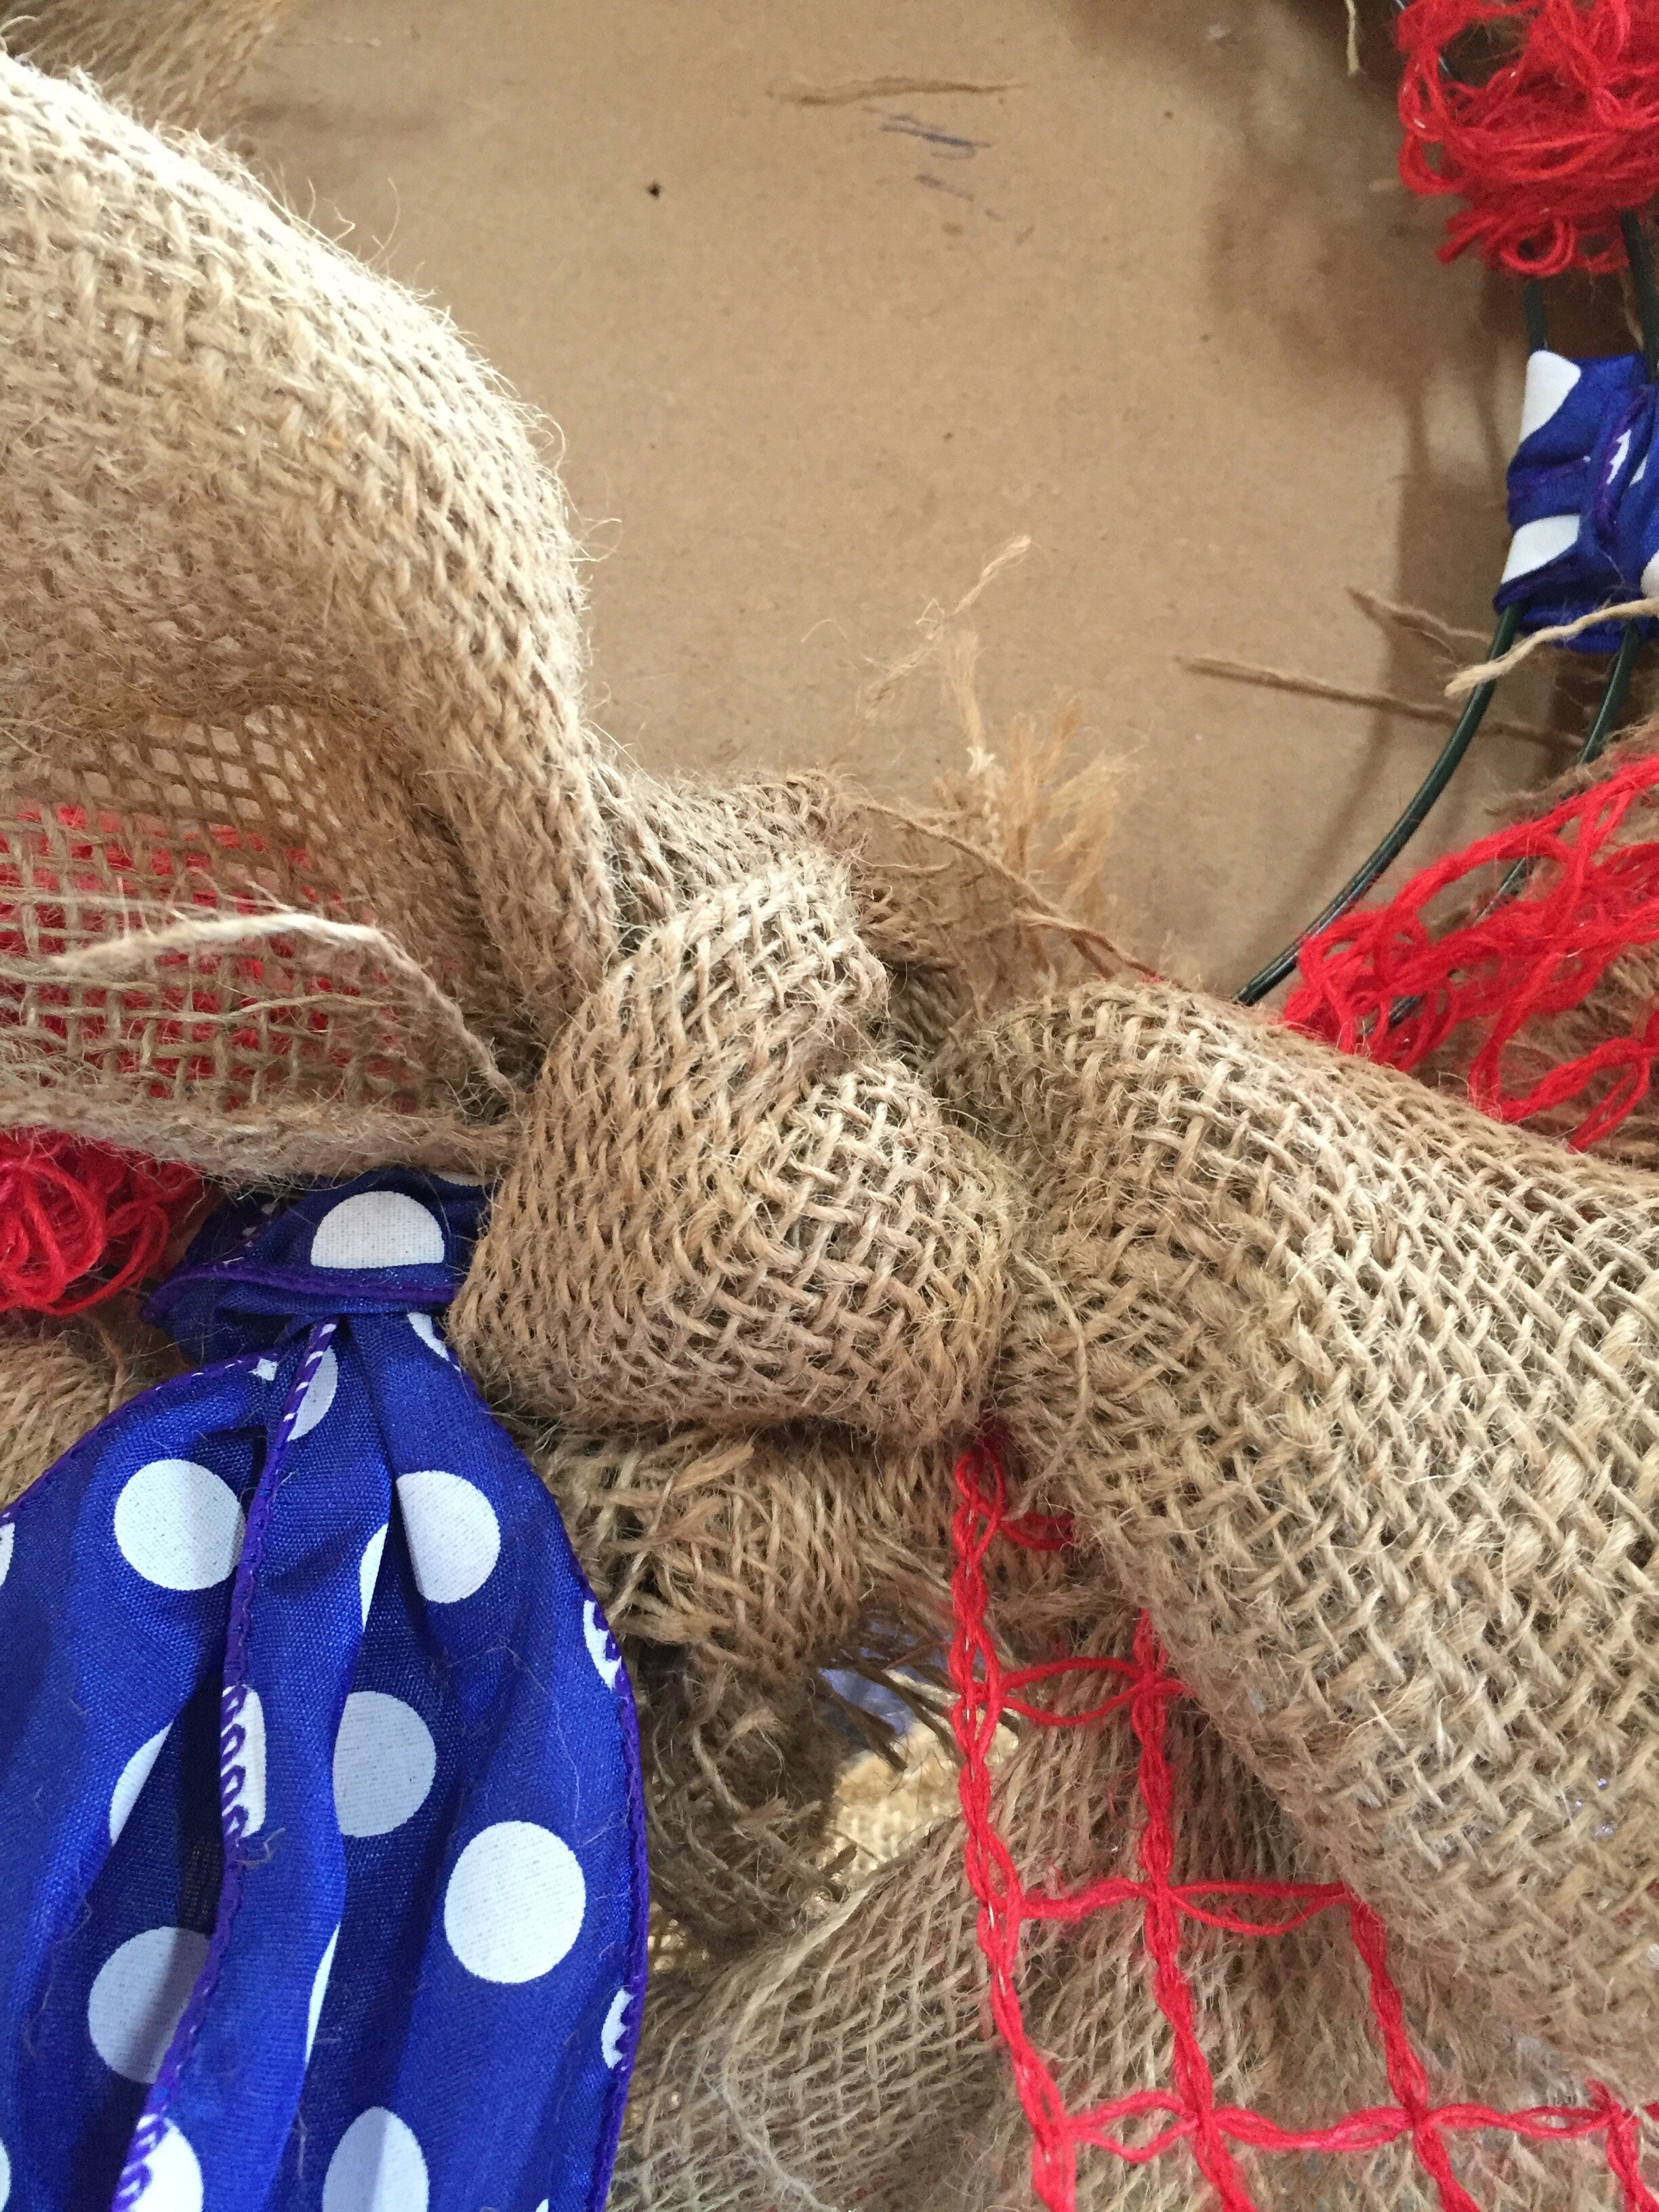
Then go back with more burlap strips and fill in the empty spots between your ribbon using a simple knot.
IMG_0581
To finish it off and to add a pop of color, I wove a thiner red gingham ribbon in and out around the inner circle.

IMG_0582
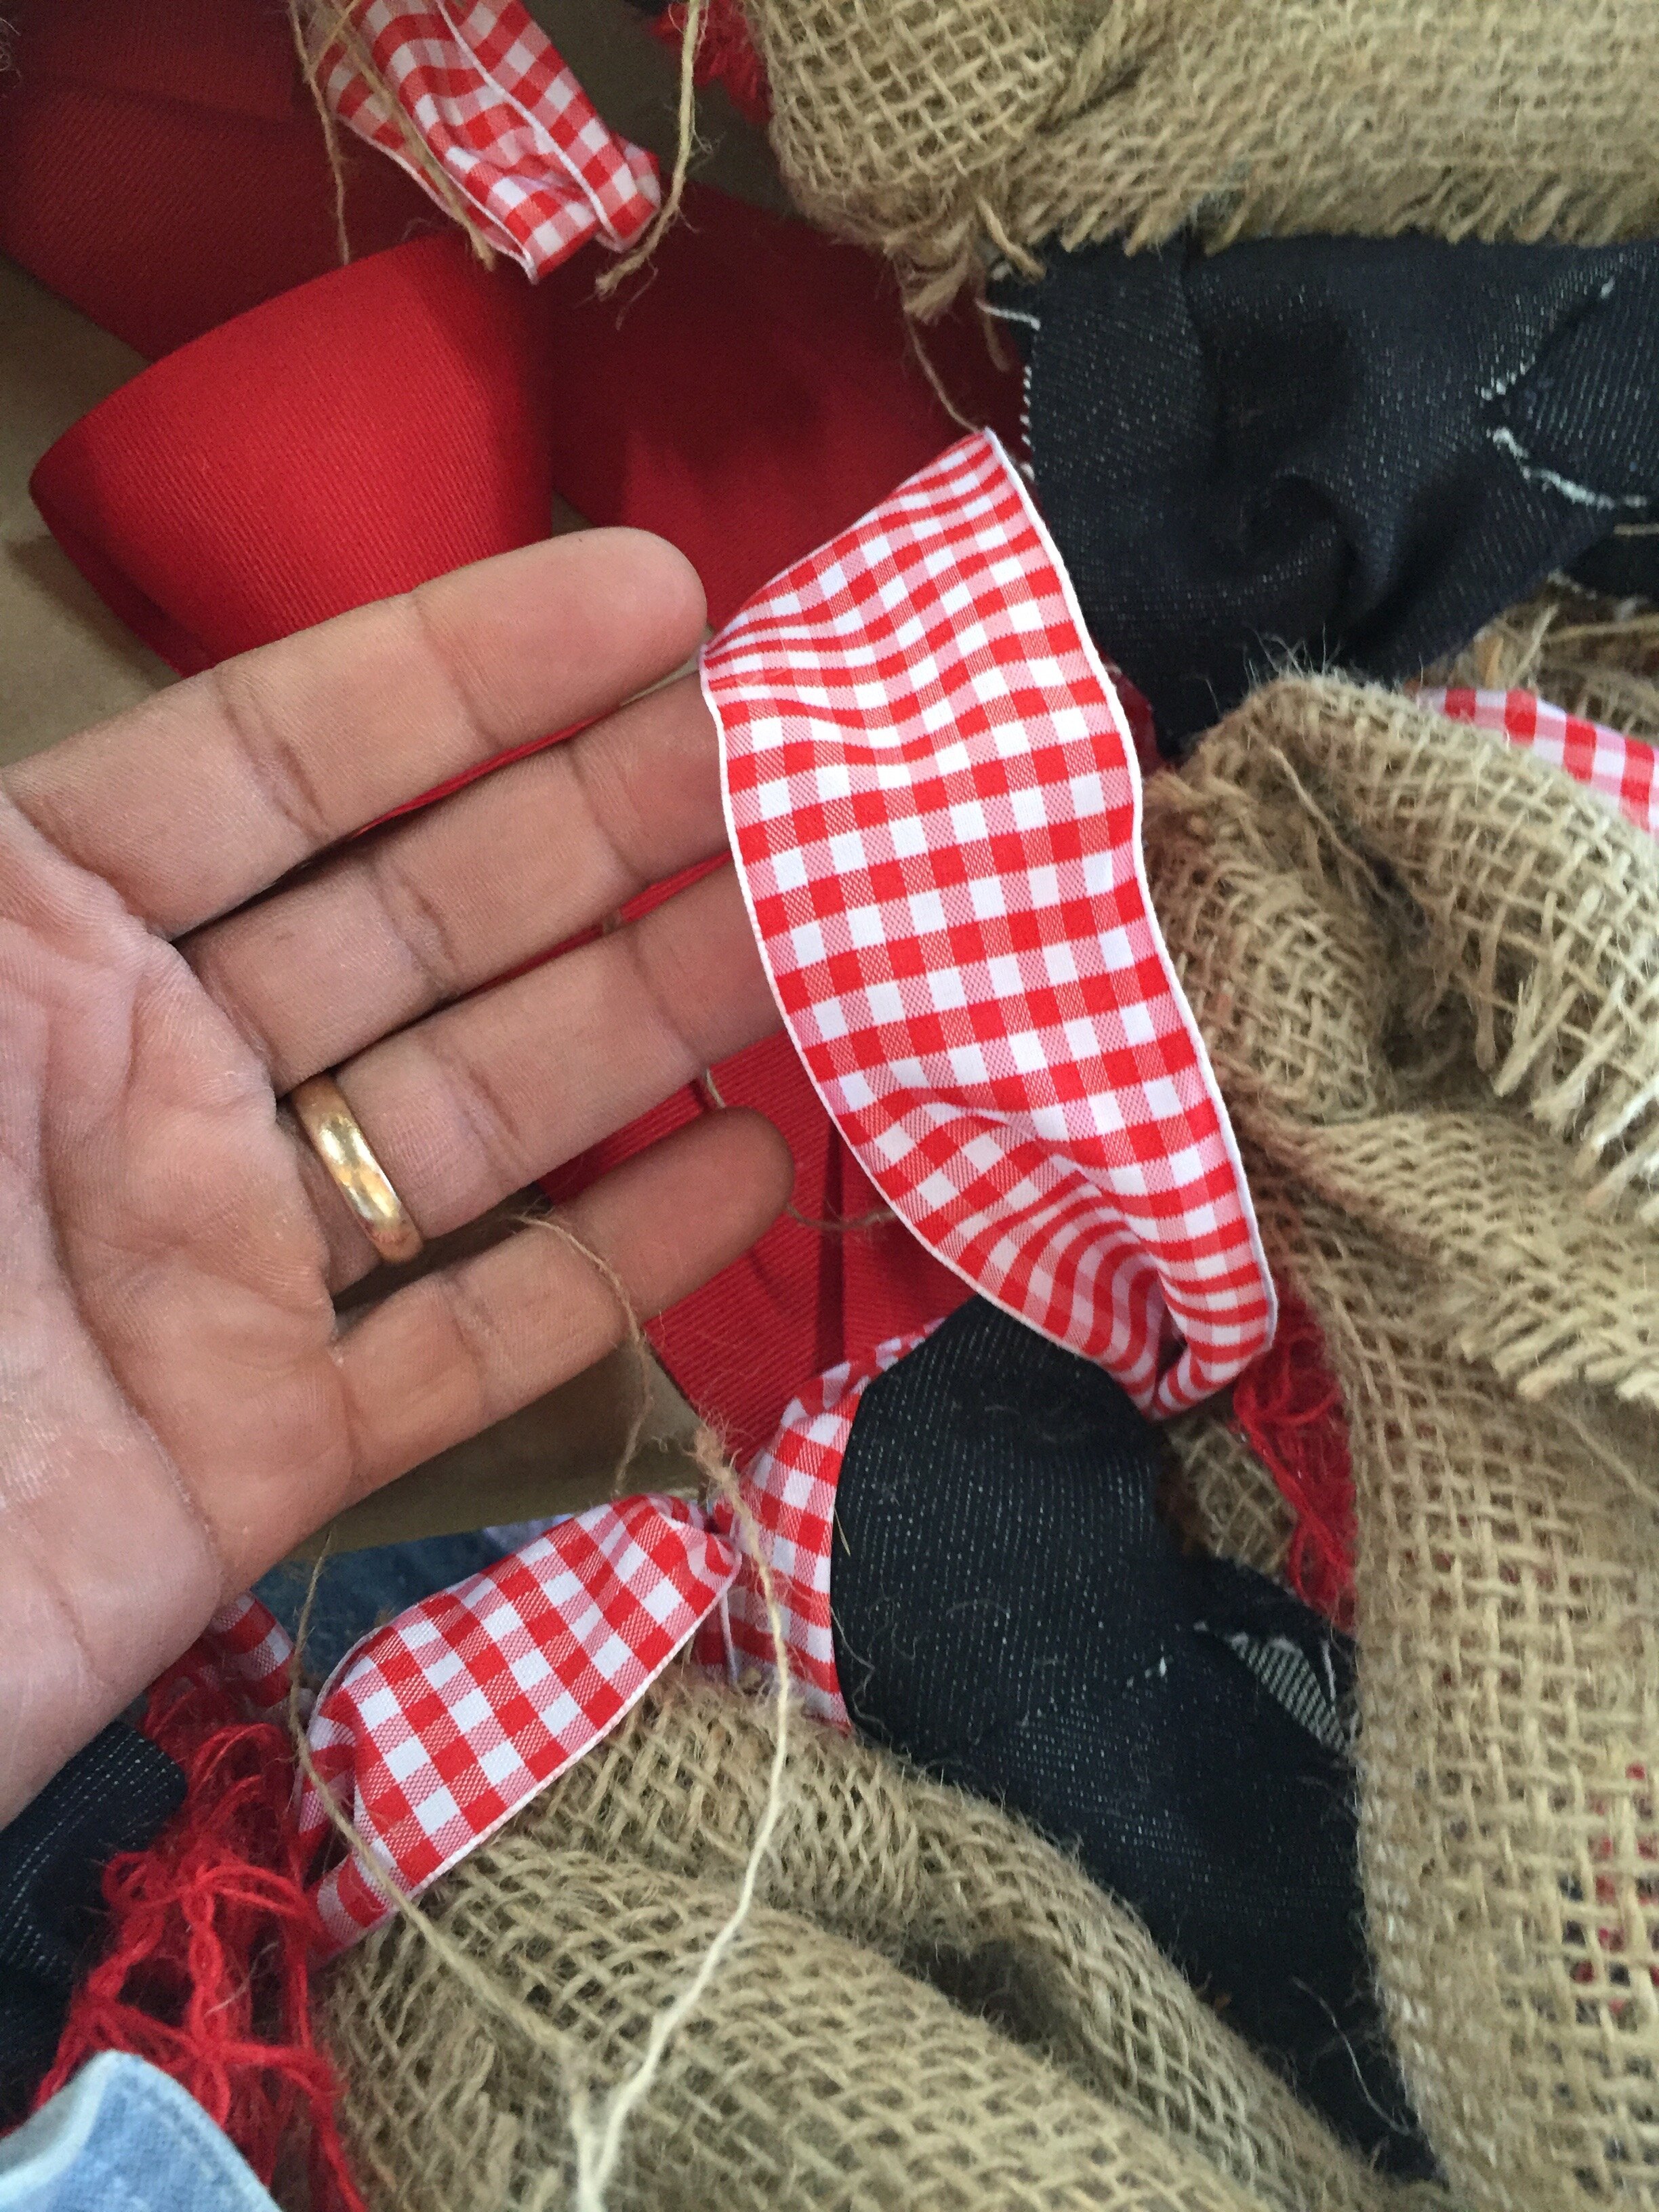
IMG_0585
DENIM WREATH
MATERIALS
Denim
Coat hanger
STEPS
Cut your denim into 2" x 8" strips.

IMG_0587
Bend your coat hanger into a circle and simple tie your denim strips into knots around the coat hanger. When it's reached the desired fullness..add a bow!
LONG LIVE RAGS!!!