
Watering Can Fountain
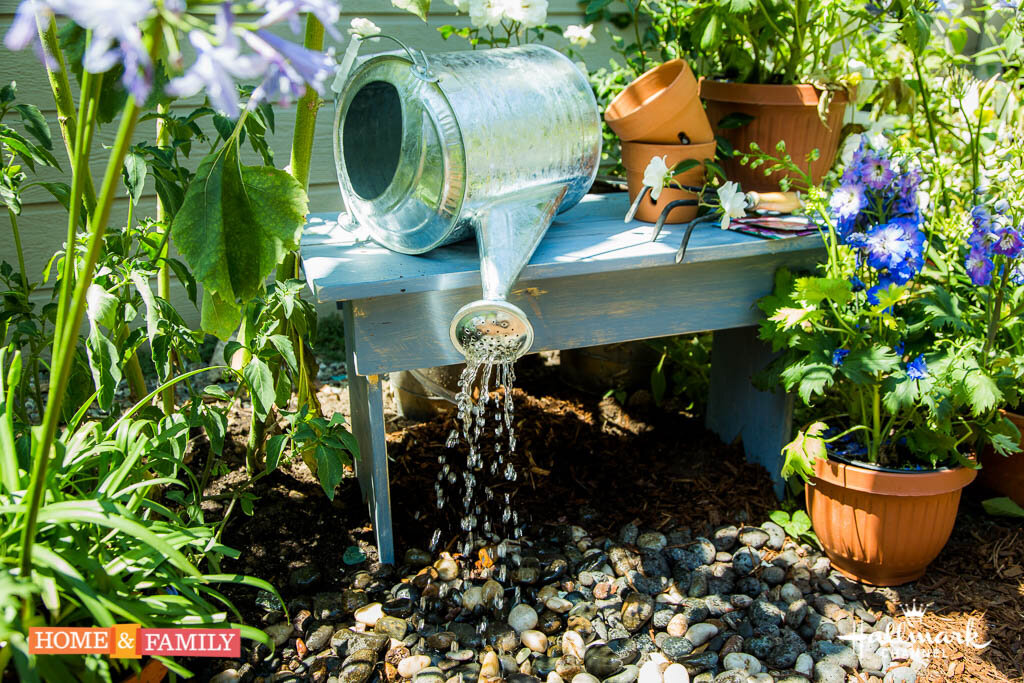
I love the cool, calming sound of a fountain. They're incredibly soothing and just plain fun to look at. With young kids around however, the big basin of water that usually accompanies a fountain made them a no-go. Then I stumbled upon pond-less fountains and my life was forever changed - okay, not really, but I thought they were pretty cool. There was one that I was especially intrigued by that I saw on myhomemystyle.com with an everflowing watering can. So I got out my shovel, made a hardware store run, and here ya go.....
13532860_10153746238346687_7656808274340827210_n
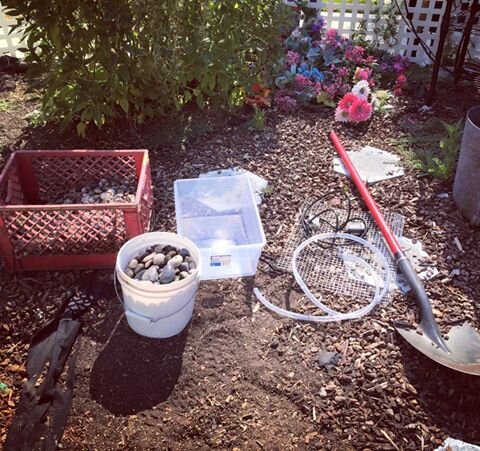
MATERIALS
Plastic storage bin
Wire mesh
Pump (Mine is 140 gpm [gallons per minute] which is more than you need, but they are usually adjustable, so it gives you options for how much water you want, and it was only $19.00)
5' of tubing to fit pump (the pump packaging will tell you the tubing diameter you need)
Decorative rocks
Watering can
Small bench or stool
Shovel
STEPS
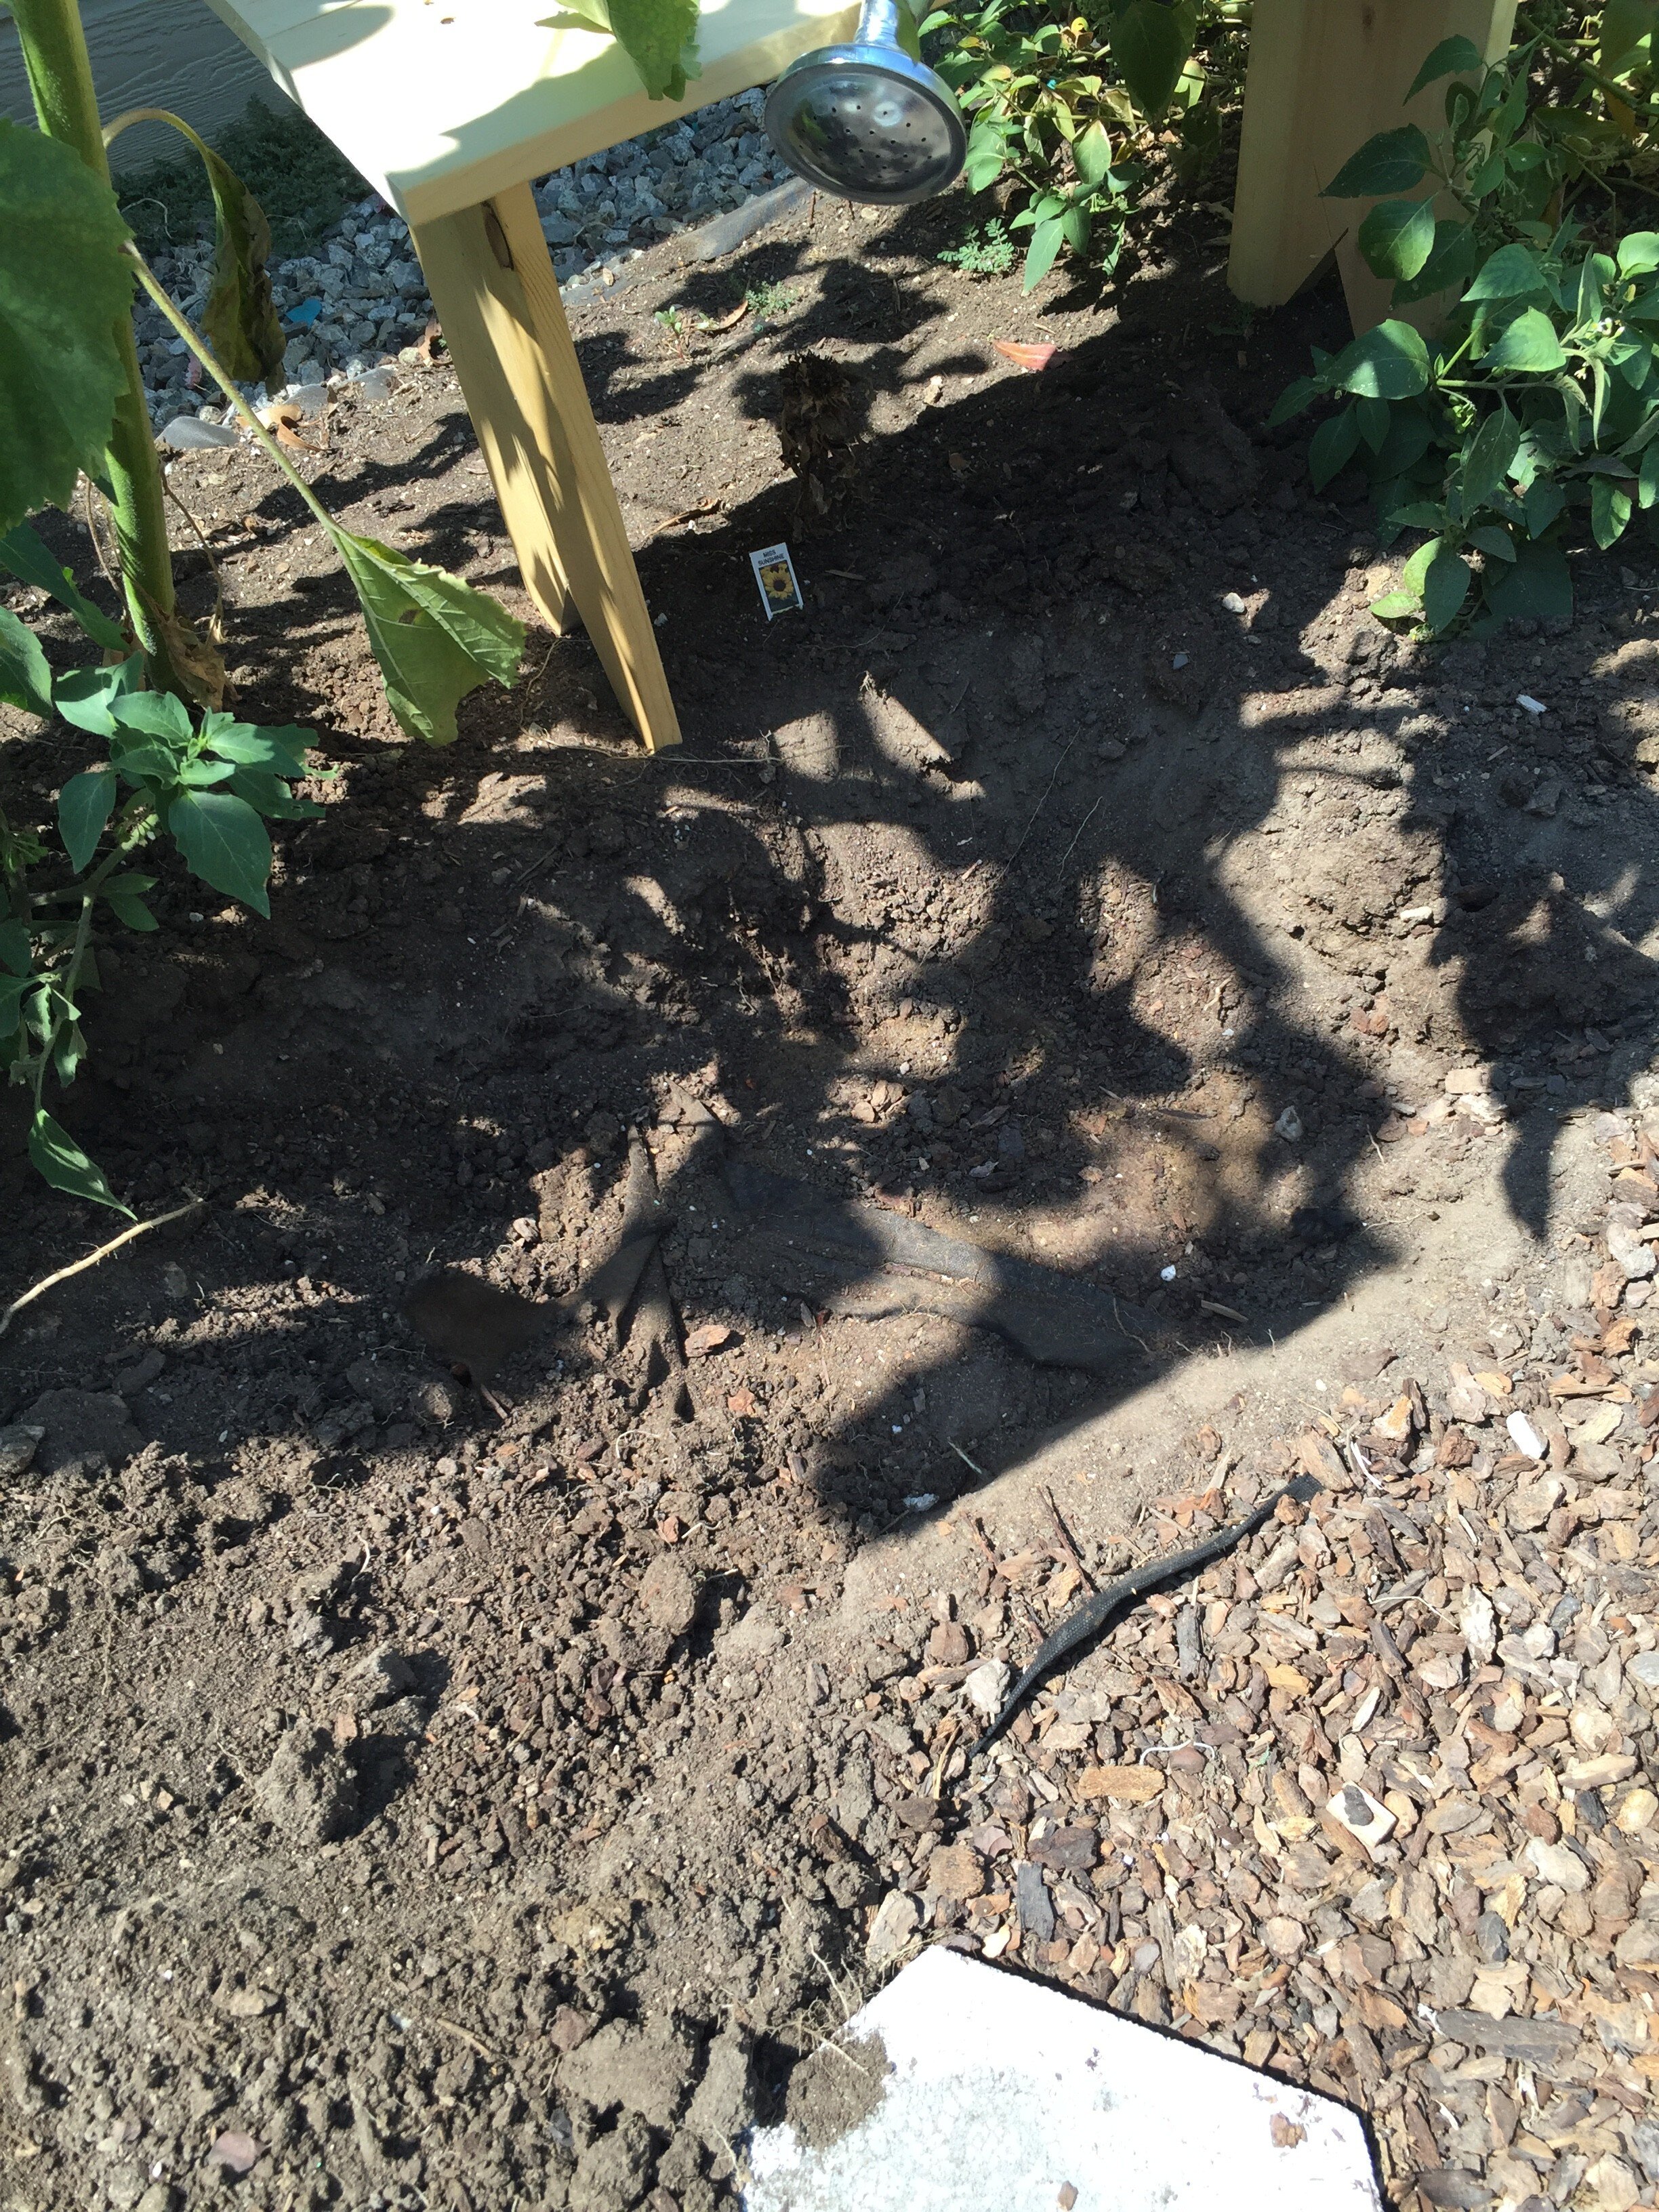
IMG_1339
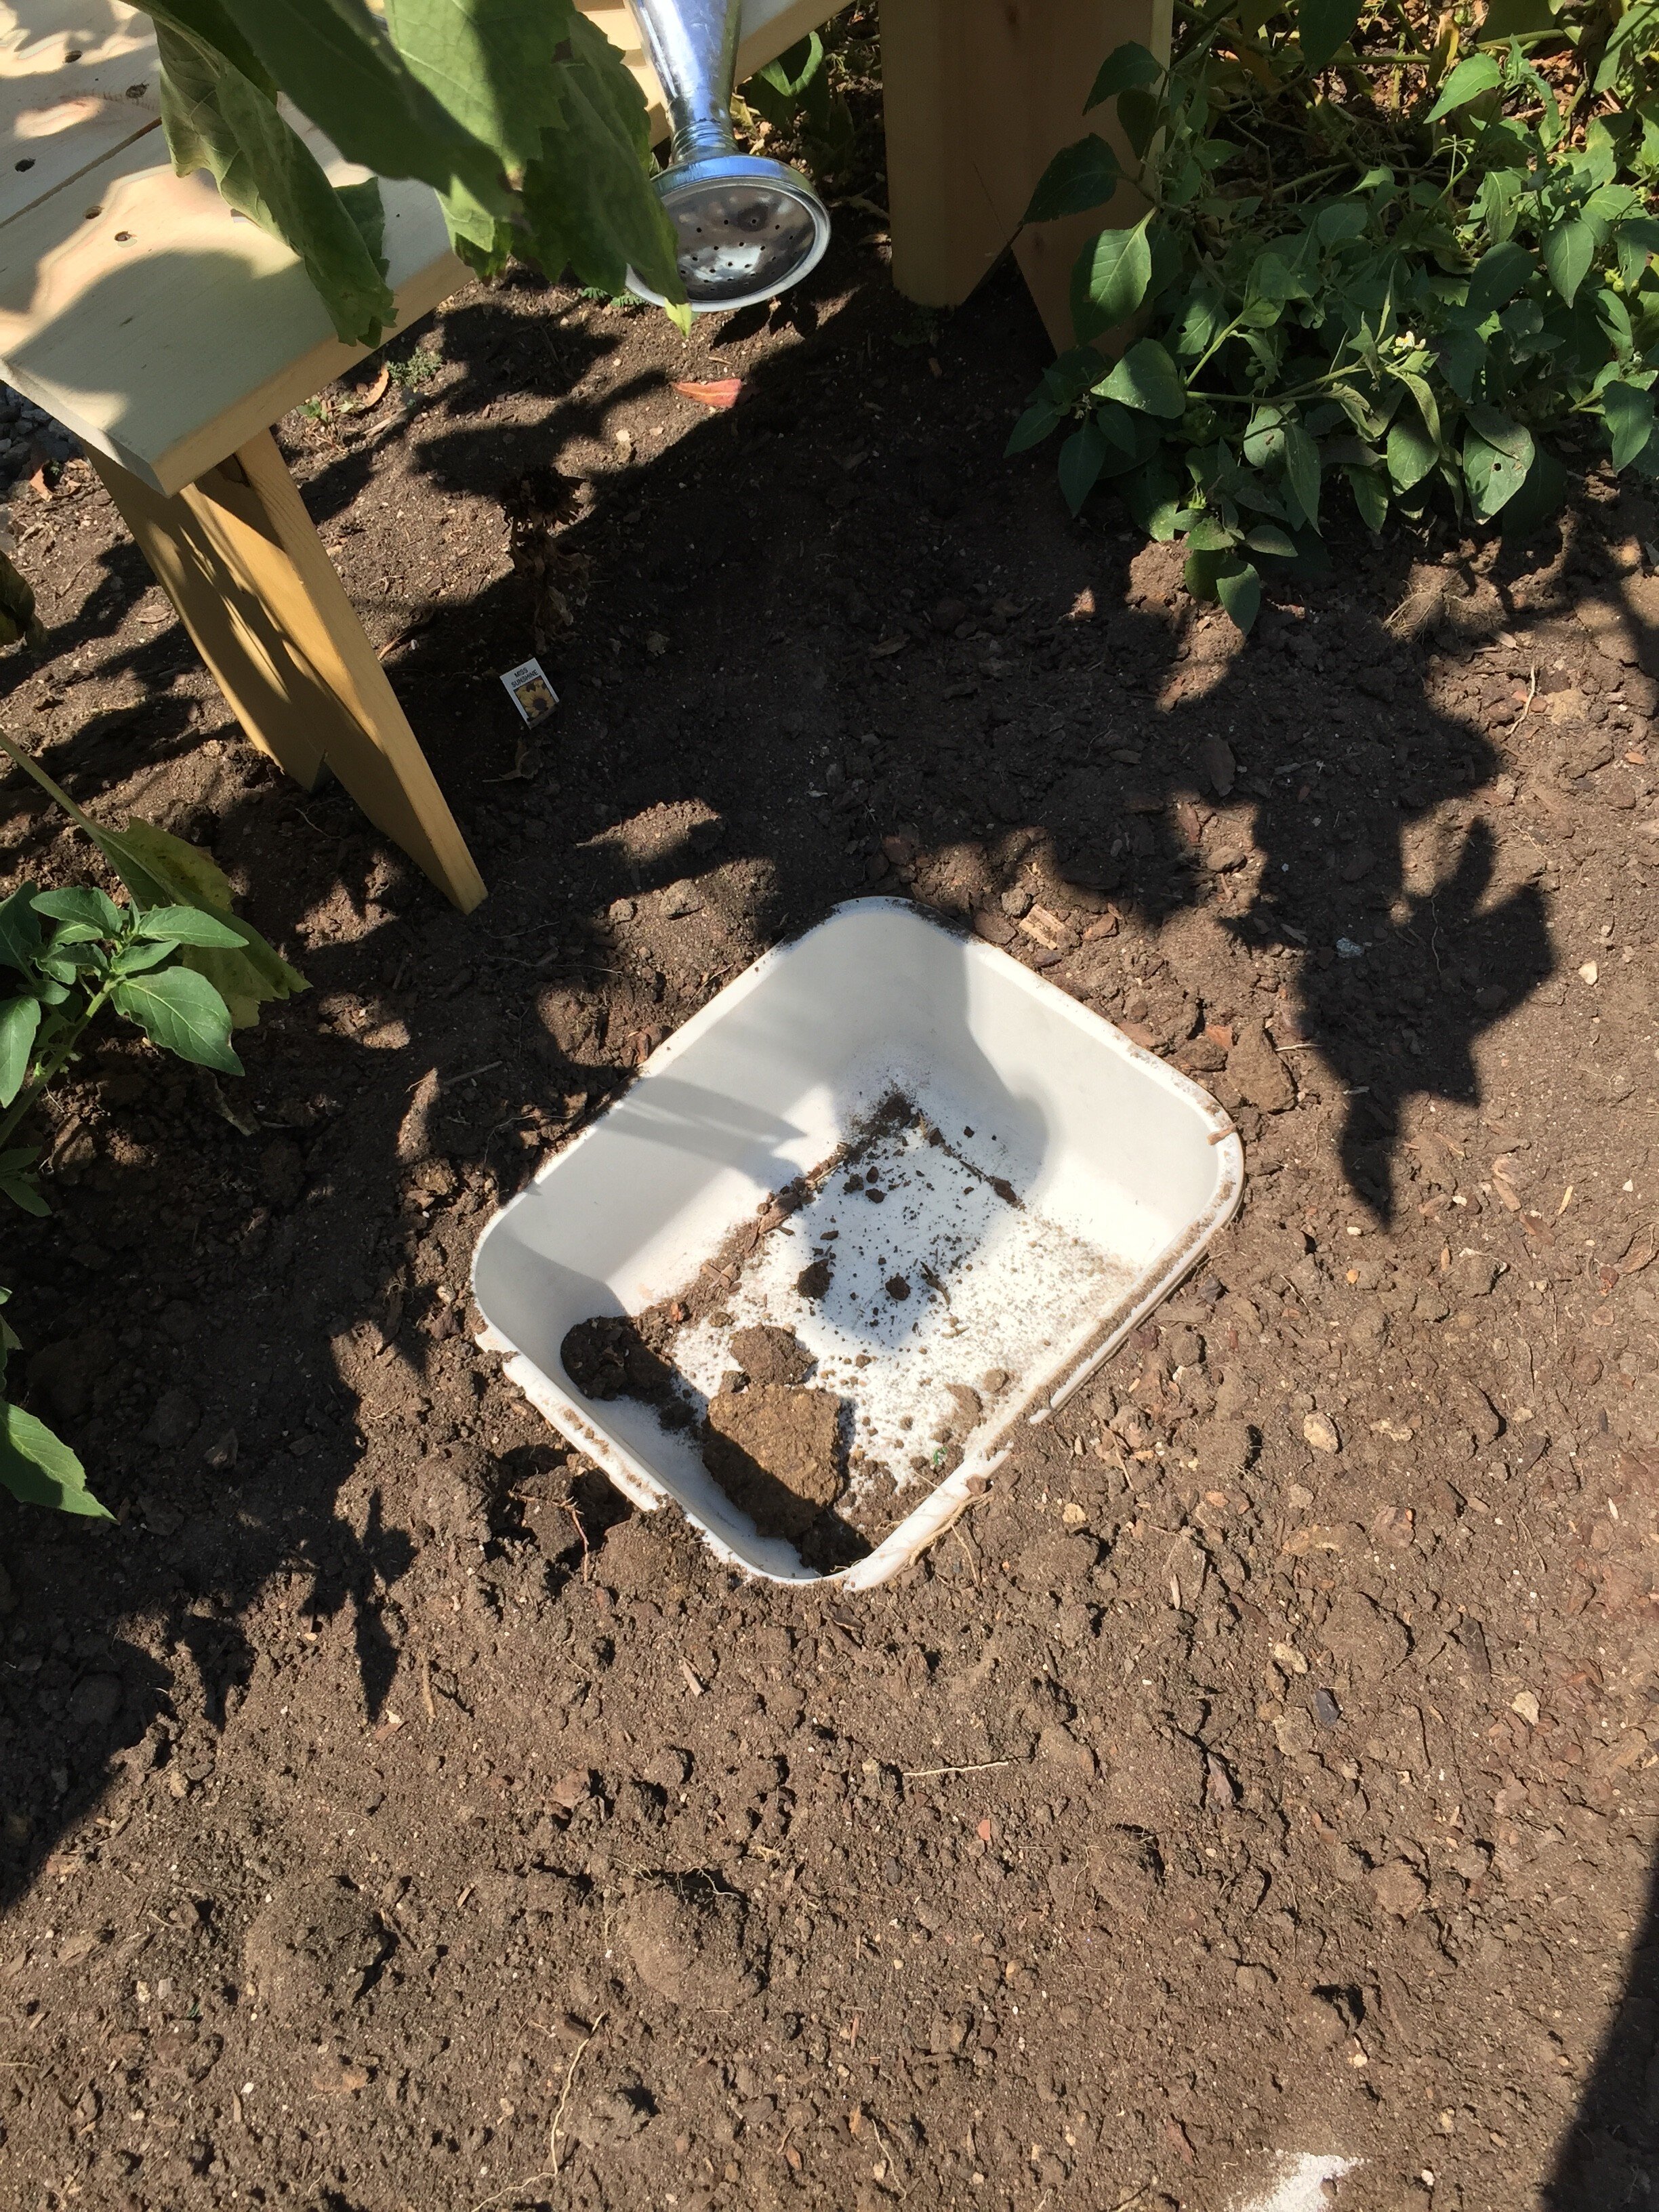
Dig a hole big enough to fit your storage bin. Now, I'm not a fan of digging. So I initially chose a small bin to limit said digging. However, the larger your bin, the less issue you'll have with the fountain drying up. So, I went back and added a larger bin after the fact.
IMG_1341
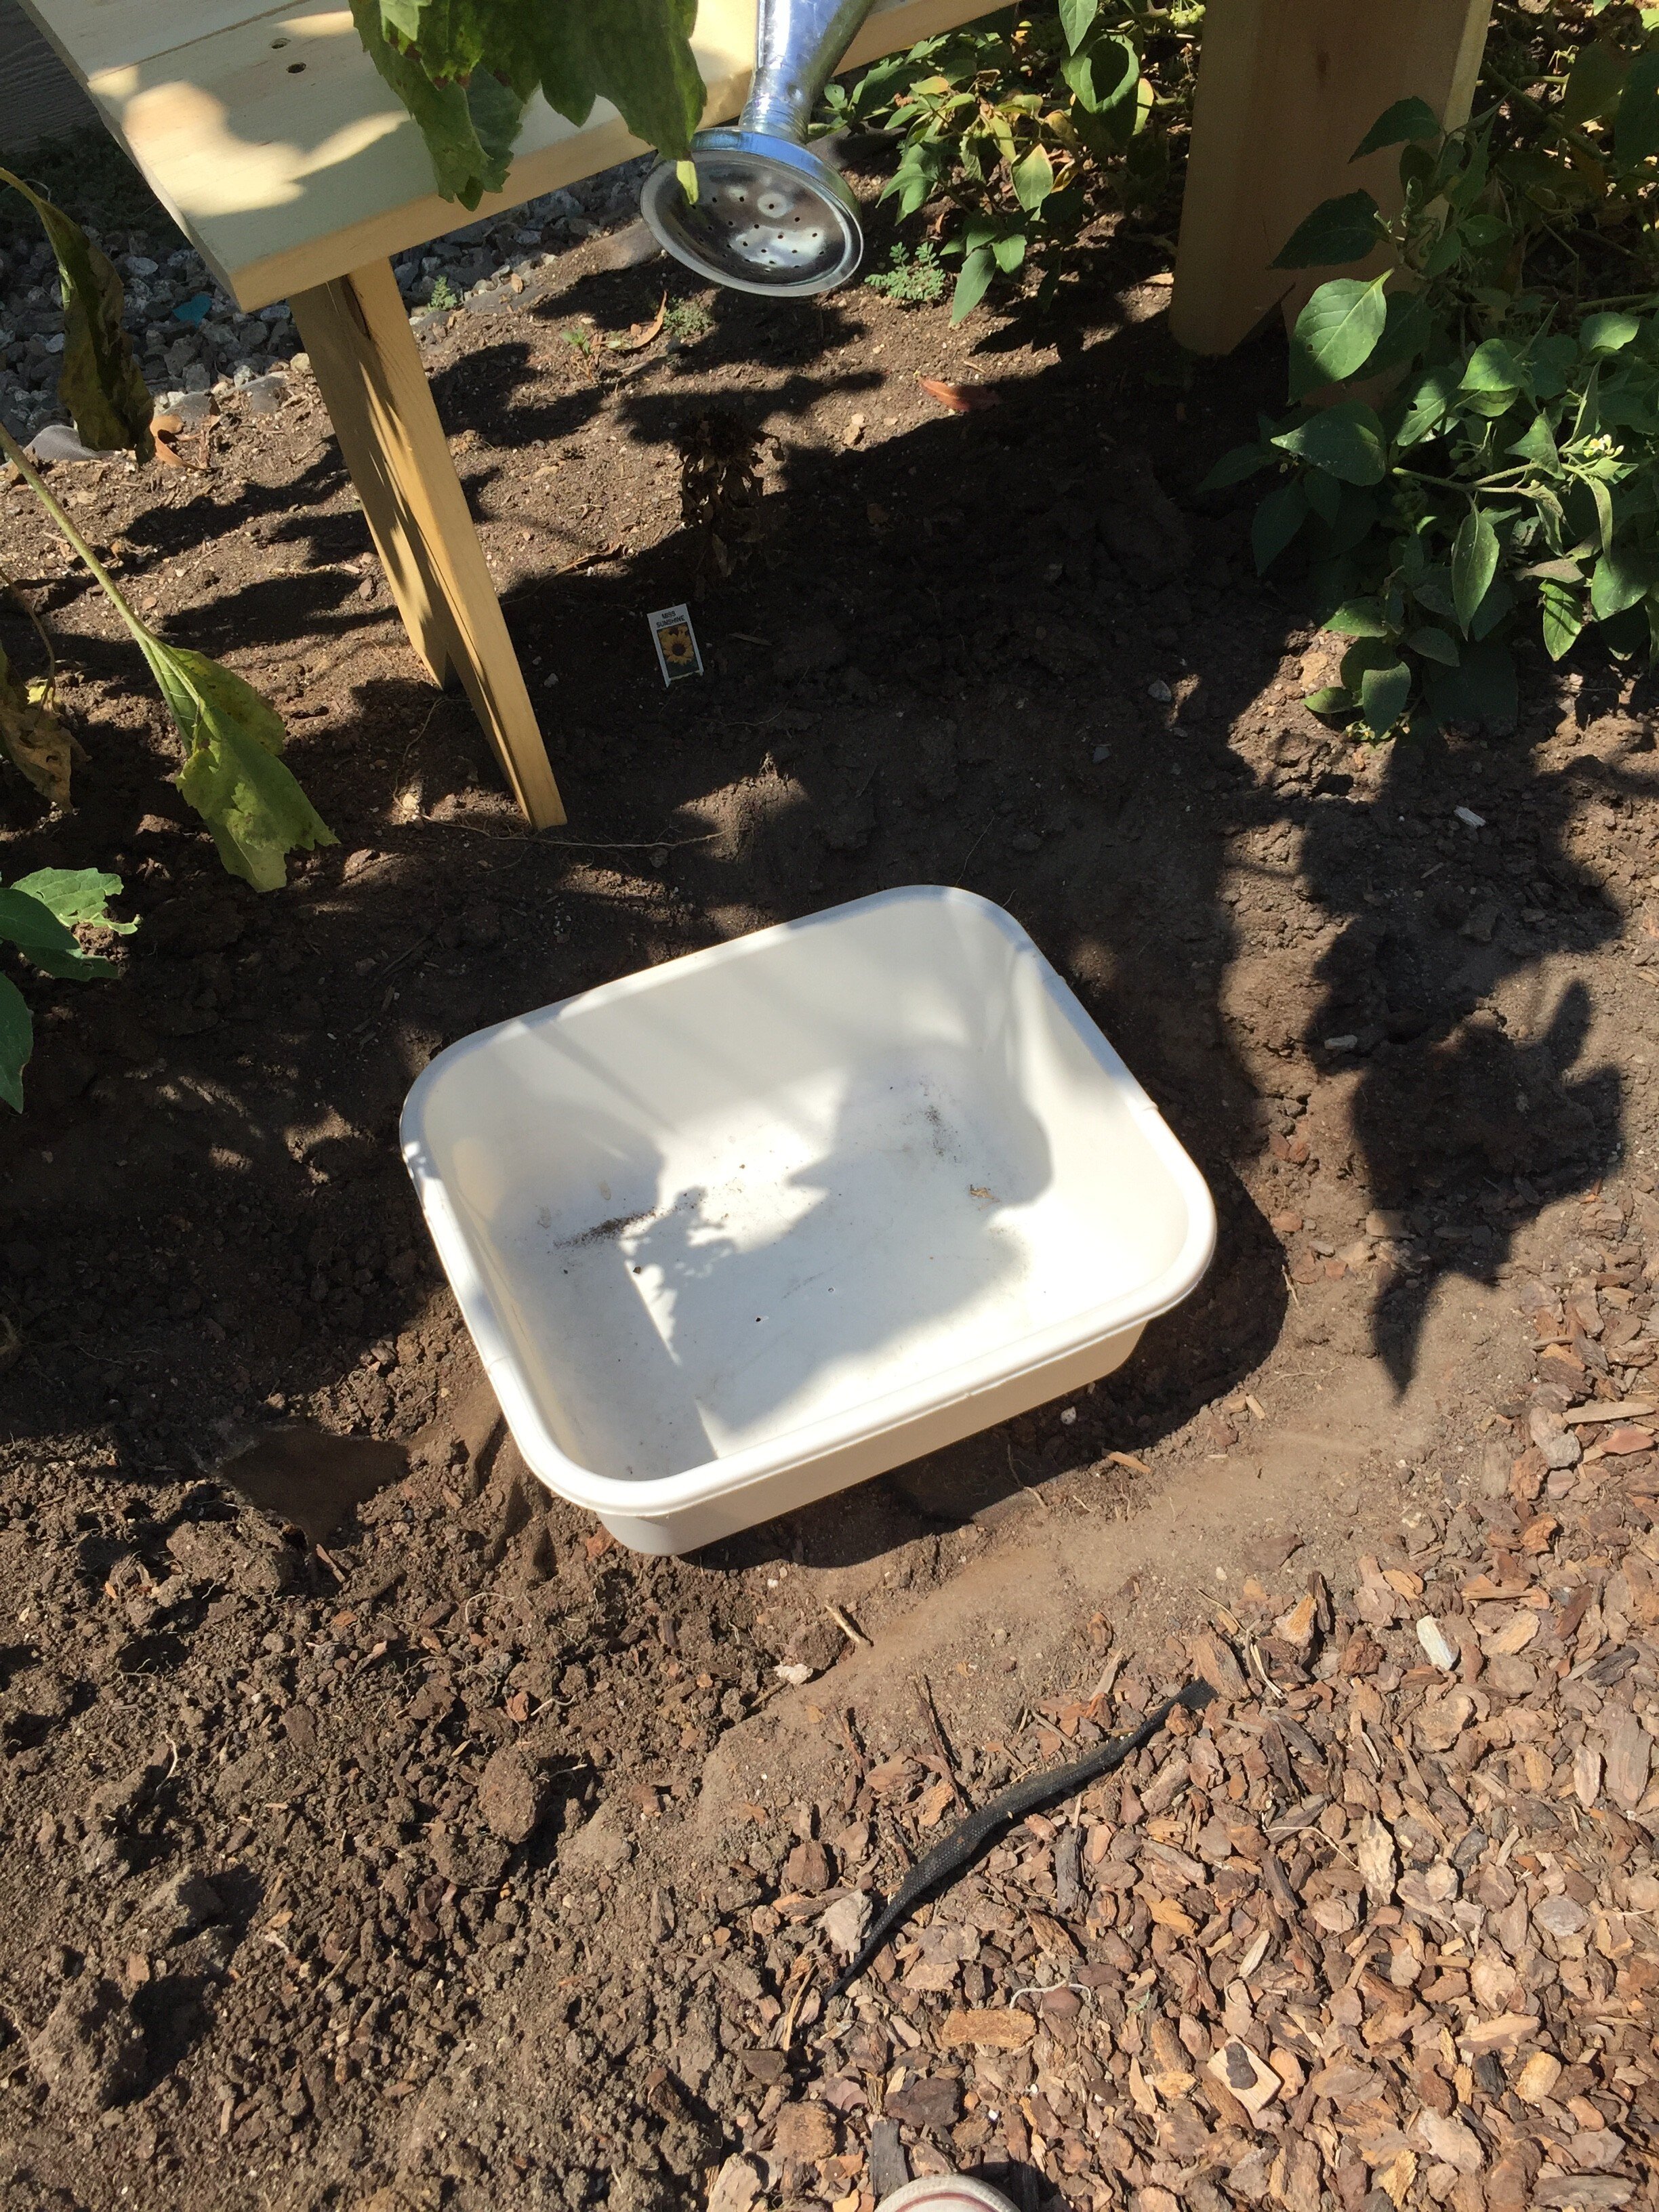
Place bin into your hole. Make sure that it's deep enough so the edge of the bin is at ground level.
IMG_1344
Fill in around the bin and scoop out any dirt that falls inside the bin.
IMG_1350
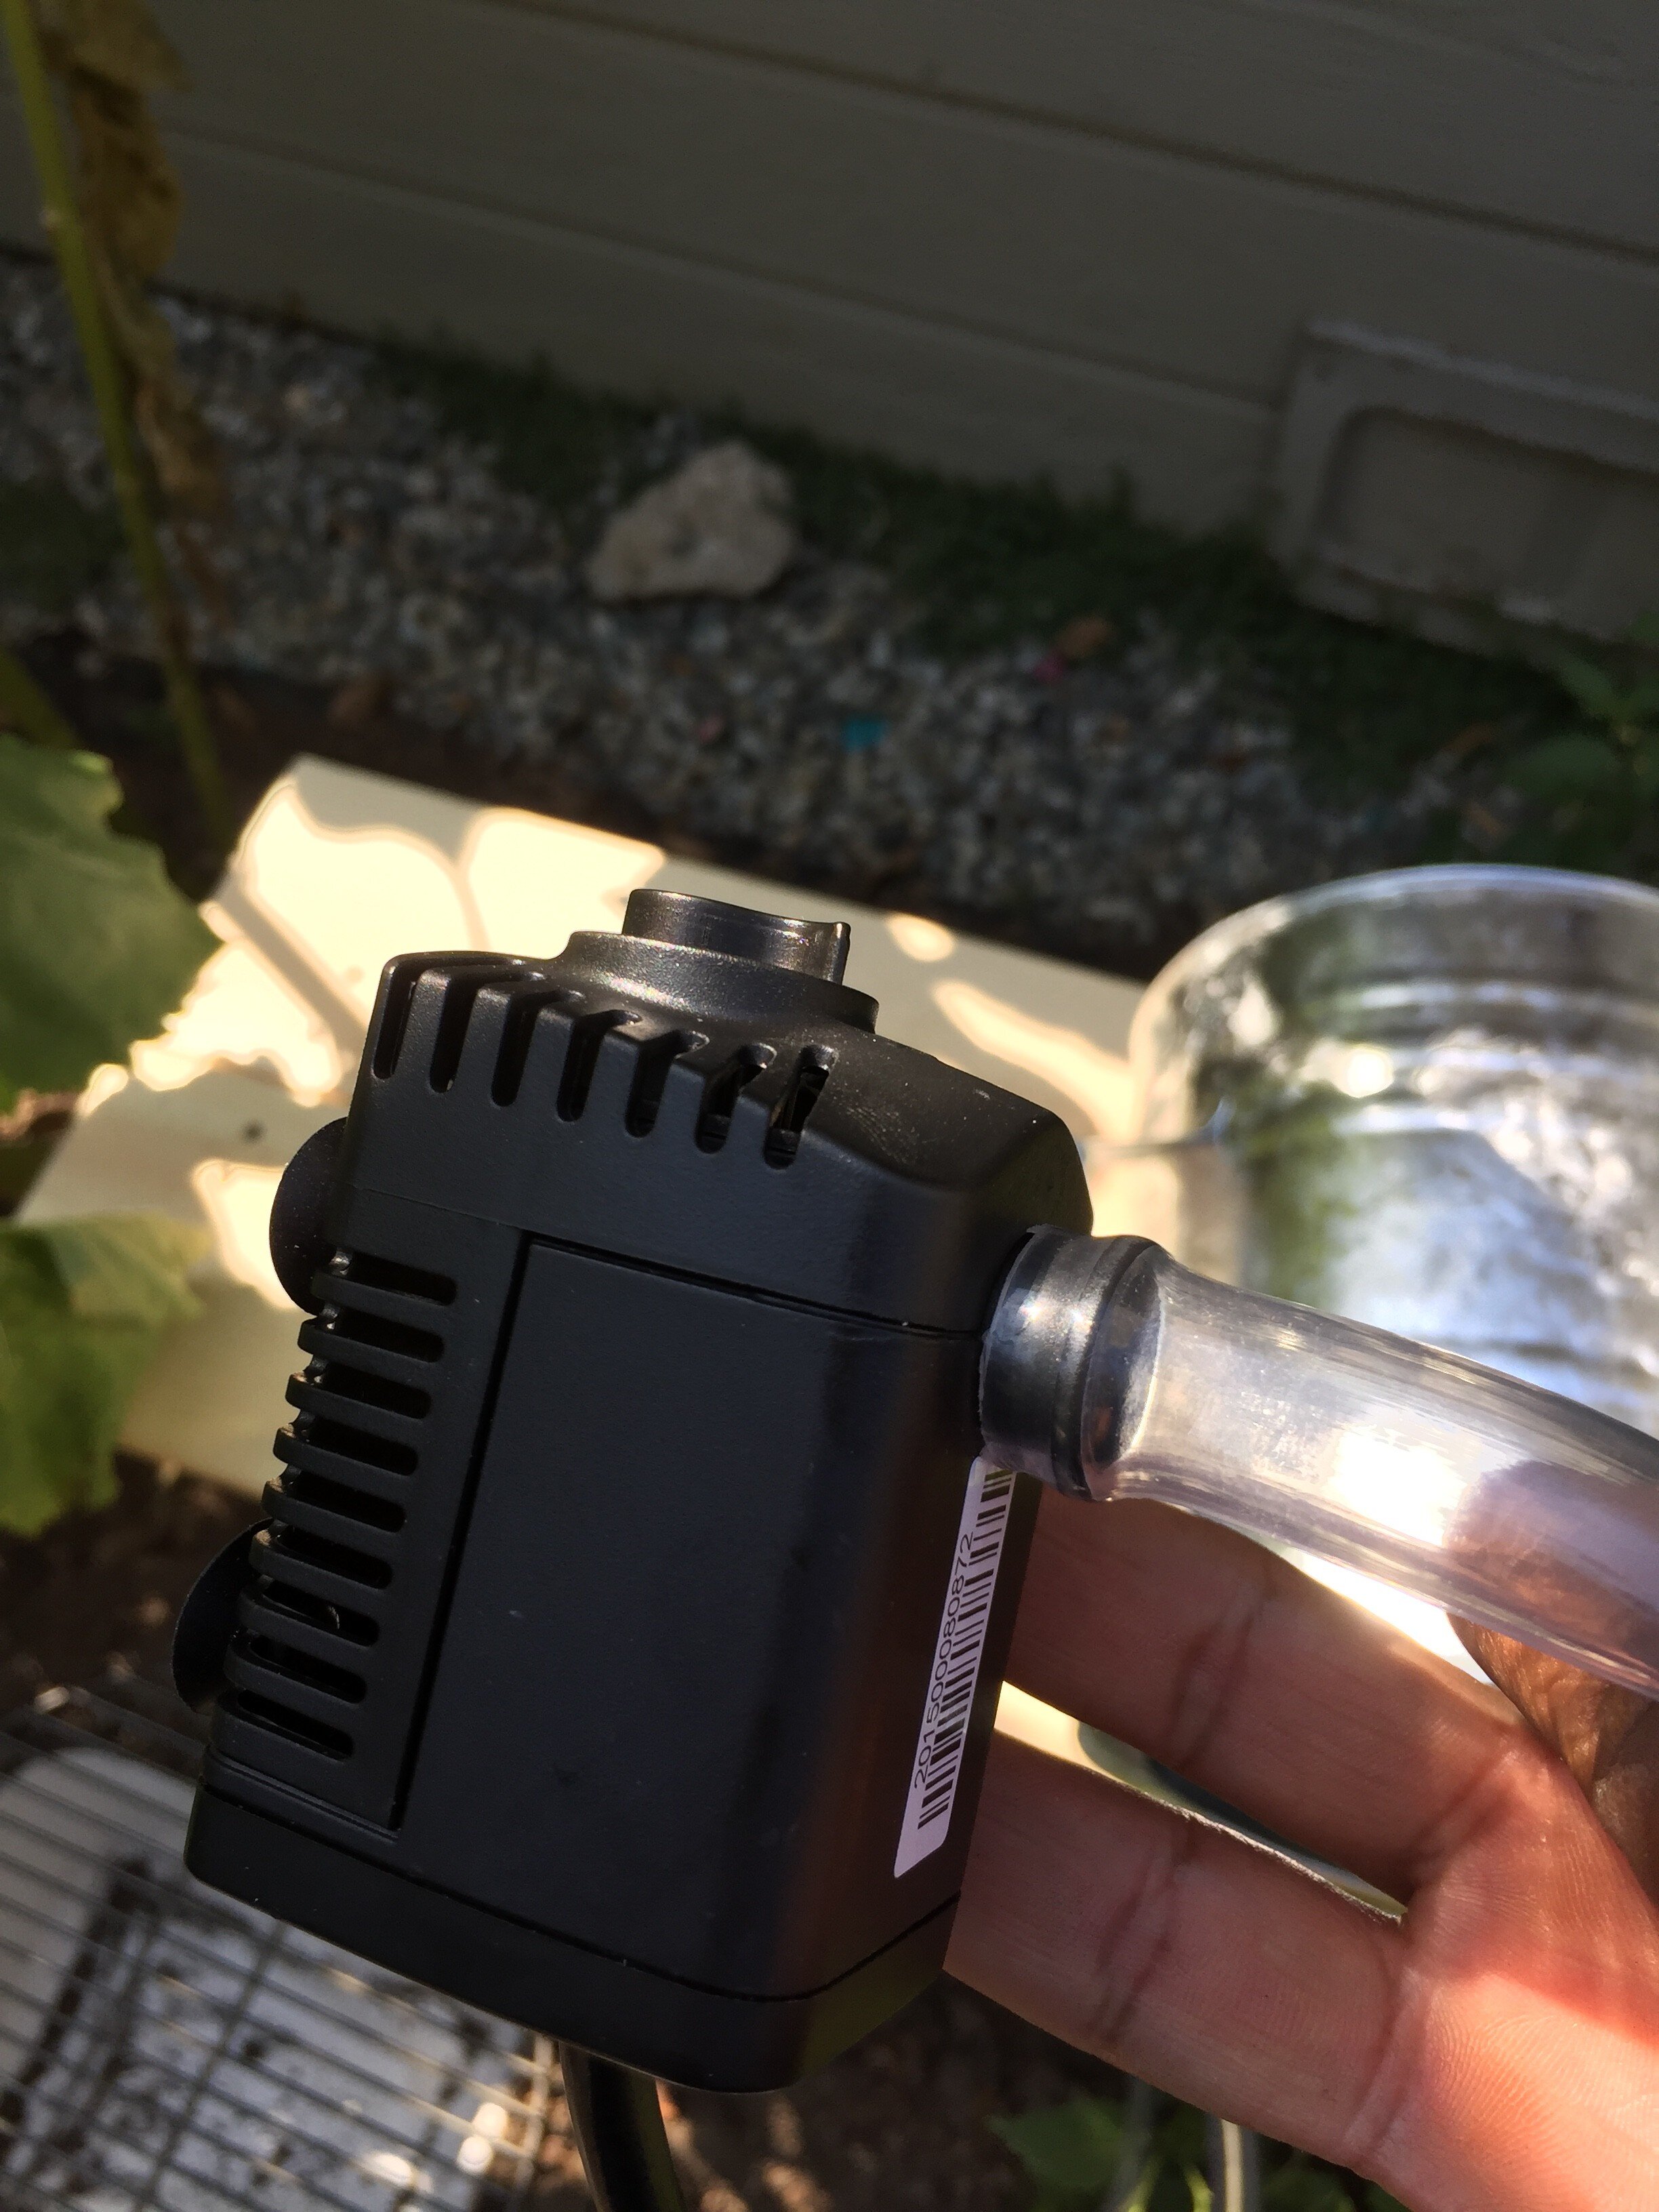
Attach the tubing to your pump. If you've never hooked up a pump it's ridiculously easy. There will be one little hole with a raised lip around it, squeeze your tubing over the little lip....and you're done. Place the pump into the bin and run the tubing and the electrical cord out over the side of the bin toward the back of your soon to be fountain. Fill the bin with water.

FullSizeRender
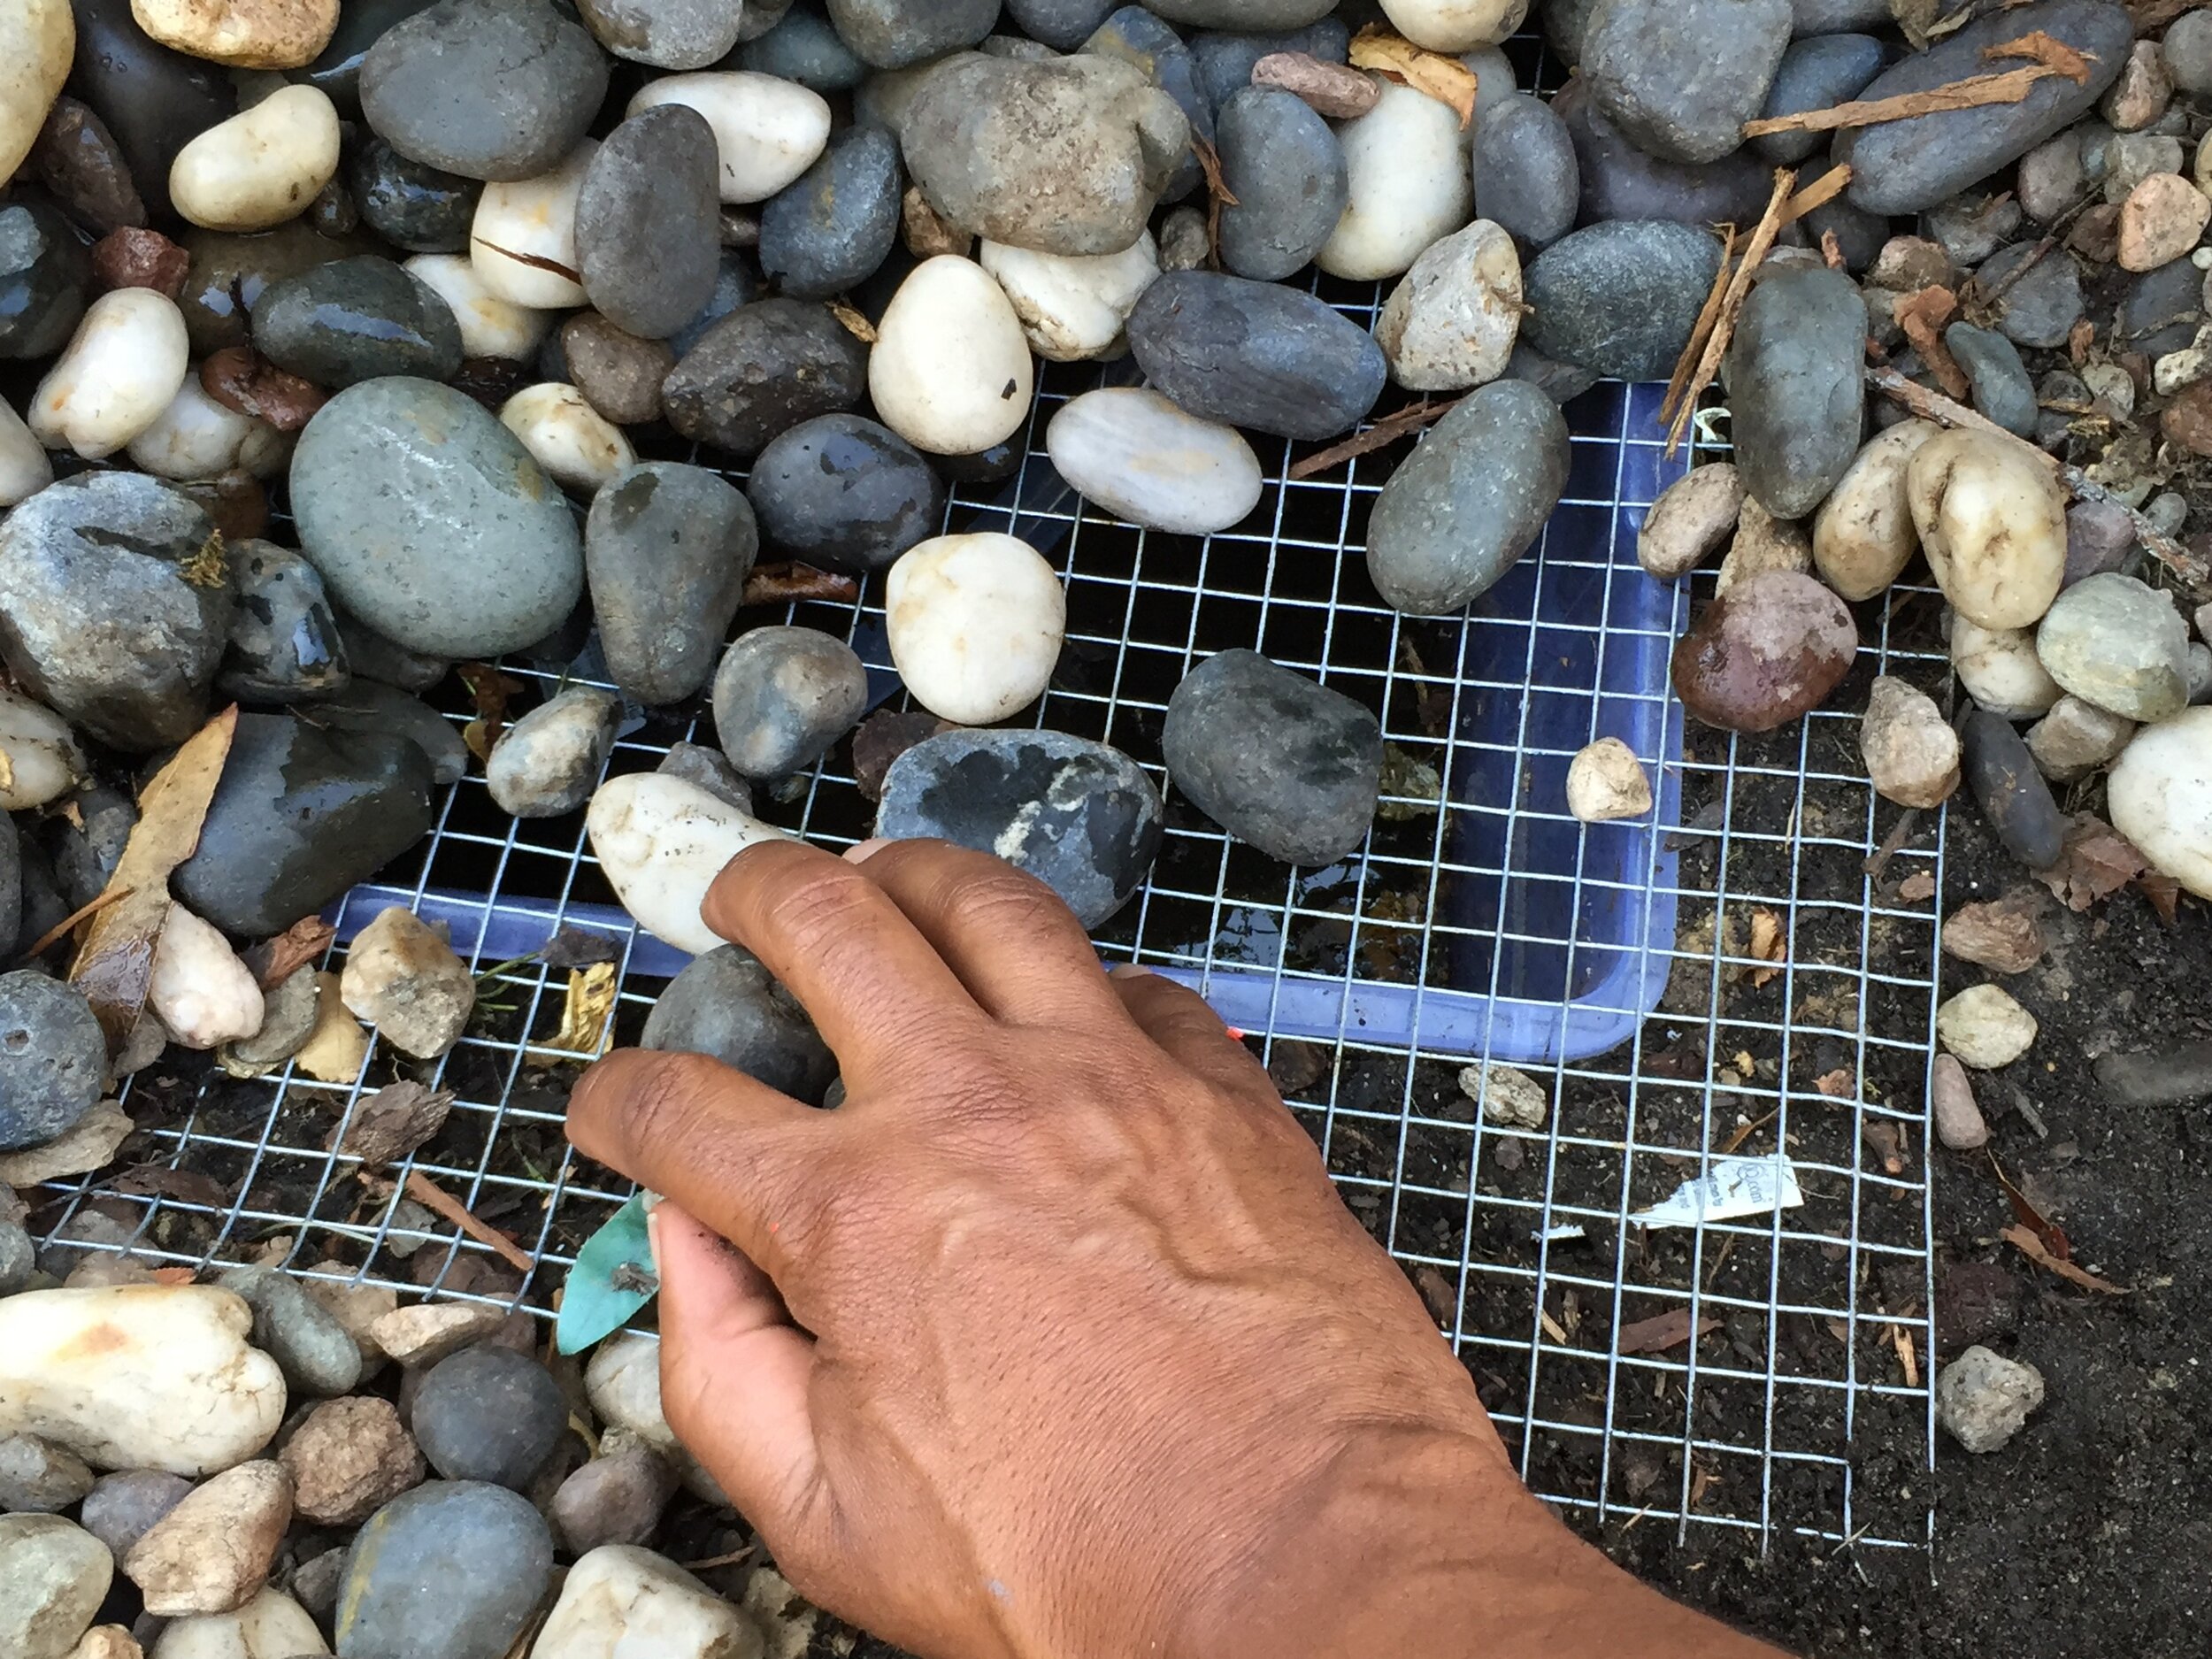
Lay the mesh over your bin, it'll bump up a little where your tubing and cord is coming out, but don't worry about it.
IMG_1396
IMG_1397
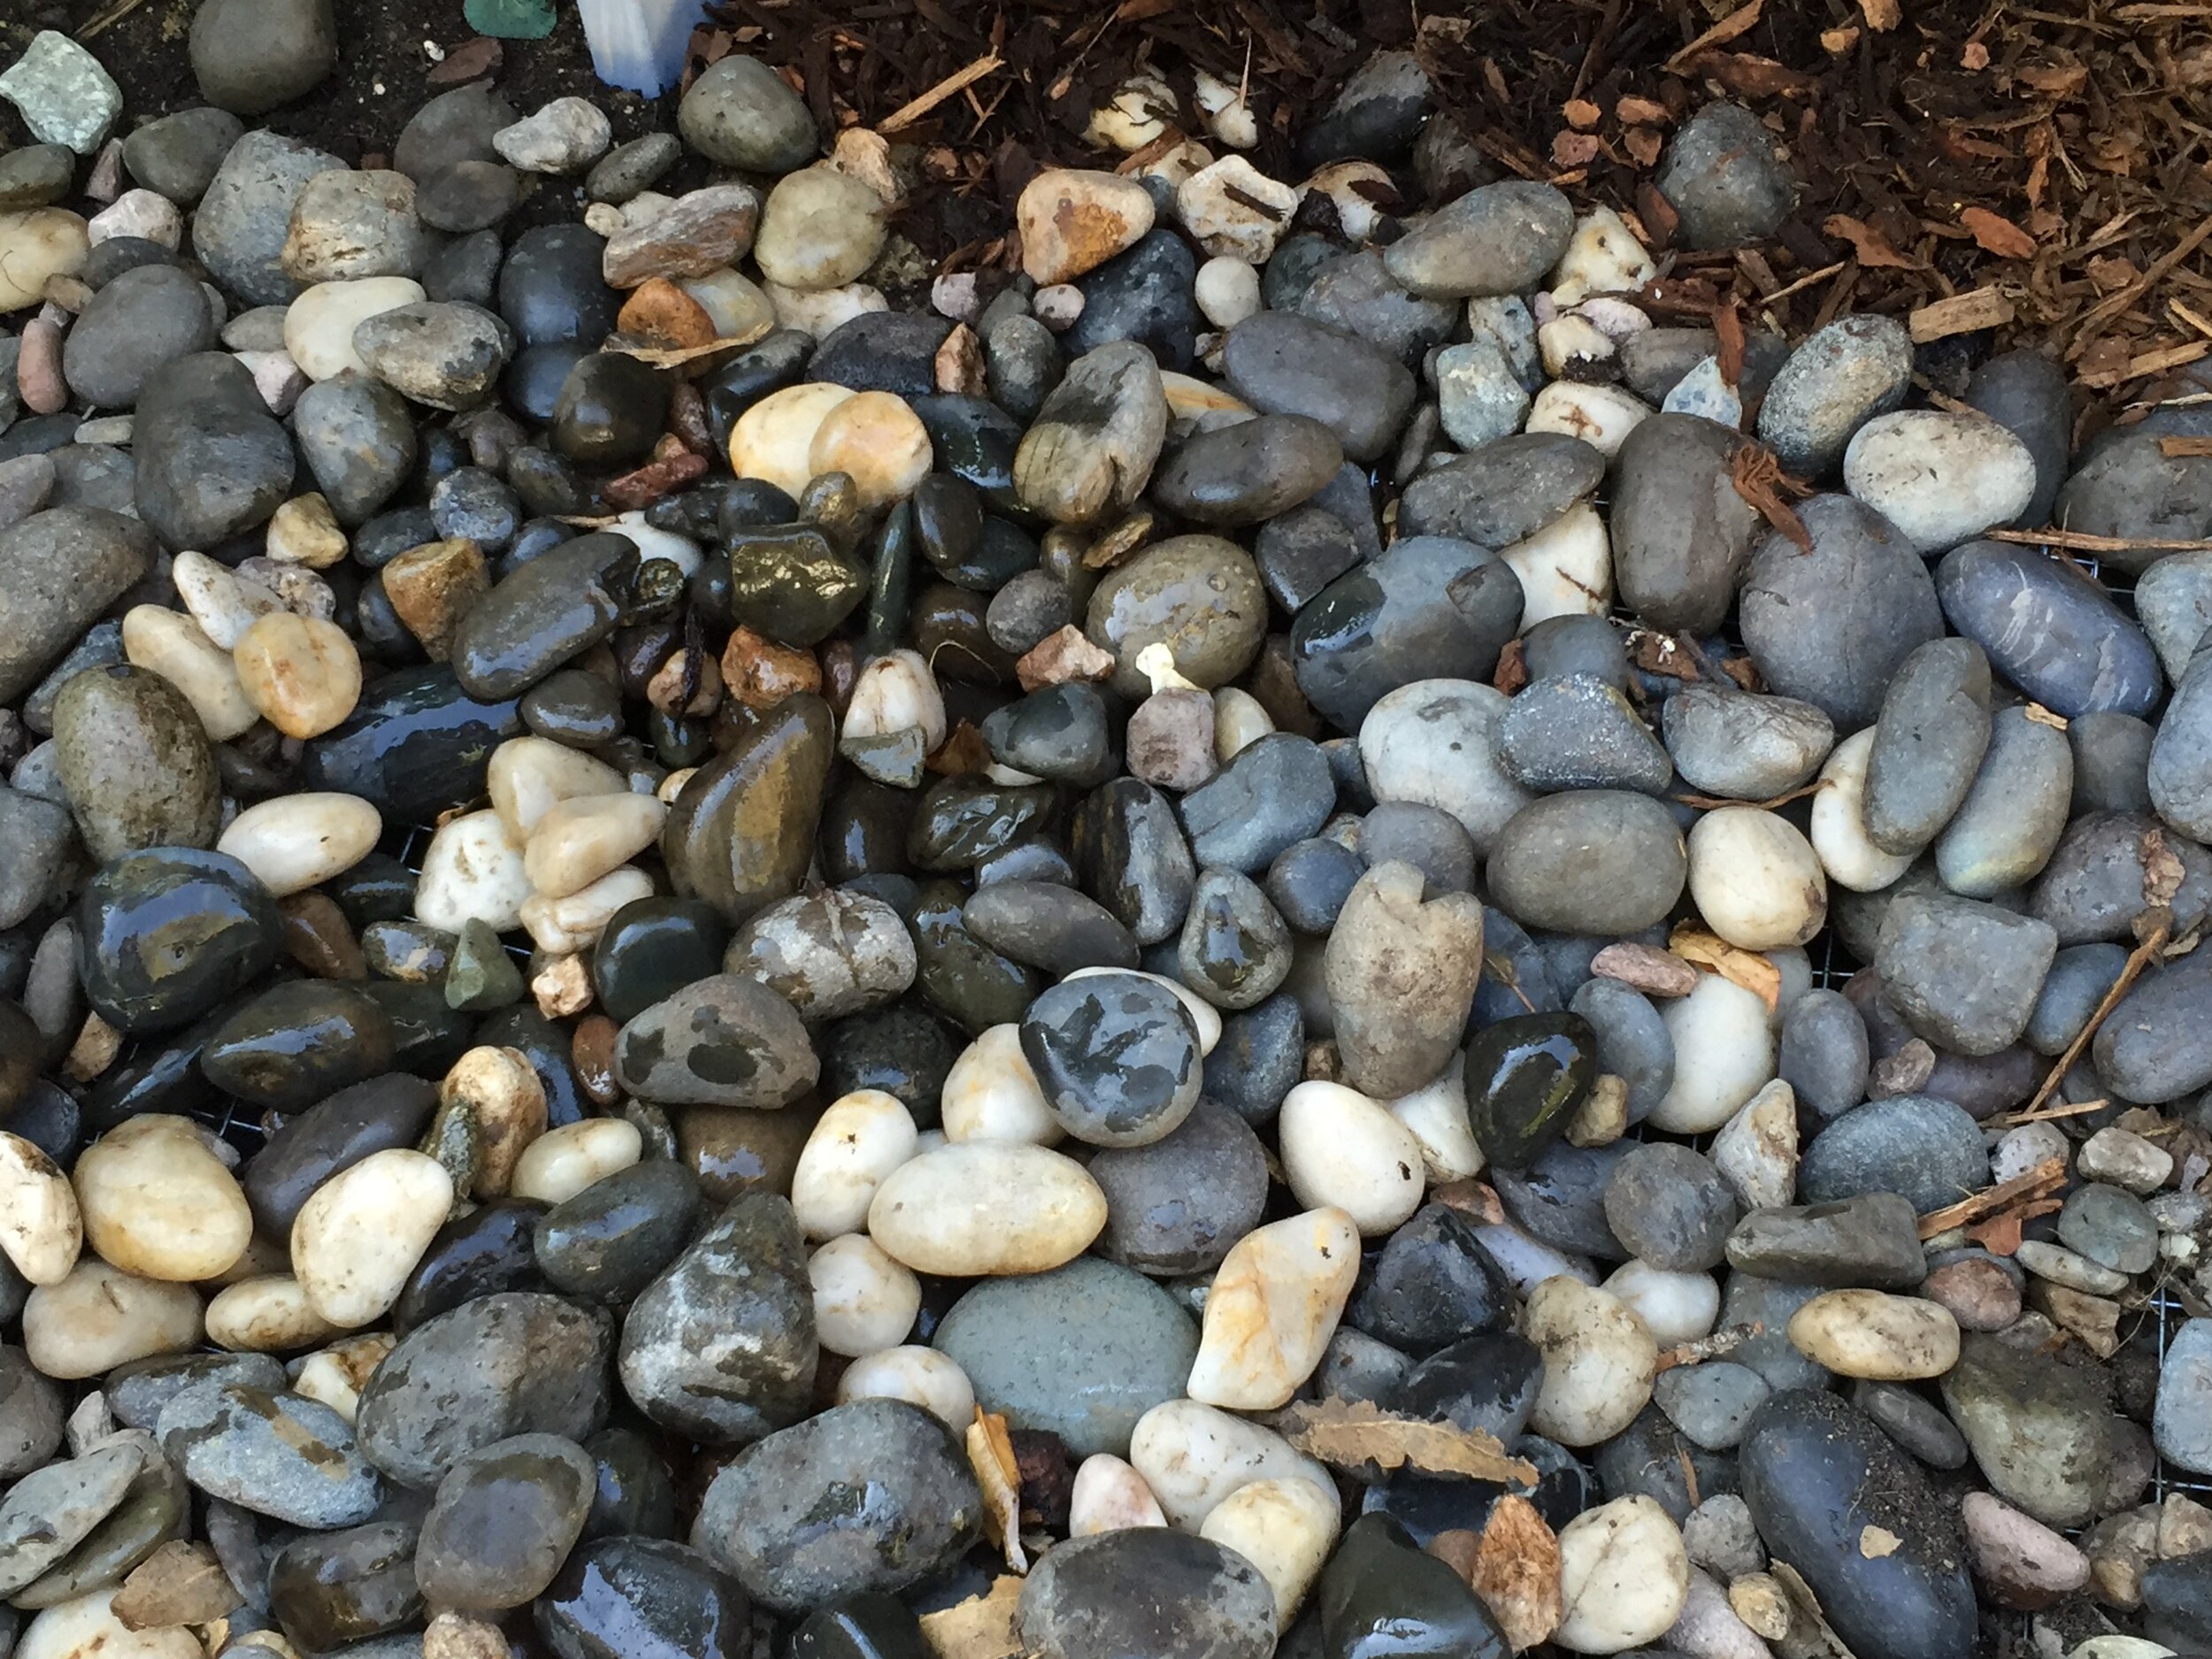
Cover it with your rock and you're "pond-less" part is done. Depending on how big your bin is, how much splatter you're going to get, the heat, etc you will have to refill the bin with the hose now and then. If you're garden is on a watering system, have one of the drip tubes go into the bin so every time the garden get's watered the fountain gets refilled.
Next, just prep your watering can. Drill a hole in the bottom big enough to fit your tubing, you can do this with just a regular drill bit and a little pressure. I also found that I needed to increase the size of the holes in the watering can to get a good flow, so I used a teensy bit to drill those holes a little larger.

Set your stool behind your rocks, run the tube up behind the stool, through the opening in the bottom of the watering can and down into the spout.
Plug in the cord and prepare to be soothed!