
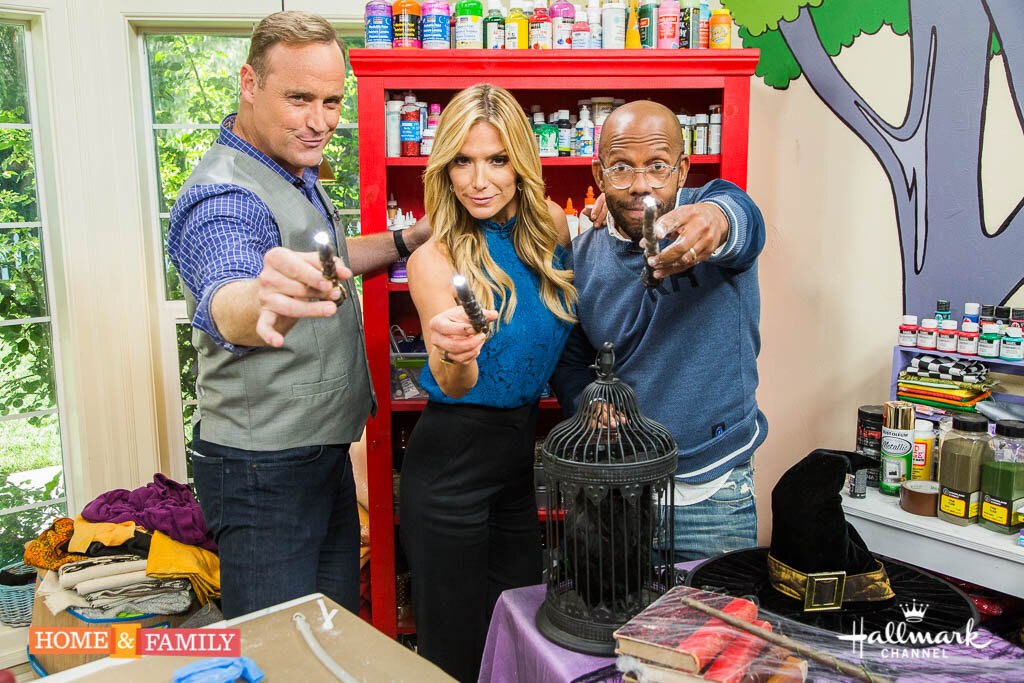
Magic Wands that light up!
Every year we do a family Halloween costume. The kids get to pick what it is. We've been butterflies and woodland fairies the past two years. This year it's Margot's first time to make the call...and she chose witches and wizards - good ol' classic Halloween stuff, good for you Margot! So, to not disappoint, I'm busy making the costume special and had to start with the most important element to my kids - the magic wand. The Harry Potter ones sell for a pretty penny, I didn't want to go down that road - so I've come up with these, they're pretty cool and, added bonus, they light up!

FEC42992-3753-4FD6-A7F6-548E086C9512
Before we move on to this year, here's a little snap shot of where we're coming from: family the past two years....can you tell that Coco has a thing for wings?

IMG_4400
Now, on to this year....
MATERIALS

IMG_5256
Floral lights (I got them at Michaels, $6.00 a set)
Plaster wrap
Duct tape
Printer paper
Hot glue
Paint
STEPS

IMG_4308
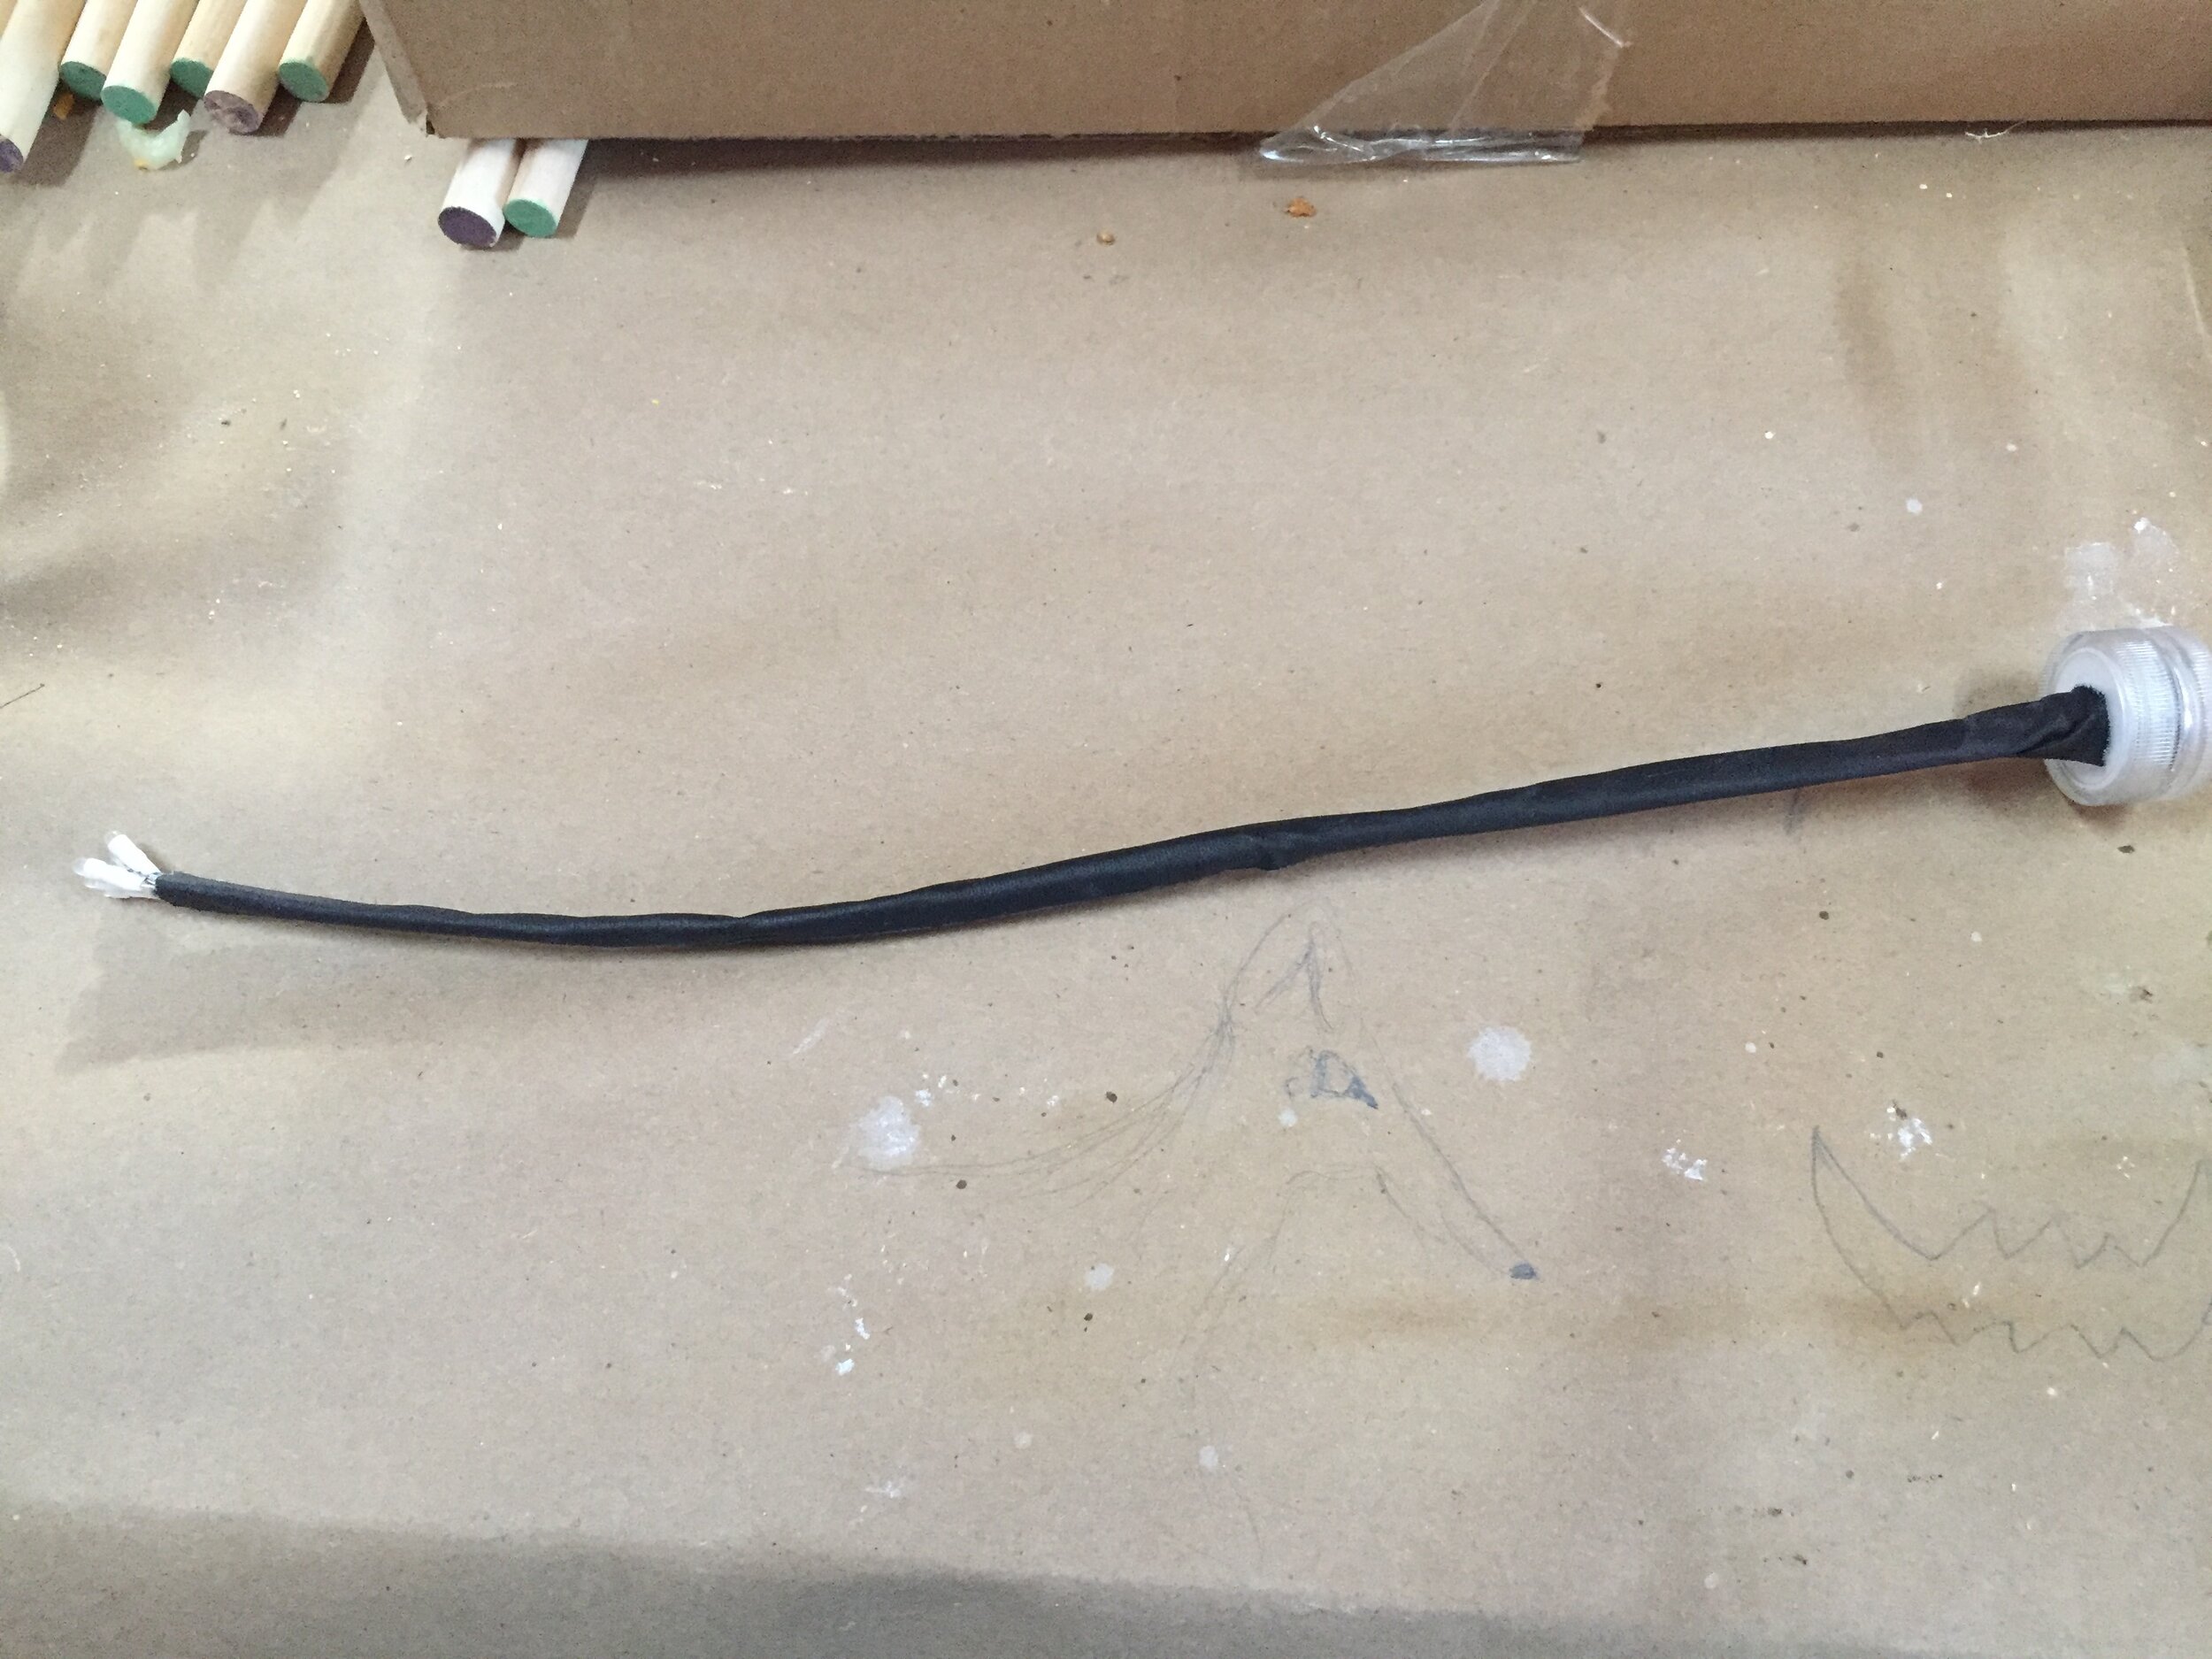
Stretch out the lights and lay on top of a piece of duct tape.
IMG_4309
Roll the duct tape around the lights.
IMG_4312
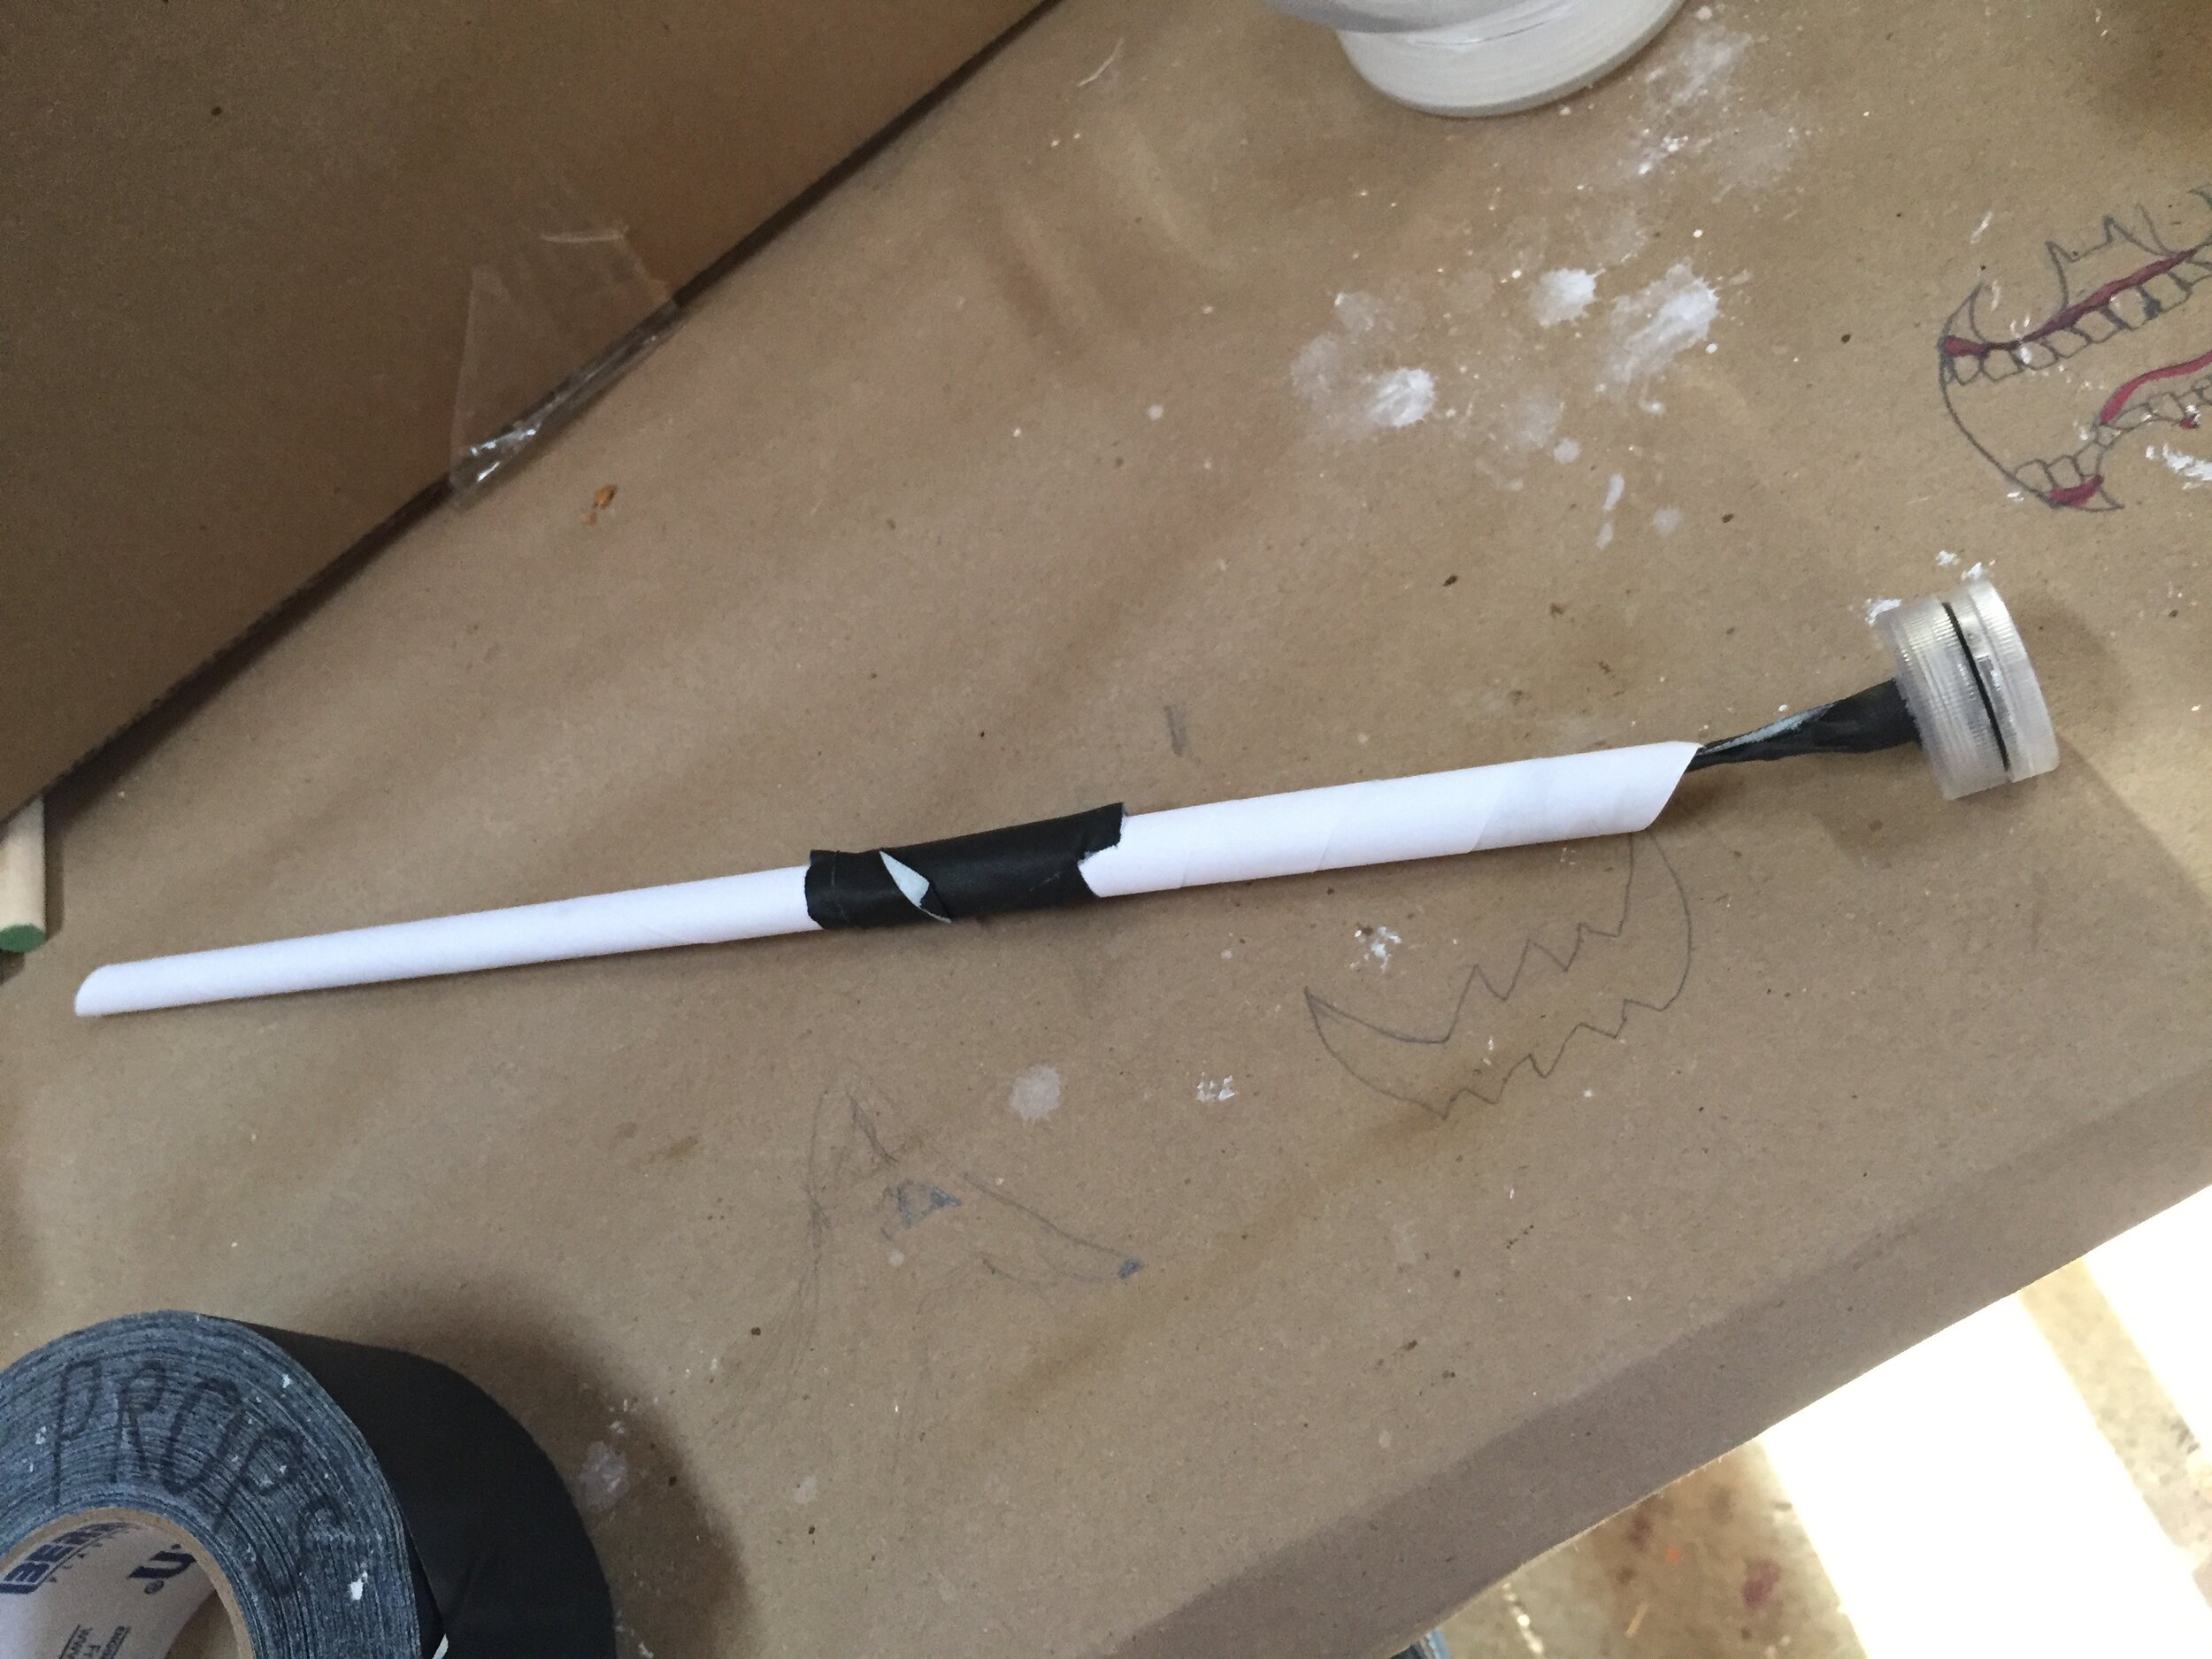
Take a piece of printer paper and roll it around the taped lights. Secure with another piece of tape.

IMG_4314
Wrap more tape to secure the base to the rest of the wand.

IMG_4316
Use scissors or a knife to cut off any additional paper around the tip where the lights are....

IMG_4317
...so they are exposed.
IMG_4319
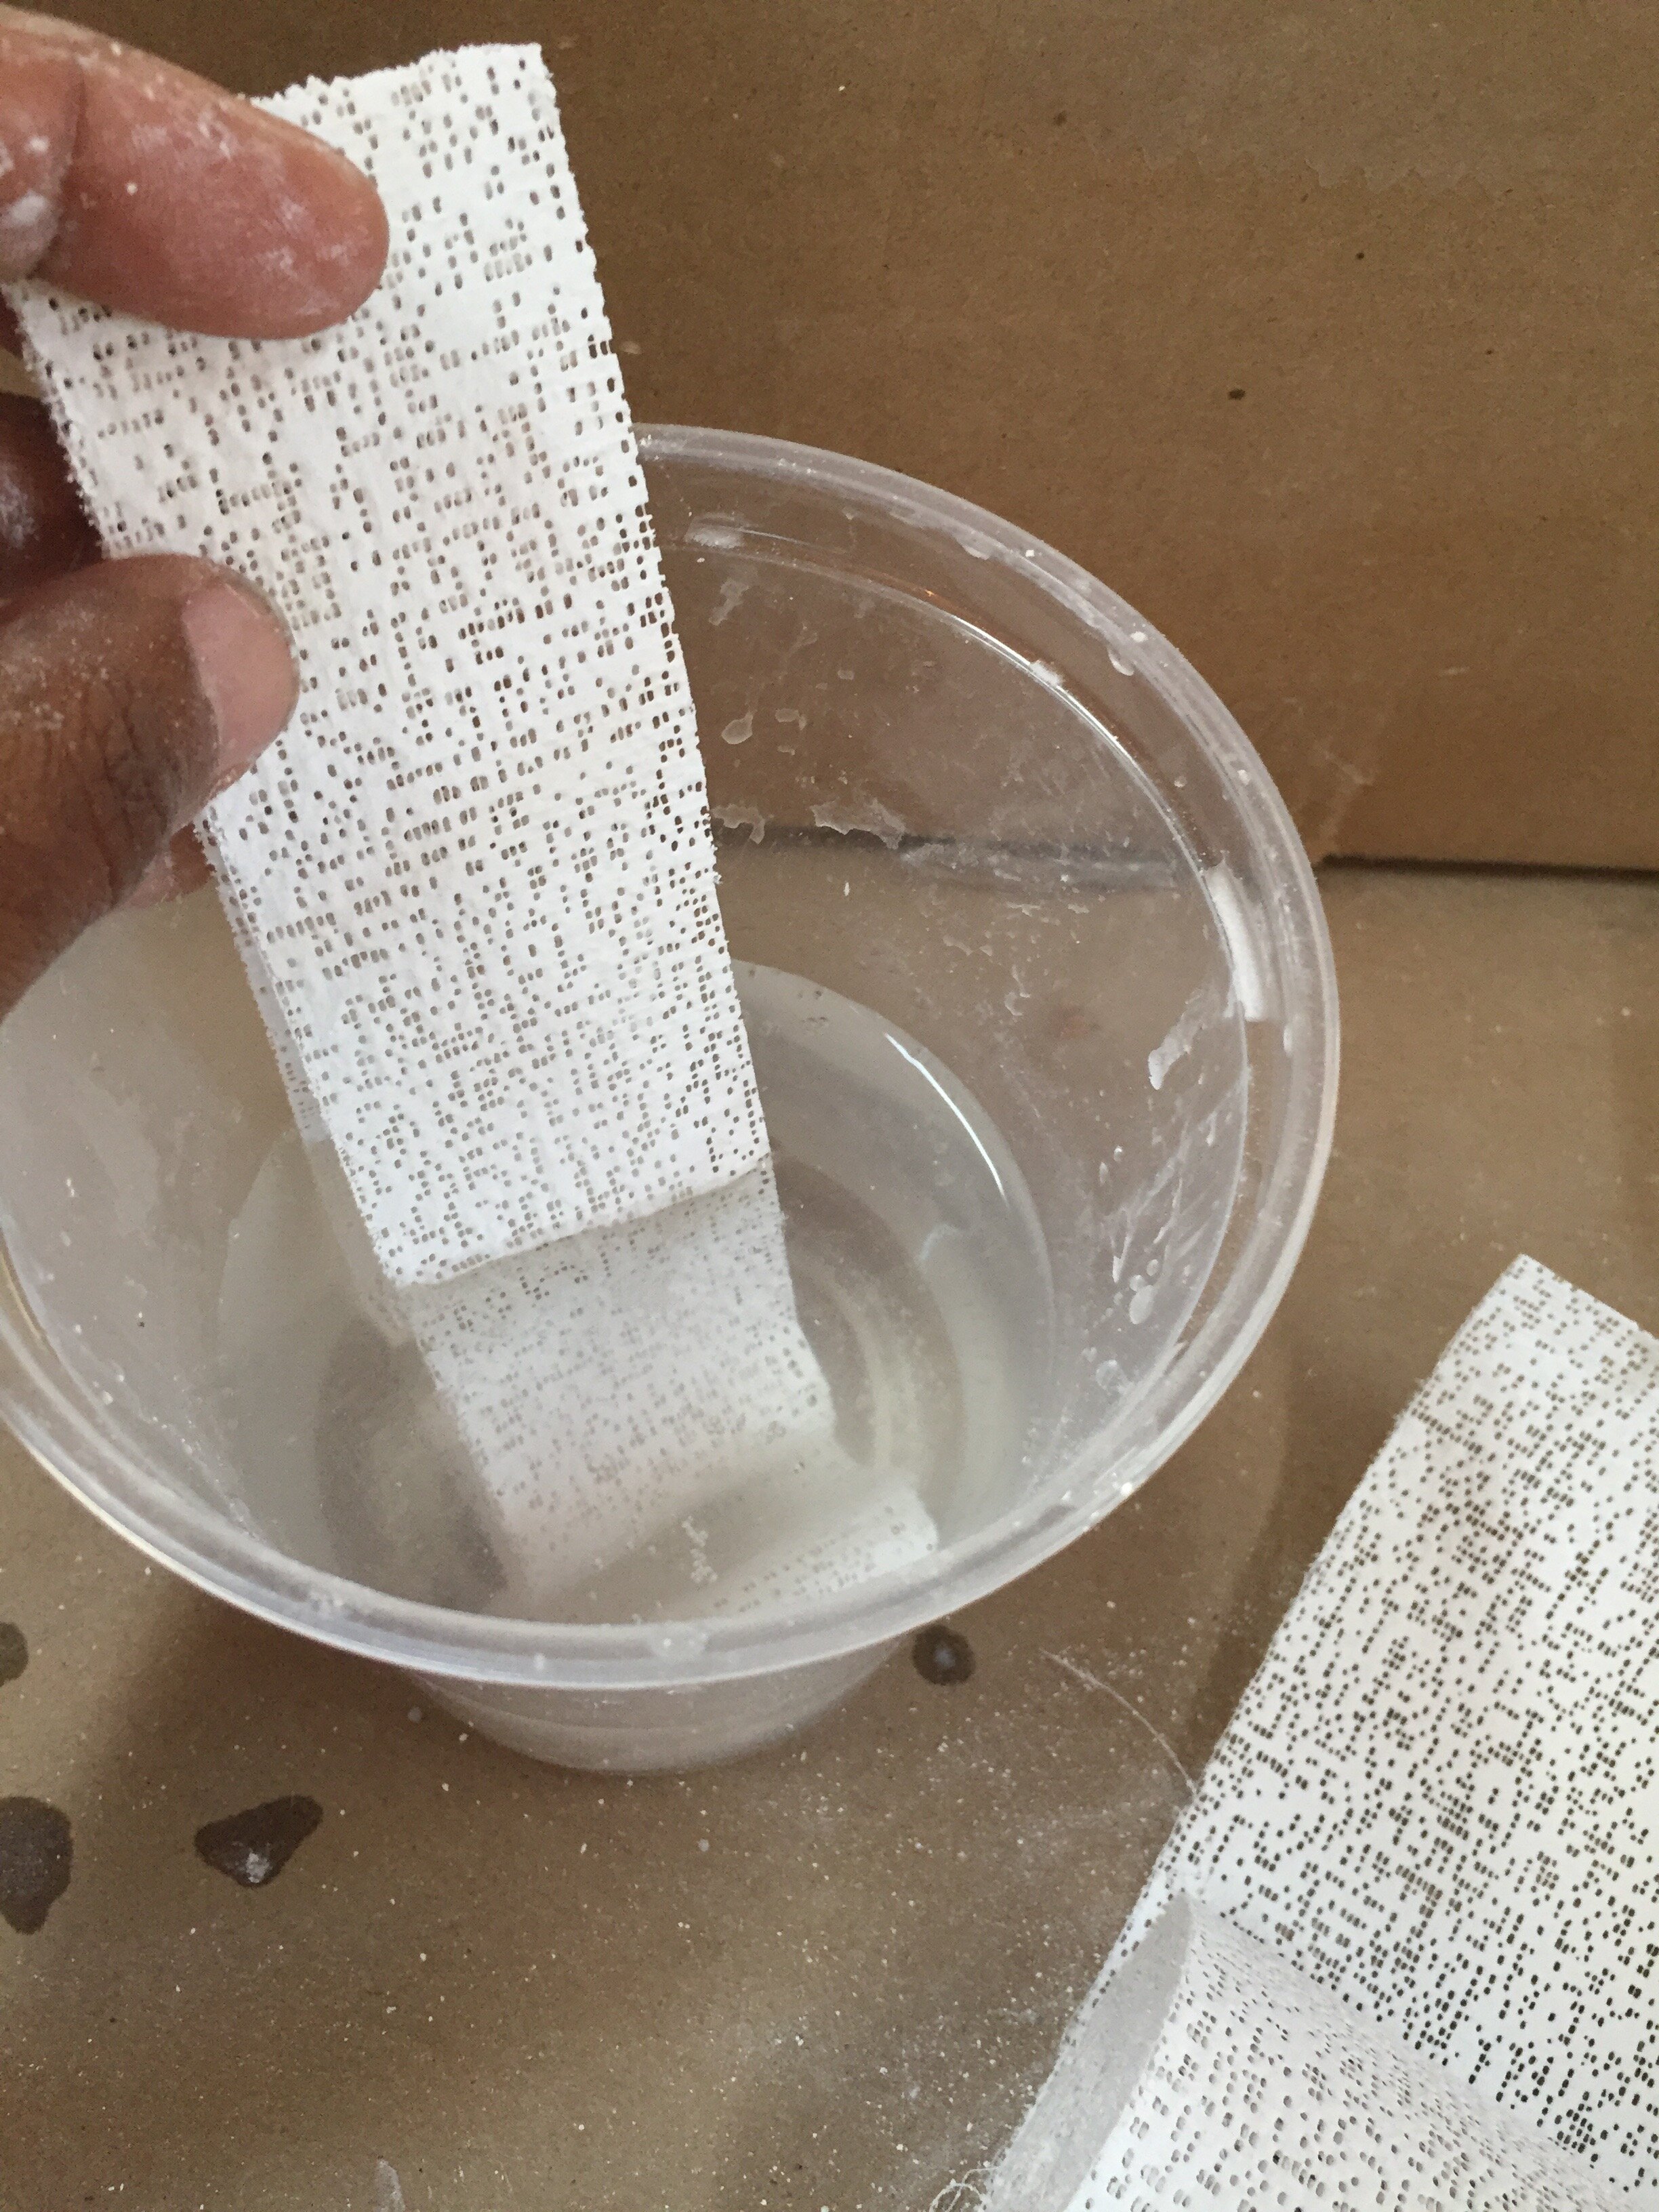
Cut your plaster into strips if they didn't already come that way. A 2" by 30" piece works pretty well. Dip the strip in water to activate the plaster.
IMG_4320
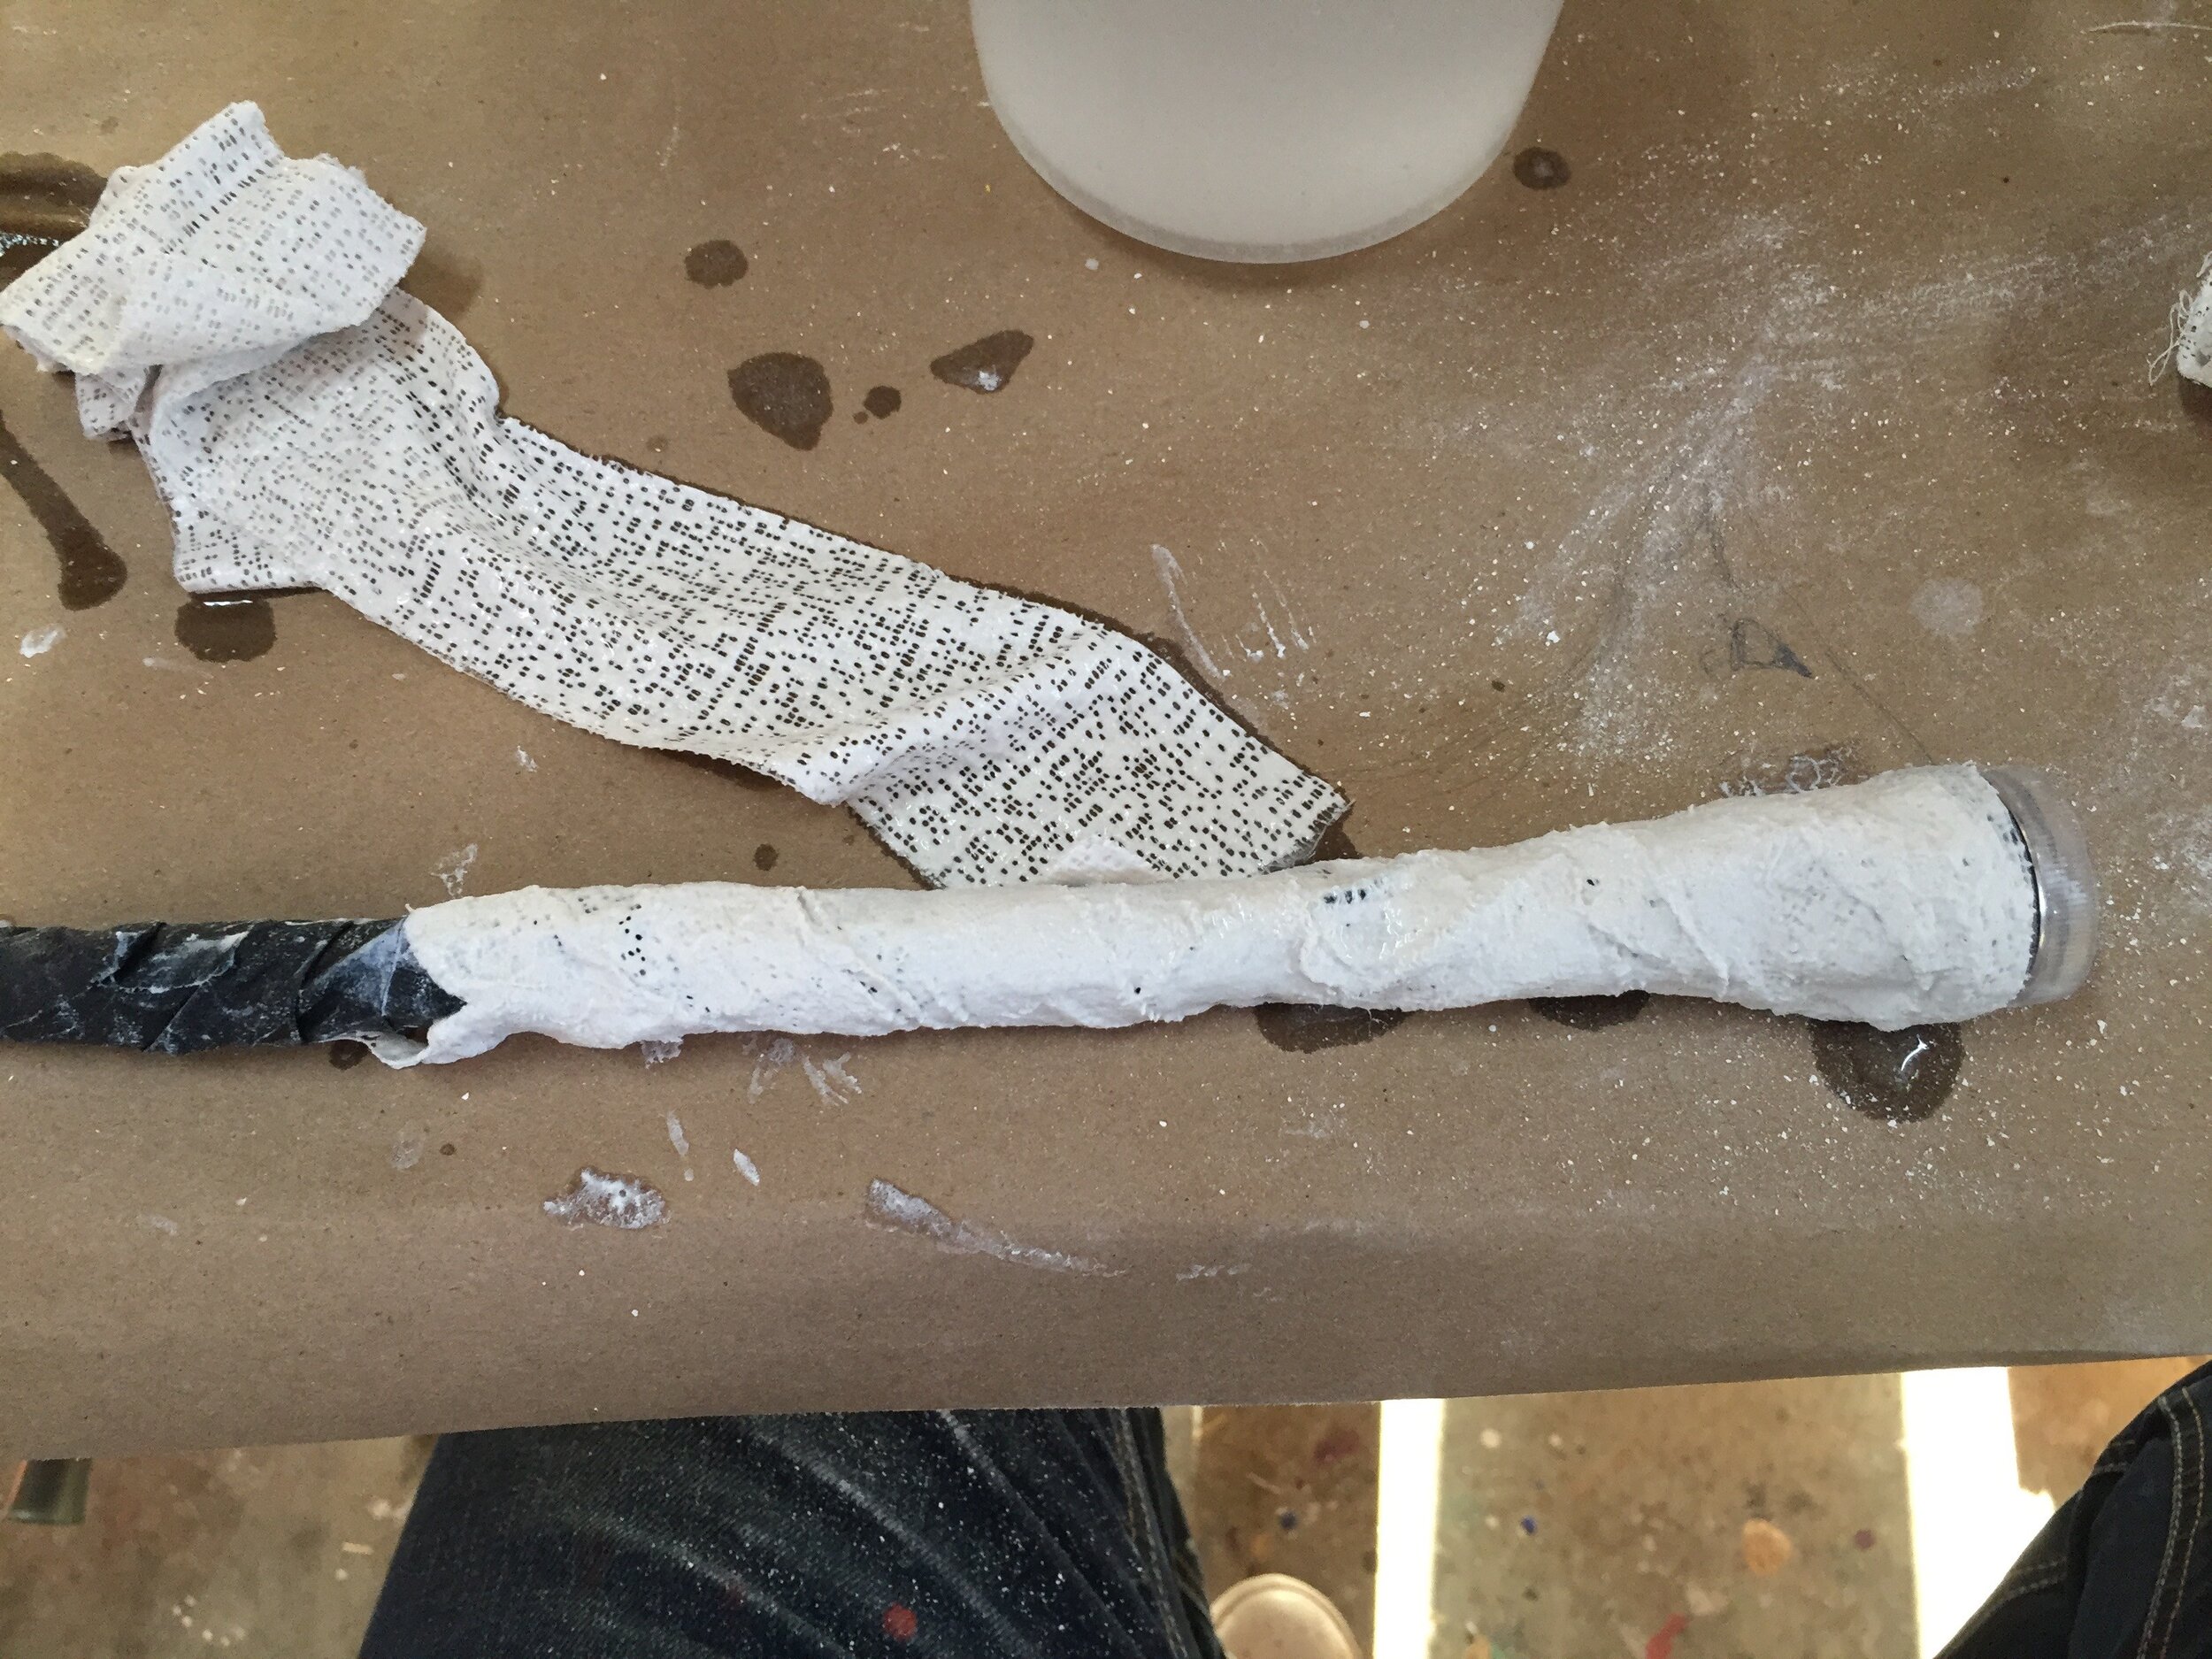
Line the plaster up with the edge of the battery pack and then, working with the strip at a diagonal, wrap the plaster around the wand. Make sure your strip overlaps as you wrap. If you need an additional piece, simply layer it over where the first piece stops. When you get to the tip, trim any extra with a pair of scissors.
IMG_4422
If you're Type A (you know who you are) take a super thin piece of plaster and wrap it around the on/off switch as well. Smooth out the plaster and layers with your finger until you're happy with the shape. Now let it dry.
IMG_4423
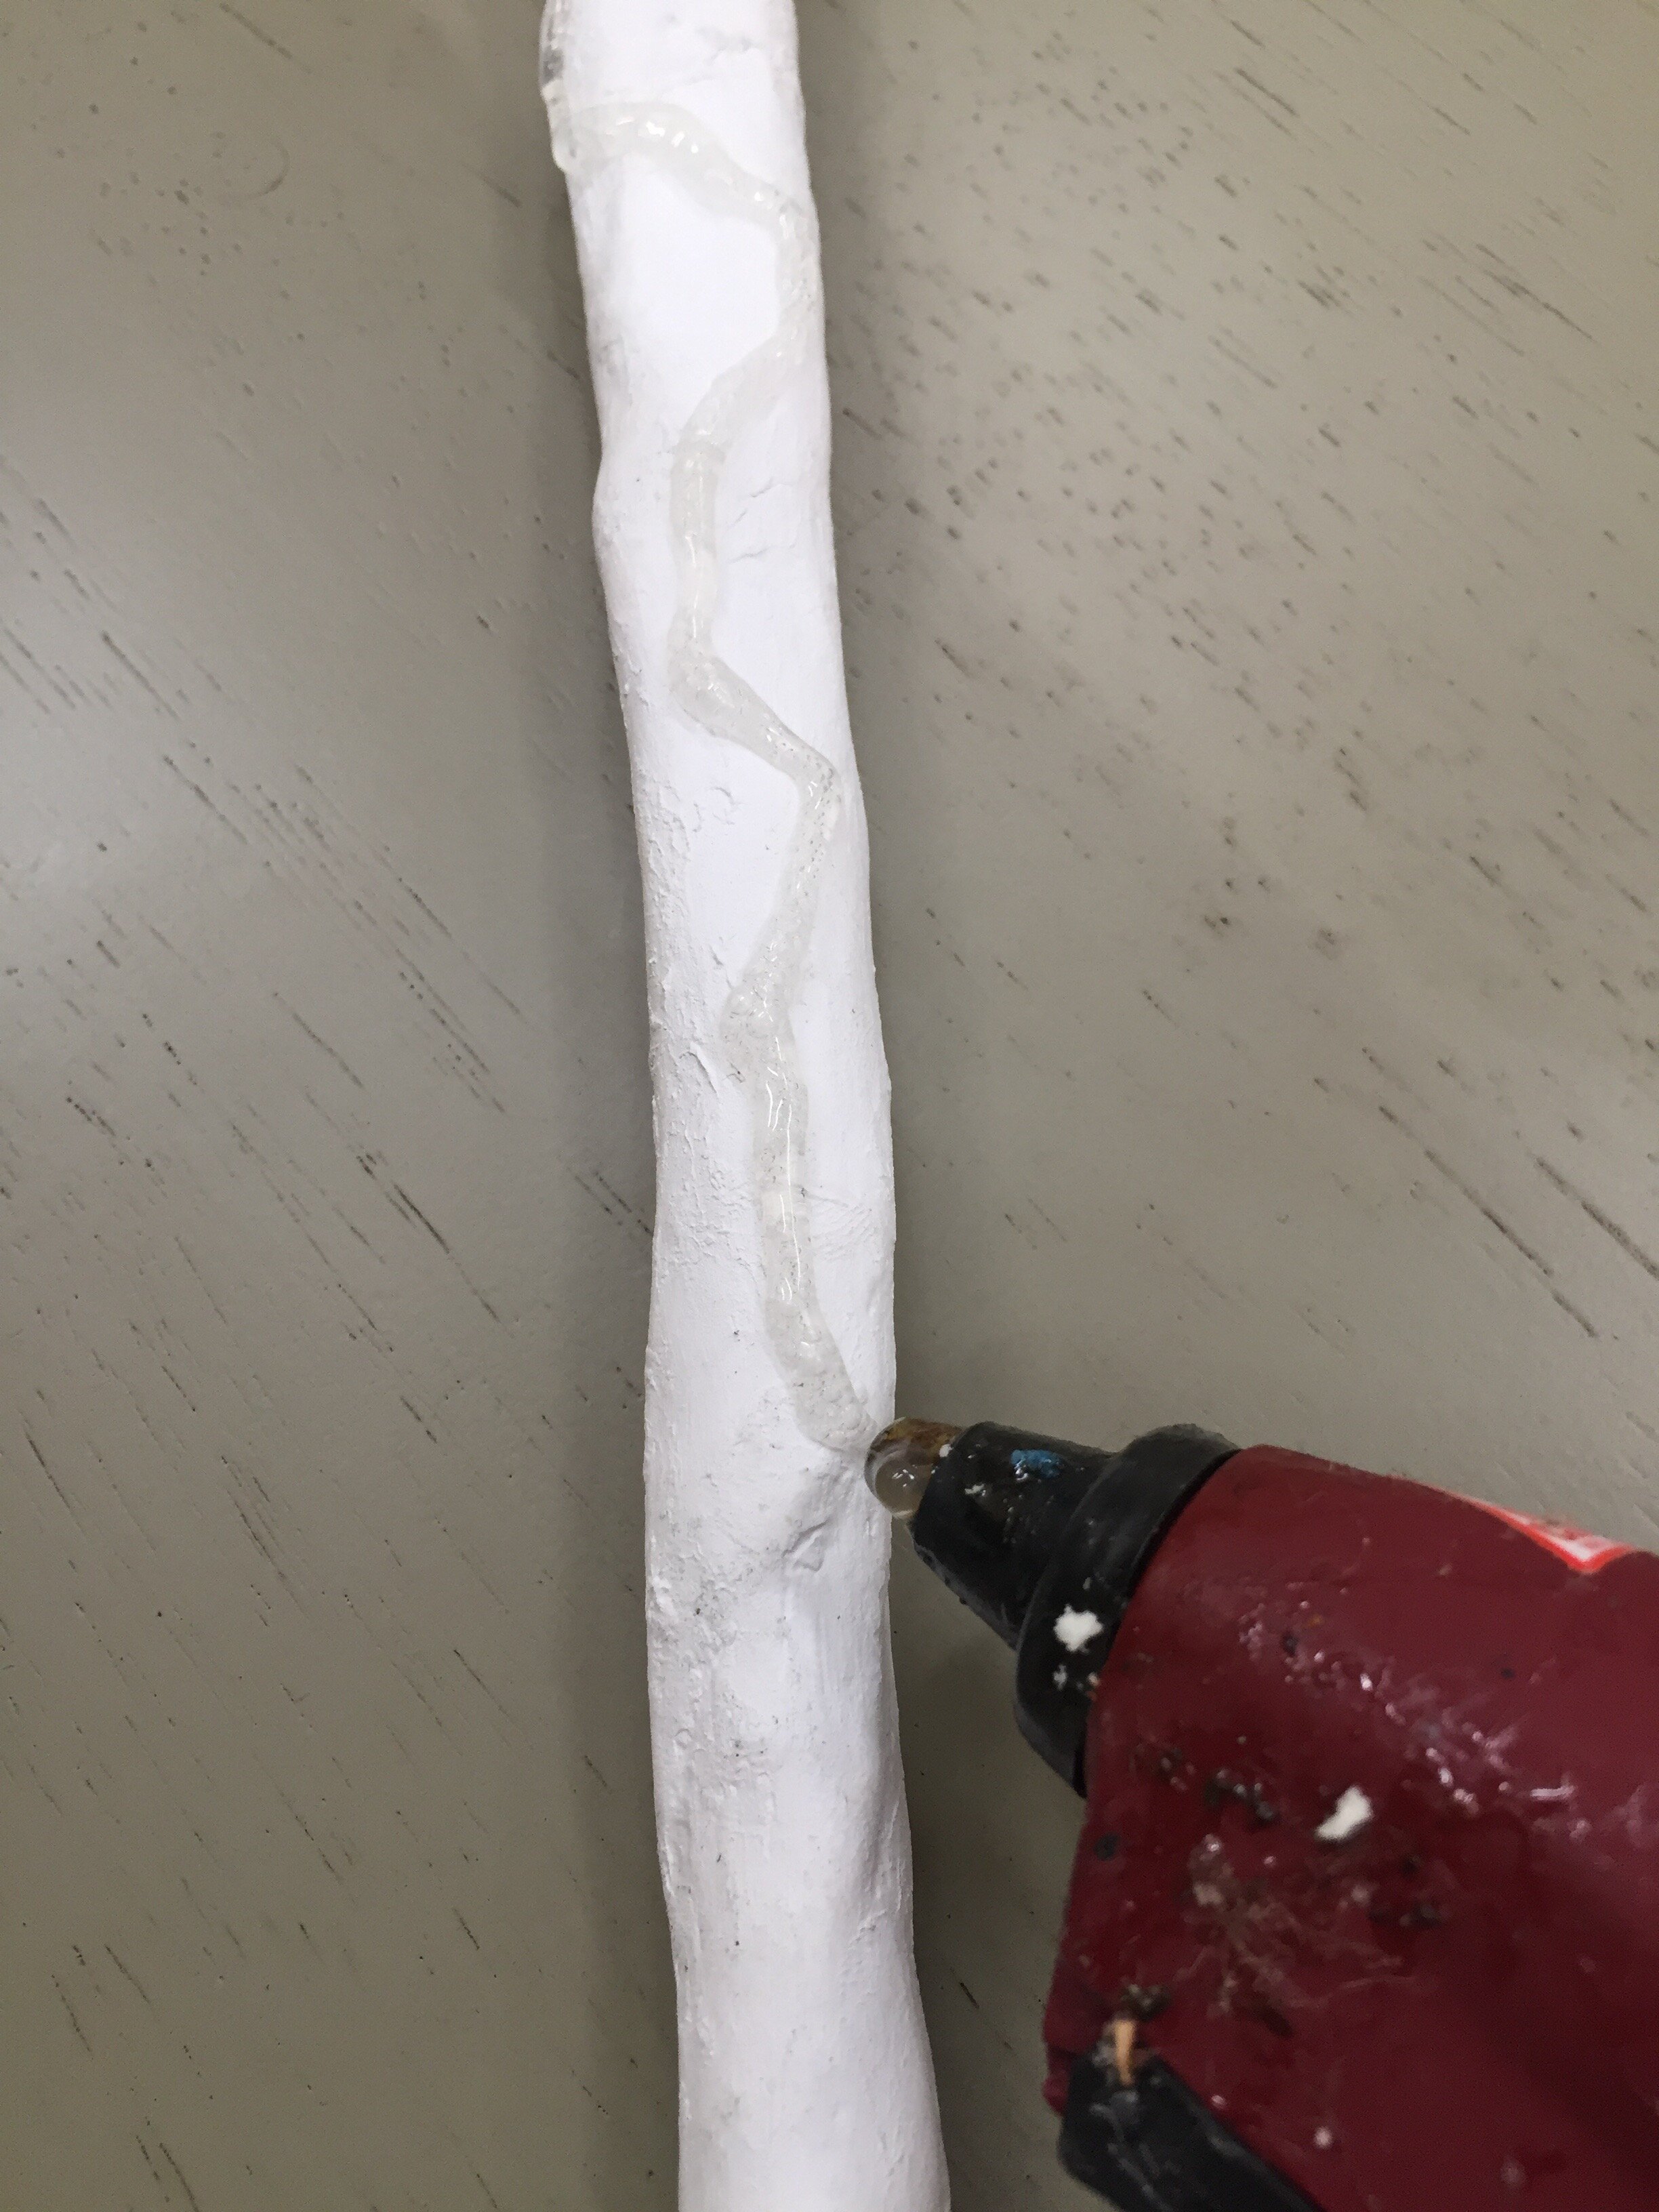
Once dry, use hot glue to create your surface decoration. I did free form vines on a few, created a handle on another, and added my kids initials on some. It may just look like glue, but....

IMG_4333

IMG_4426
...once paint it, it magically transforms. I used a mixture of black and brown paint. I did a base coat of one and then went back through and used a dry brush on top with the second color. You can also get super fancy if you want. I used gold leaf paint to highlight the vines on one and the monogram on another.

IMG_4427
On a different one I painted the handle one color and the wand another.
I then suggest a coat of polyurethane or polyacrylic on top to make sure they're water proof and chip resistant.
The possibilities are supernatural!
Now....
Home and Family 5023 Final Photo Assets
WINGARDIUM LEVIOSA!