
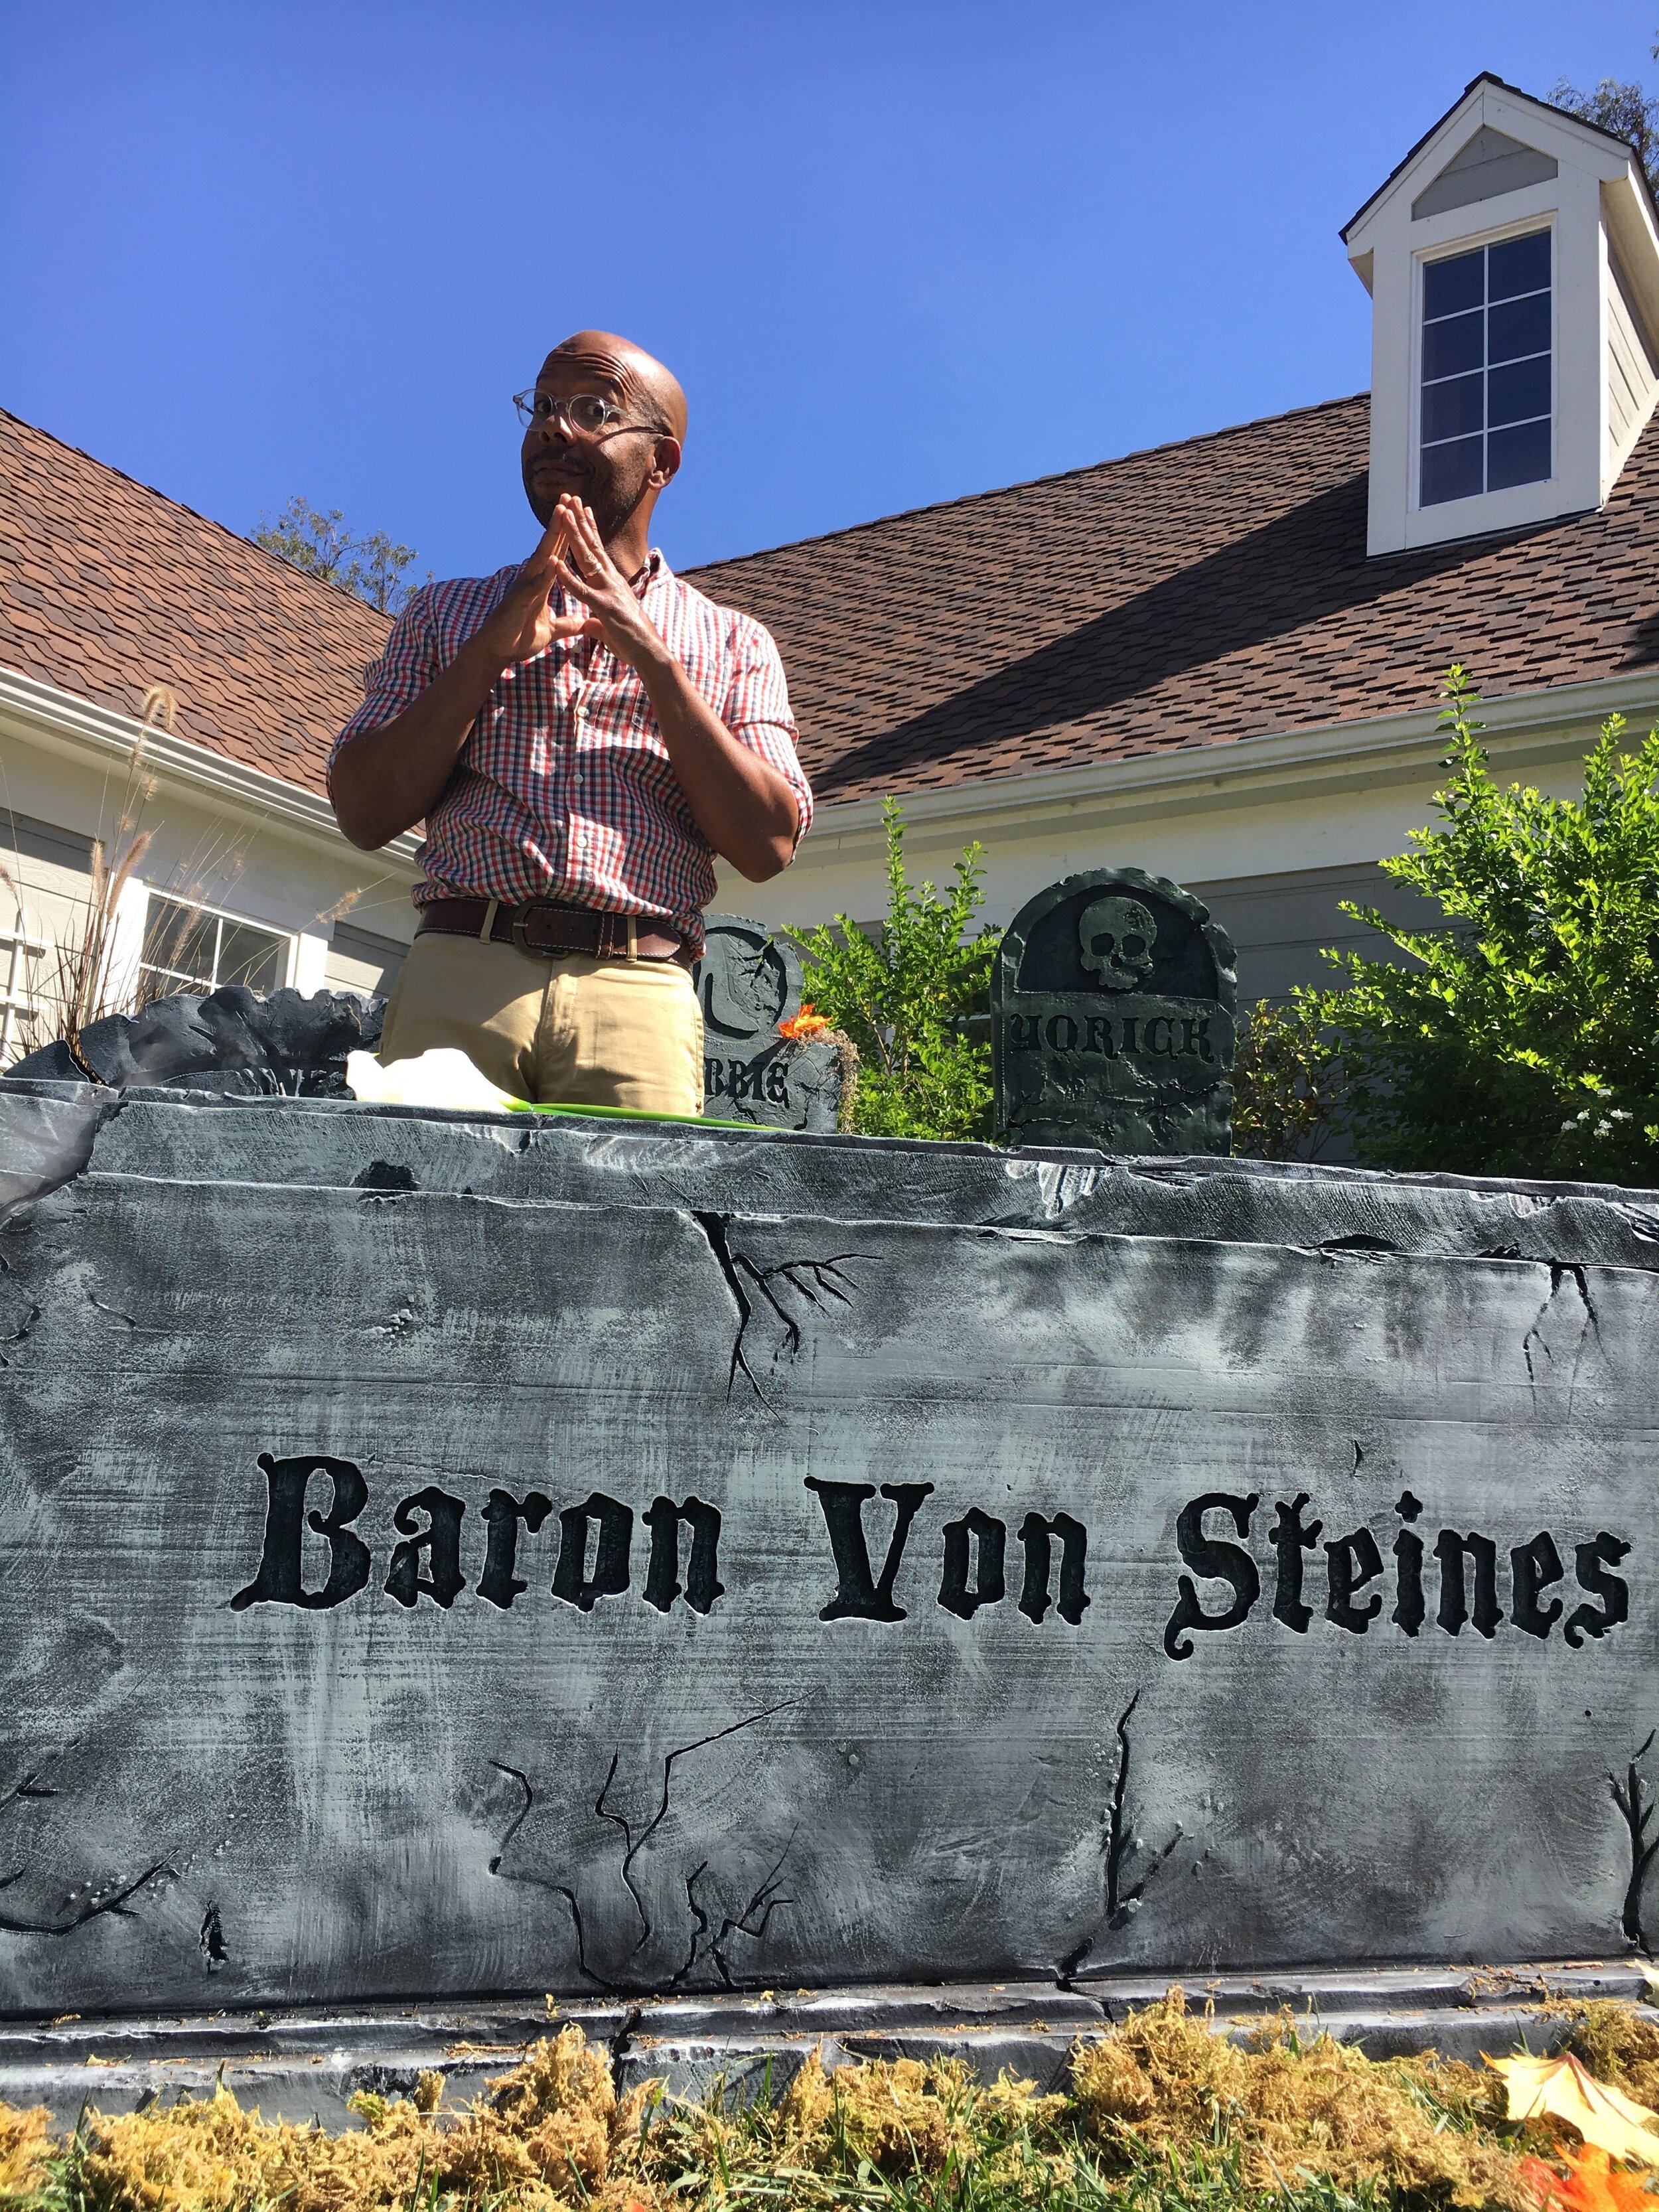
Moving Tomb ..... It's alive!!!!

Completely cool and spooky....not to mention impressive! Our tomb was masterminded by Dave Low, our Prop Master, it's a total show stopper, yet very easy and inexpensive to make. Did I mention that the top eerily creaks open and closed?
MATERIALS
2" insulation foam
1/2" insulation foam
Screws
Adhesive (I used wood glue)
Paint
To make the lid open and close you'll need:
4" x 4" x 18"
Scrap plywood aprox: 10" x 20" x 1"
Mirror ball motor
Paint stirrer
5" wood round
PVC cap
3" nut and bolt
2" nut and bolt
Washer
3" piece of dowel or chopsticks
Superglue
STEPS
Cut your insulation foam into the following sizes:

IMG_4273
1/2" foam:
Lid top - 16 x 60
Base top - 22 x 66
2" foam:
Lid - 20 x 64
Base - 24 x 68
Side - 20 x 60 (2 pieces)
Side - 20 x 20 (2 pieces)

IMG_4264
Make the base by attaching the base top to the base using wood glue and then wood screws to secure it. Here's Dave in action.

IMG_4265
Do the same for the lid.

IMG_4274
Attach the 4 sides to make a box.

IMG_4263
Attach box to base....

IMG_4275
...and add the lid. So, you're basically done with the structure. (Wasn't that easy.)

IMG_4258
Now to make it look all creepy and stone like, you need to do a little antiquing. We're using the same method on this that I have used for my foam tombstones.

IMG_4277
Use a utility knife, bread knife or heated foam cutting tool to cut nicks and cracks into the foam. Do a lot, it really can't be over done. Here's Cory making magic....can you tell he doesn't like his photo taken?

IMG_4279
To add some further age, use a heat gun or a super strong hair dryer to damage the foam a little. A propane torch also works for this. Just wet the foam with a hose and then turn the torch to it - what's not wet will burn.

IMG_4297
For the letters, print out the words on regular printer paper, tape them to the foam and then cut through them with a Dremel. If you have the router attachment it makes it super easy.

IMG_4299
Once you've got all your cuts down, paint the entire thing black. Then get grey paint, water it down some and slop it on. While still wet take a rag or paper towel and blot some of it off, it'll give you this nice aged finish.
IMG_4304
Now for the moving mechanism. You'll need to prep the tomb a little

IMG_4282
Cut a hole in the top of the short end of the box and sink the PVC cap into it. At the same point in the bottom of the lid insert the dowel. The dowel should fit into the cap with the tomb lid is on and act as a pivot. Secure both with some glue.
IMG_4290
Make a small hole in the lid, about 6" in from the edge and about 18" from the opposite end as the dowel.

IMG_4286
Make the stand for the mechanism by screwing the 4 x 4 onto the plywood base.
IMG_4284
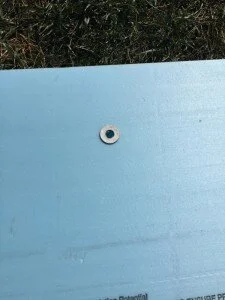
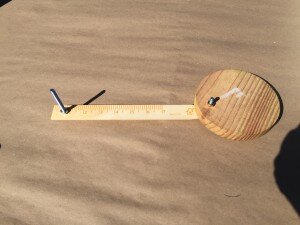
Drill a hole the same diameter as the post of the mirror ball motor in the center of the disc, drill it about half way through the thickness. Cut off the curved handle of the paint stick so it's 10" long or so. Making sure the center hole is facing down, attach one end to the wood disc by drilling a hole through both and attaching with the shorter bolt. Drill a hole in the other end of the paint stick and insert the larger nut and bolt facing up.

IMG_4296
Attach the motor to the top of the 4 x 4 (basically upside down) and then use super glue to attach the disc to the motor post.
Now place the motor into the tomb. Lay the lid on, making sure the dowel is in the cap and then position the motor so that the longer bolt fits into the washer. Drill a hole in the back side of the tomb and run the power cord out.
[video width="1920" height="1080" m4v="http://kennethwingard.com/wp-content/uploads/2016/10/IMG_4300.m4v"][/video]
Plug it in and watch the magic! To make it extra spooky we added a light and a smoke machine - you really can't beat it!

Happy Spooking!