
Monster Warning! Signs
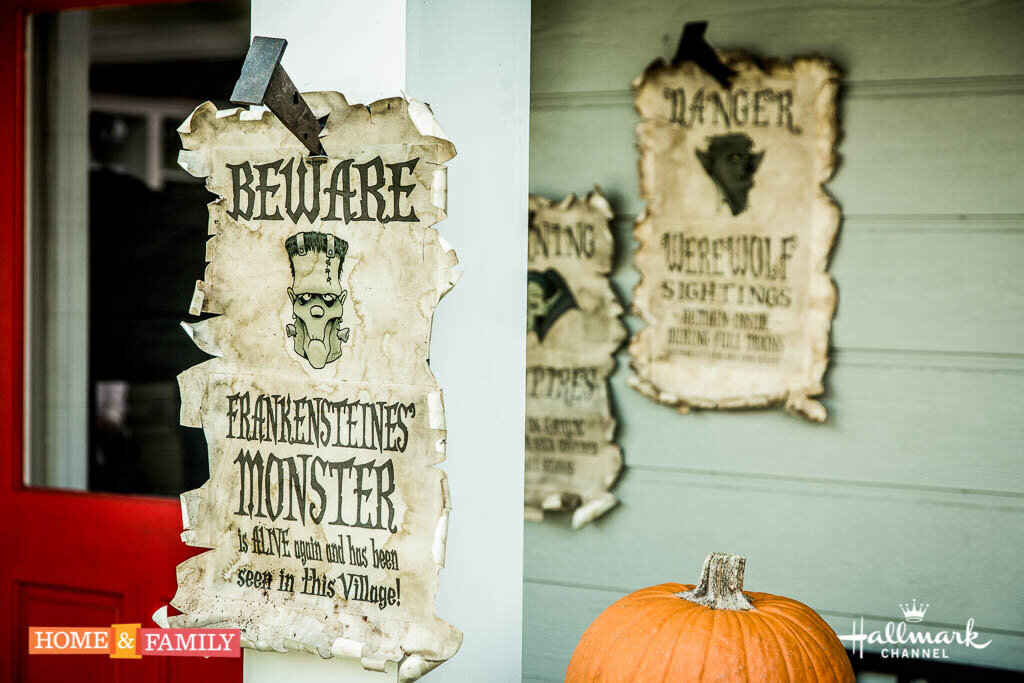
If anyone is a fan of Home & Family they know that our Art Director, Dave Lowe, is a serious fan of Halloween....like I mean SERIOUS! For a great peak into his designs, check out his blog at http://www.davelowe.blogspot.com. He plans for Halloween months and months in advance and a lot of what we do on the show are things that Dave has tested out years before in his own yard. This is one of these projects. When Dave showed it to me, I fell in love with it. It's a fun, simple project and would be great to do with the kids. Here's how you can do it at home.
FullSizeRender.jpg
MATERIALS
Sign printouts
15" x 24" Poster board
Coffee
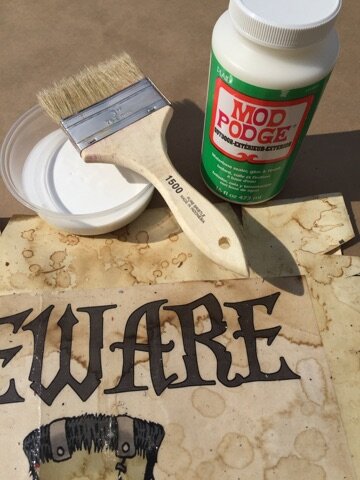
Exterior Mod Podge
11"x17" black foam core
Black, orange & silver acrylic paint
Spray Adhesive
Scissors
Utility knife
Glue gun
STEPS
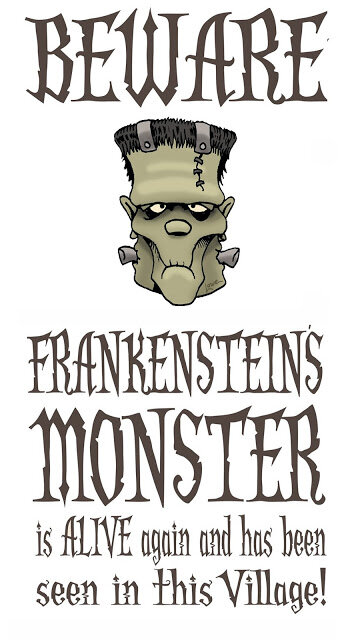
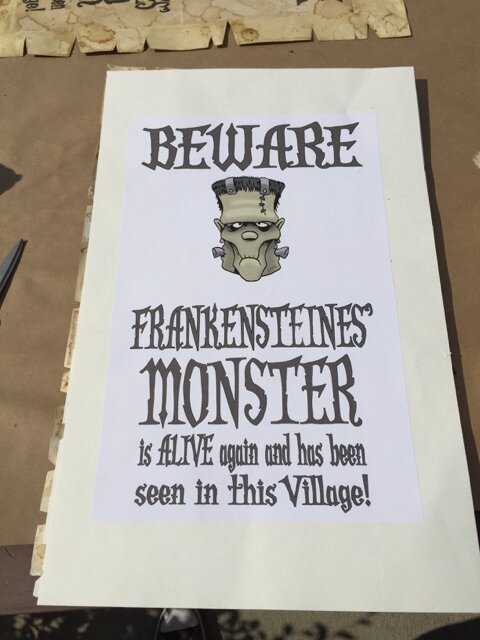
frankposterDLOWE
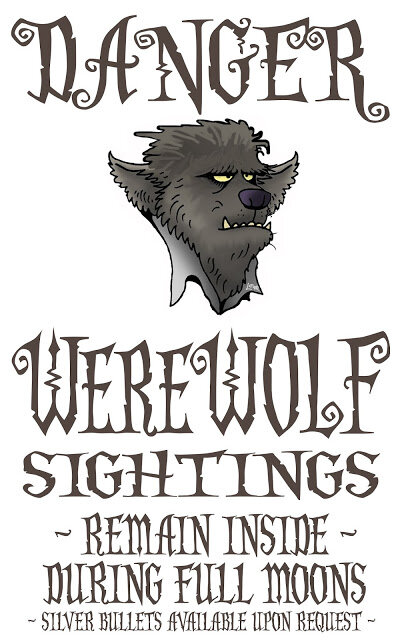
WOLFposterDLOWE
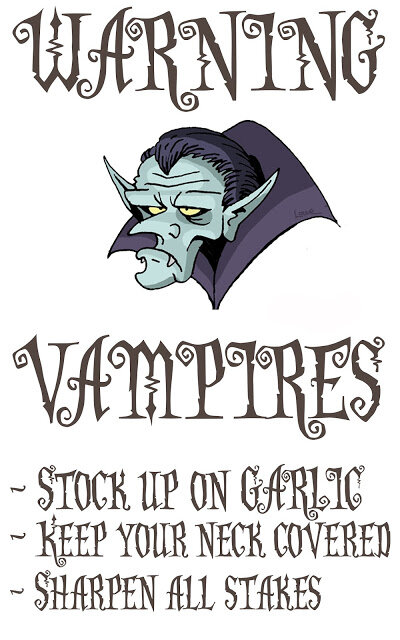
VAMPposterDLOWE
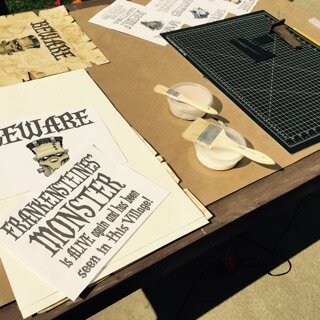
Print out Dave's sign artwork on an 11" x 17" sheet of paper or on two 8.5" x 11" sheets of standard paper.
FullSizeRender.jpg-1
Adhere the sign printout to your piece of poster board using spray glue.
FullSizeRender.jpg-2
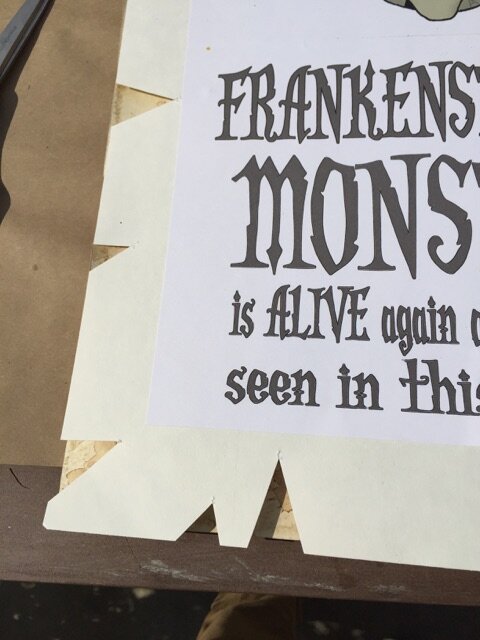
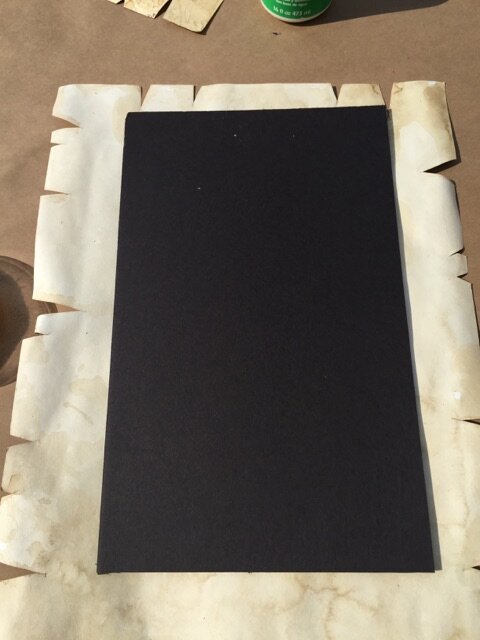
Use scissors to cut out small triangles around the edges of the poster board.
FullSizeRender.jpg-3
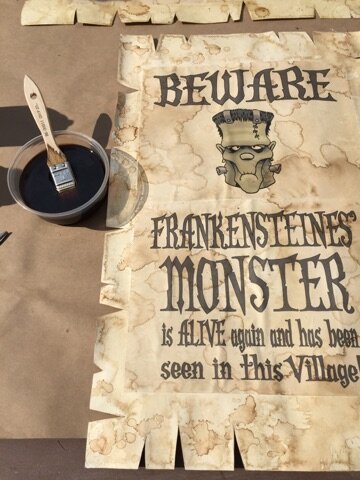
Brush coffee on the front of the sign to antique it. Don't be shy about this part, the older and more weathered the better. Let the coffee puddle in certain areas. Let it dry and put on a second and even third coat. Let some coffee grounds drop on the page. You can really do no wrong. Once you're happy with the front, put a coat or two on the back as well. Let it dry.
FullSizeRender.jpg-4
Give your entire sign a coat of Outdoor Mod Podge. Let the front dry and then do the same for the back. Once the back has dried, use your fingers to curl the edges of the sign up. Near the top of the sign at the center use the utility knife to cut an asterisk about 1.5" long. This is where you "nail" will go. Peel back the edges of the asterisk and curl them back as well.
FullSizeRender.jpg-5
Cut an 8.5" x 11" piece of foam core and position it so it covers the asterisk nail hole. Glue it to the back of the poster.
FullSizeRender.jpg-6
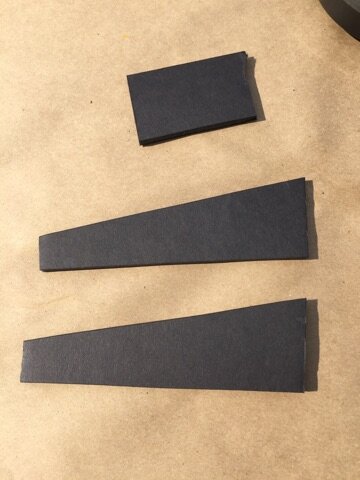
To make the nail, cut a 2" x 1" rectangle and two matching nail sides approximately 2" on one end tapering down to 3/4" on the other end and about 4" long.

IMG_1229.JPG
FullSizeRender.jpg-7
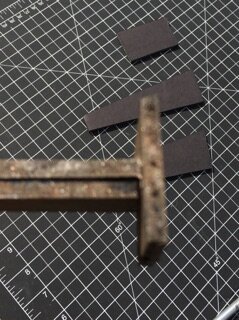
Use hot glue to attach the two matching side pieces to each other. Then attach the rectangle to the top.

IMG_1232.JPG
Put a small about of orange, silver and black paint into a small container - don't mix them. Use a paint brush to dab into all three colors at the same time and dapple the foam core nail with the paint to get an old metal look. Let dry.
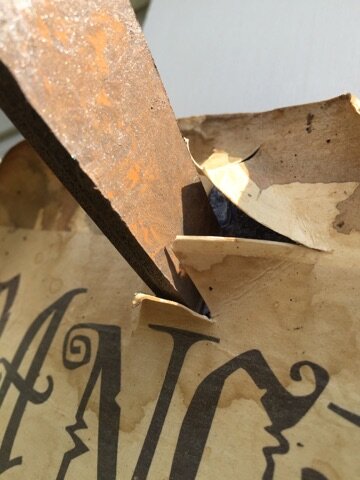
IMG_1233.JPG
Attach nail to front of poster to the the foam core backing through the nail hole.
To hang your poster spread a paperclip apart and attach it to the back of the poster with a dab of hot glue and hang from a thumbtack.