Hanging Herb Garden

This is for all you folk where winter is a real thing. Don't feel you have to say goodbye to your herb garden when the first frost hits, take that garden inside and hang it on the wall!

IMG_1070
MATERIALS
Shadow box frame 11x14
Regular frame 11x14 (find one with a good flat profile)
Chicken wire
Moss
Potting soil
Herbs
Hammer and nails (or nail gun)
Staple gun
Wire snips
Chalk paint
STEPS

IMG_1071
Take the backing and glass out of the frames. With the shadow box this may require taking about some little wooden supports as well.

IMG_1072
Cut the chicken wire using the wire snips to a size slightly larger than the fame opening. Use the staple gun to attach the wire to the back of the frame.

IMG_1076

IMG_1081
Attach the frame right side up to the top of the shadow box frame using nails or a nail gun.
Paint the frame with chalk board paint.

IMG_1082

IMG_1084
IMG_1085
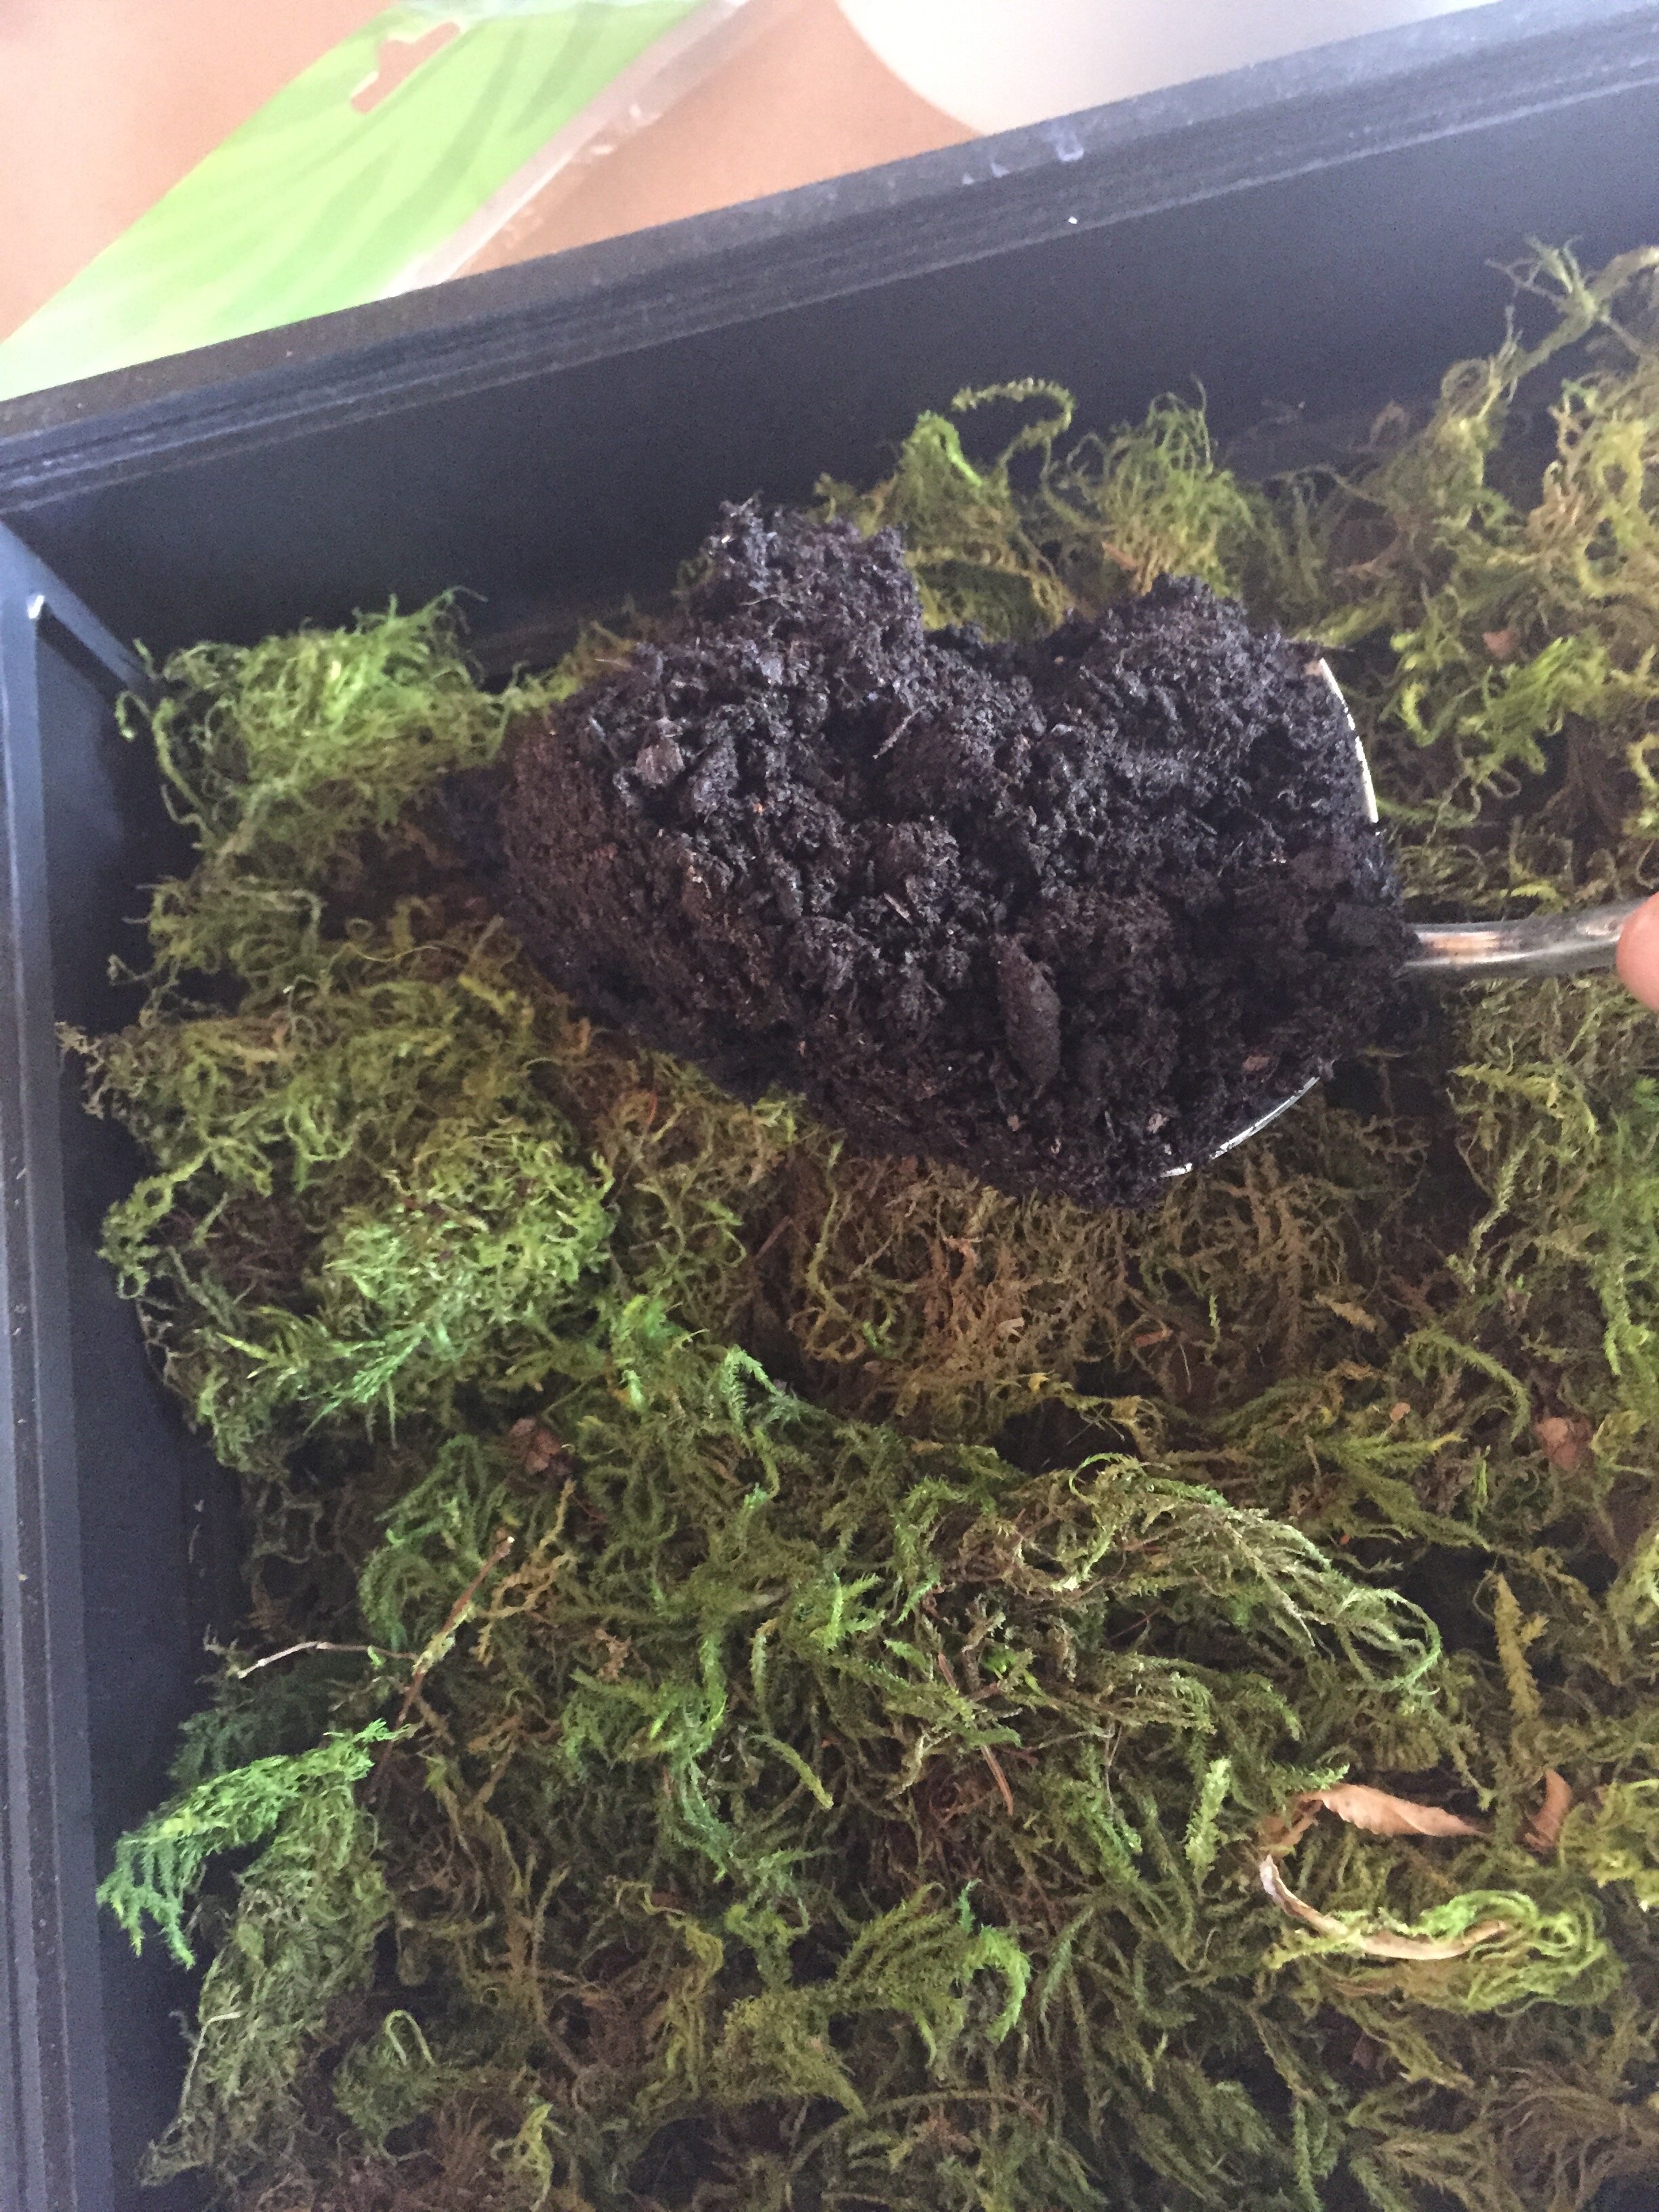
Flip the frames over and lay a single layer of moss inside the shadowbox over the chicken wire, this keeps your soil from falling out. Now fill the rest of the shadow box 3/4's full of top soil. Take the back of the shadow box, punch or drill a few holes in the back for drainage and attach it back in place.

IMG_1105

IMG_1104

IMG_1108
Now you can finally plant! Use the wire snips to open up the chicken wire where you want to place a plant, just a few snips will do. Bend back the wire and use your fingers to spread the moss part. Take your herb and gently push the root ball into the hole you made. Keep repeating until you're done. Go back through and cover up any unsightly spots by poking some more moss here and there! Use chalk to write the names of the herbs so you don't forget - and enjoy!