
PRINTED CANDLES

Printing on candles always seems like a daunting task. Well this process, where you print on tissue paper and then melt it into the candle, makes it easy as pie. Not only is it a breeze, you can transfer anything that you can print on your printer onto a candle - so the options are endless!!
MATERIALS
Candle
Tissue paper
Printer paper
Wax paper
Scotch tape
Heat gun or hair dryer

IMG_2105
STEPS
IMG_2108
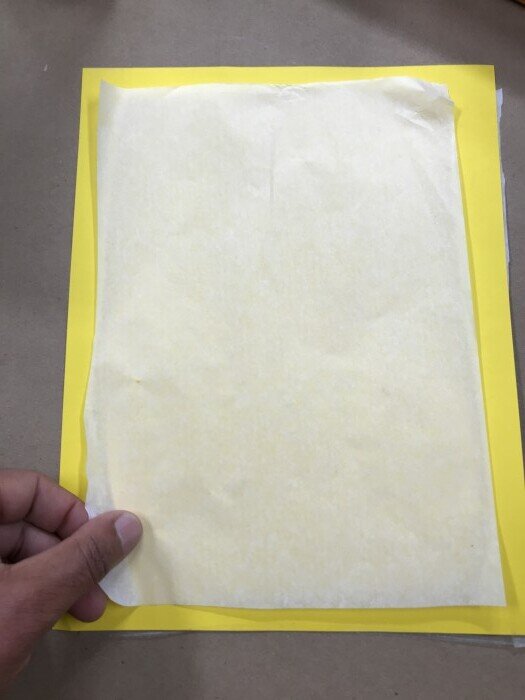
Cut a piece of tissue paper slightly smaller than your printer paper. Tape the tissue down on all four sides using scotch tape.
IMG_2109
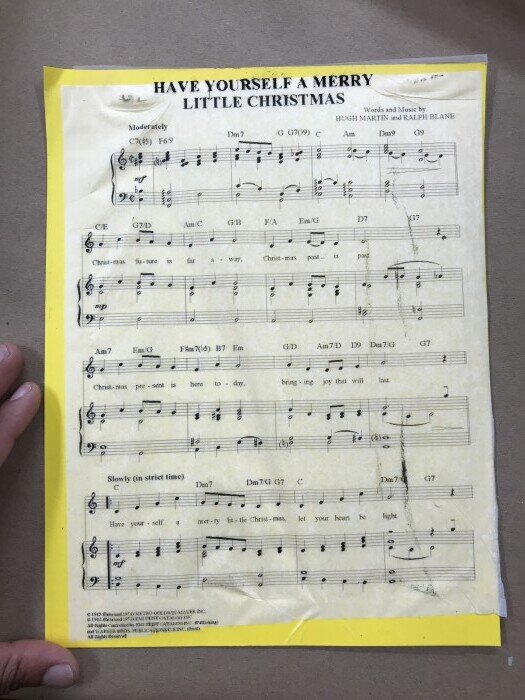
Run the paper combo through your printer. I chose sheet music, but photos, etchings, anything would work.

IMG_2110
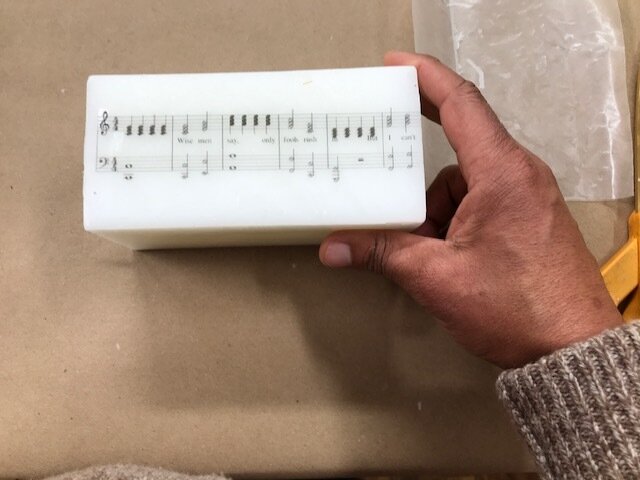
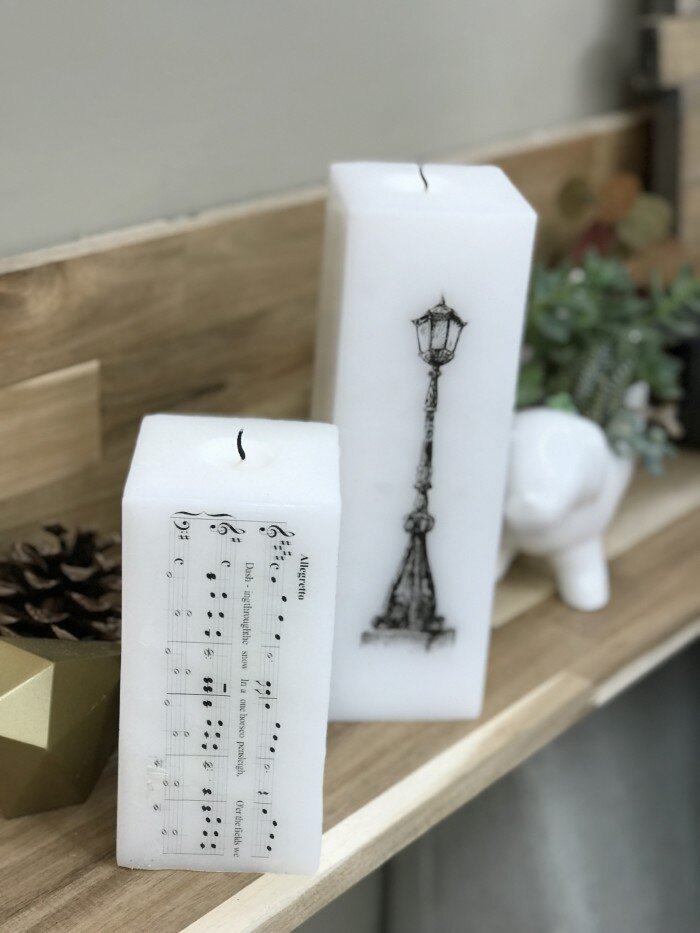
Cut the tissue paper to fit your candle. I did some with the sheets of music running vertically and some wrapping around. It obviously works on square and round candles. Play around with placement until you find something you like.

IMG_2112
Cut a piece of wax paper large enough to cover the tissue paper and lay it over the top.

IMG_2115
Wave your heat gun slowly over the wax paper. You want the candle to melt slightly but not too much. The melted wax will soak into the tissue paper. Make sure you are melting it evenly and not missing any spots.
IMG_2116
Remove the wax paper, the tissue should now be part of the candle. If there are some areas that aren’t fully incorporated, go back over them with the heat gun. The same if there are some uneven spots, just warm them back up and smooth them over with your finger.
IMG_2121
When burning your candles for the first time, let them burn for about an hour until a liquid wax basin forms that reaches to about half an inch from the candle edge. Blow out the candle and let the wax harden. From then on out the candle will only melt to the edge of that well and will burn down into the pillar instead, not coming into contact with the tissue paper.
Pretty nifty huh!