
Nesting Tables

IMG_6403
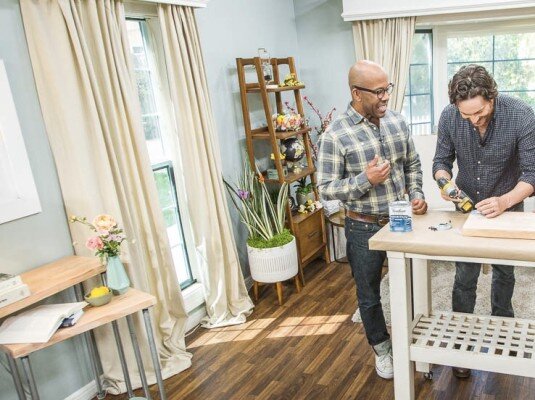
Nesting tables have been around since the 1700’s when table's voluptuous curves slimmed down a little so you could actual fit one under another. Back then every parlor needed a table for tea, embroidery and, of course, cards - why not slip them all under one another when not in use? Well 300 years later, although our aesthetics have changed, we still think it’s a good idea. This set requires no cutting and only the basic use of a screw driver. Oliver Hudson swung by and gave me a hand, we finished a table in about 10 minutes!
Mark Steines and Debbie Matenopoulos welcome actress Poppy Drayton from the Hallmark Channel original movie “Home by Spring.” Actor Oliver Hudson talks about ABC's "Splitting Up Together." Actor da'Vinchi from Freeform's "Grown-ish" visits our home. "Talk Southern to Me" author, Julia Fowler cooks her preacher's wife’s broccoli casserole. Author Caryn M. Sullivan discusses how small changes in life can lead to big changes in wellness. Chocolate Pizza Company owner, Ryan Novak makes chocolate Easter eggs. Maria Provenzano shows us an Easter brunch table setting. Ken Wingard creates nesting side tables. Lawrence Zarian is here with trendy rainy day fashions. Paige Hemmis has DIY metal stamped Christmas spoons. Credit: © 2018 Crown Media United States, LLC | Photo: Alexx Henry Studios, LLC / Erica Avila
MATERIALS
Douglas fir:
2” x 12” x 6’ board cut into 16”, 24”, 32” lengths (they can cut this for you)
3/4” Iron pipe, black or galvanized, pre-cut and threaded:
18” length - 4 pcs
24” length - 4 pcs
30” length - 4 pcs
End caps - 12 pieces
12 Floor flanges - 12 pieces
Polycrylic clear finish and paintbrush
Sand Paper
Screwdriver and screws
STEPS
Take your pre-cut boards and give them a quick sanding to remove any rough edges and soften the corners slightly. Then, give them a coat of the polycrylic for protection. I like polycrylic since it won’t have that yellow tone on natural wood that polyurethane will.

IMG_6339
Once dry, screw a floor flange to the corner of each board.

IMG_6345
If your pipes have any printing or ink on them, use a little acetone on a rag and they’ll come right off. Now, simply hand screw a pipe into each flange and screw an end cap to the end to finish it off.

IMG_6373