
Naturally Dyed Easter Eggs
Don't get me wrong, I love a PAAS Easter egg dying kit, that's what I grew up on. But there's something really nice about doing it the old fashioned way and creating your own dyes. Not only do you get much more beautiful, distinctive eggs, it's a great opportunity to teach your kids about fruits, vegetables and how the world managed before artificial dyes.
IMG_4827
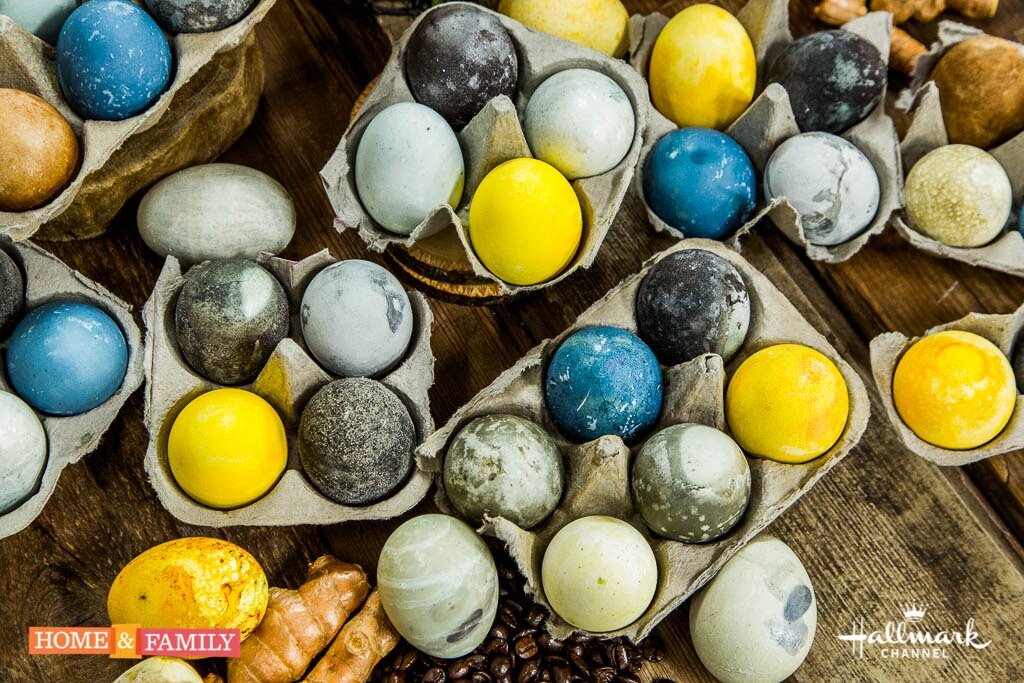
The process is about as easy as can be. Take your fruit or vegetable, chop or grate it. (See the color table at the bottom.) Add it to an equal amount of water (2 cups of blue berries, 2 cups of water) and simmer it on your stovetop for about 15 to 20 minutes. Now, pass it though a strainer or filter to get your dye. I worked with Dan Kohler on this and he's much more fastidious than I. He passed his through a nice filter and got pure color, I just poured mine though a strainer and got color mixed with some sediment from the veggies. The difference is that his eggs (see the top photo) are much more evenly colored. Mine (see below) have lots of mottling and texture. So, pick your poison.
Home and Family 4122 Final Photo Assets
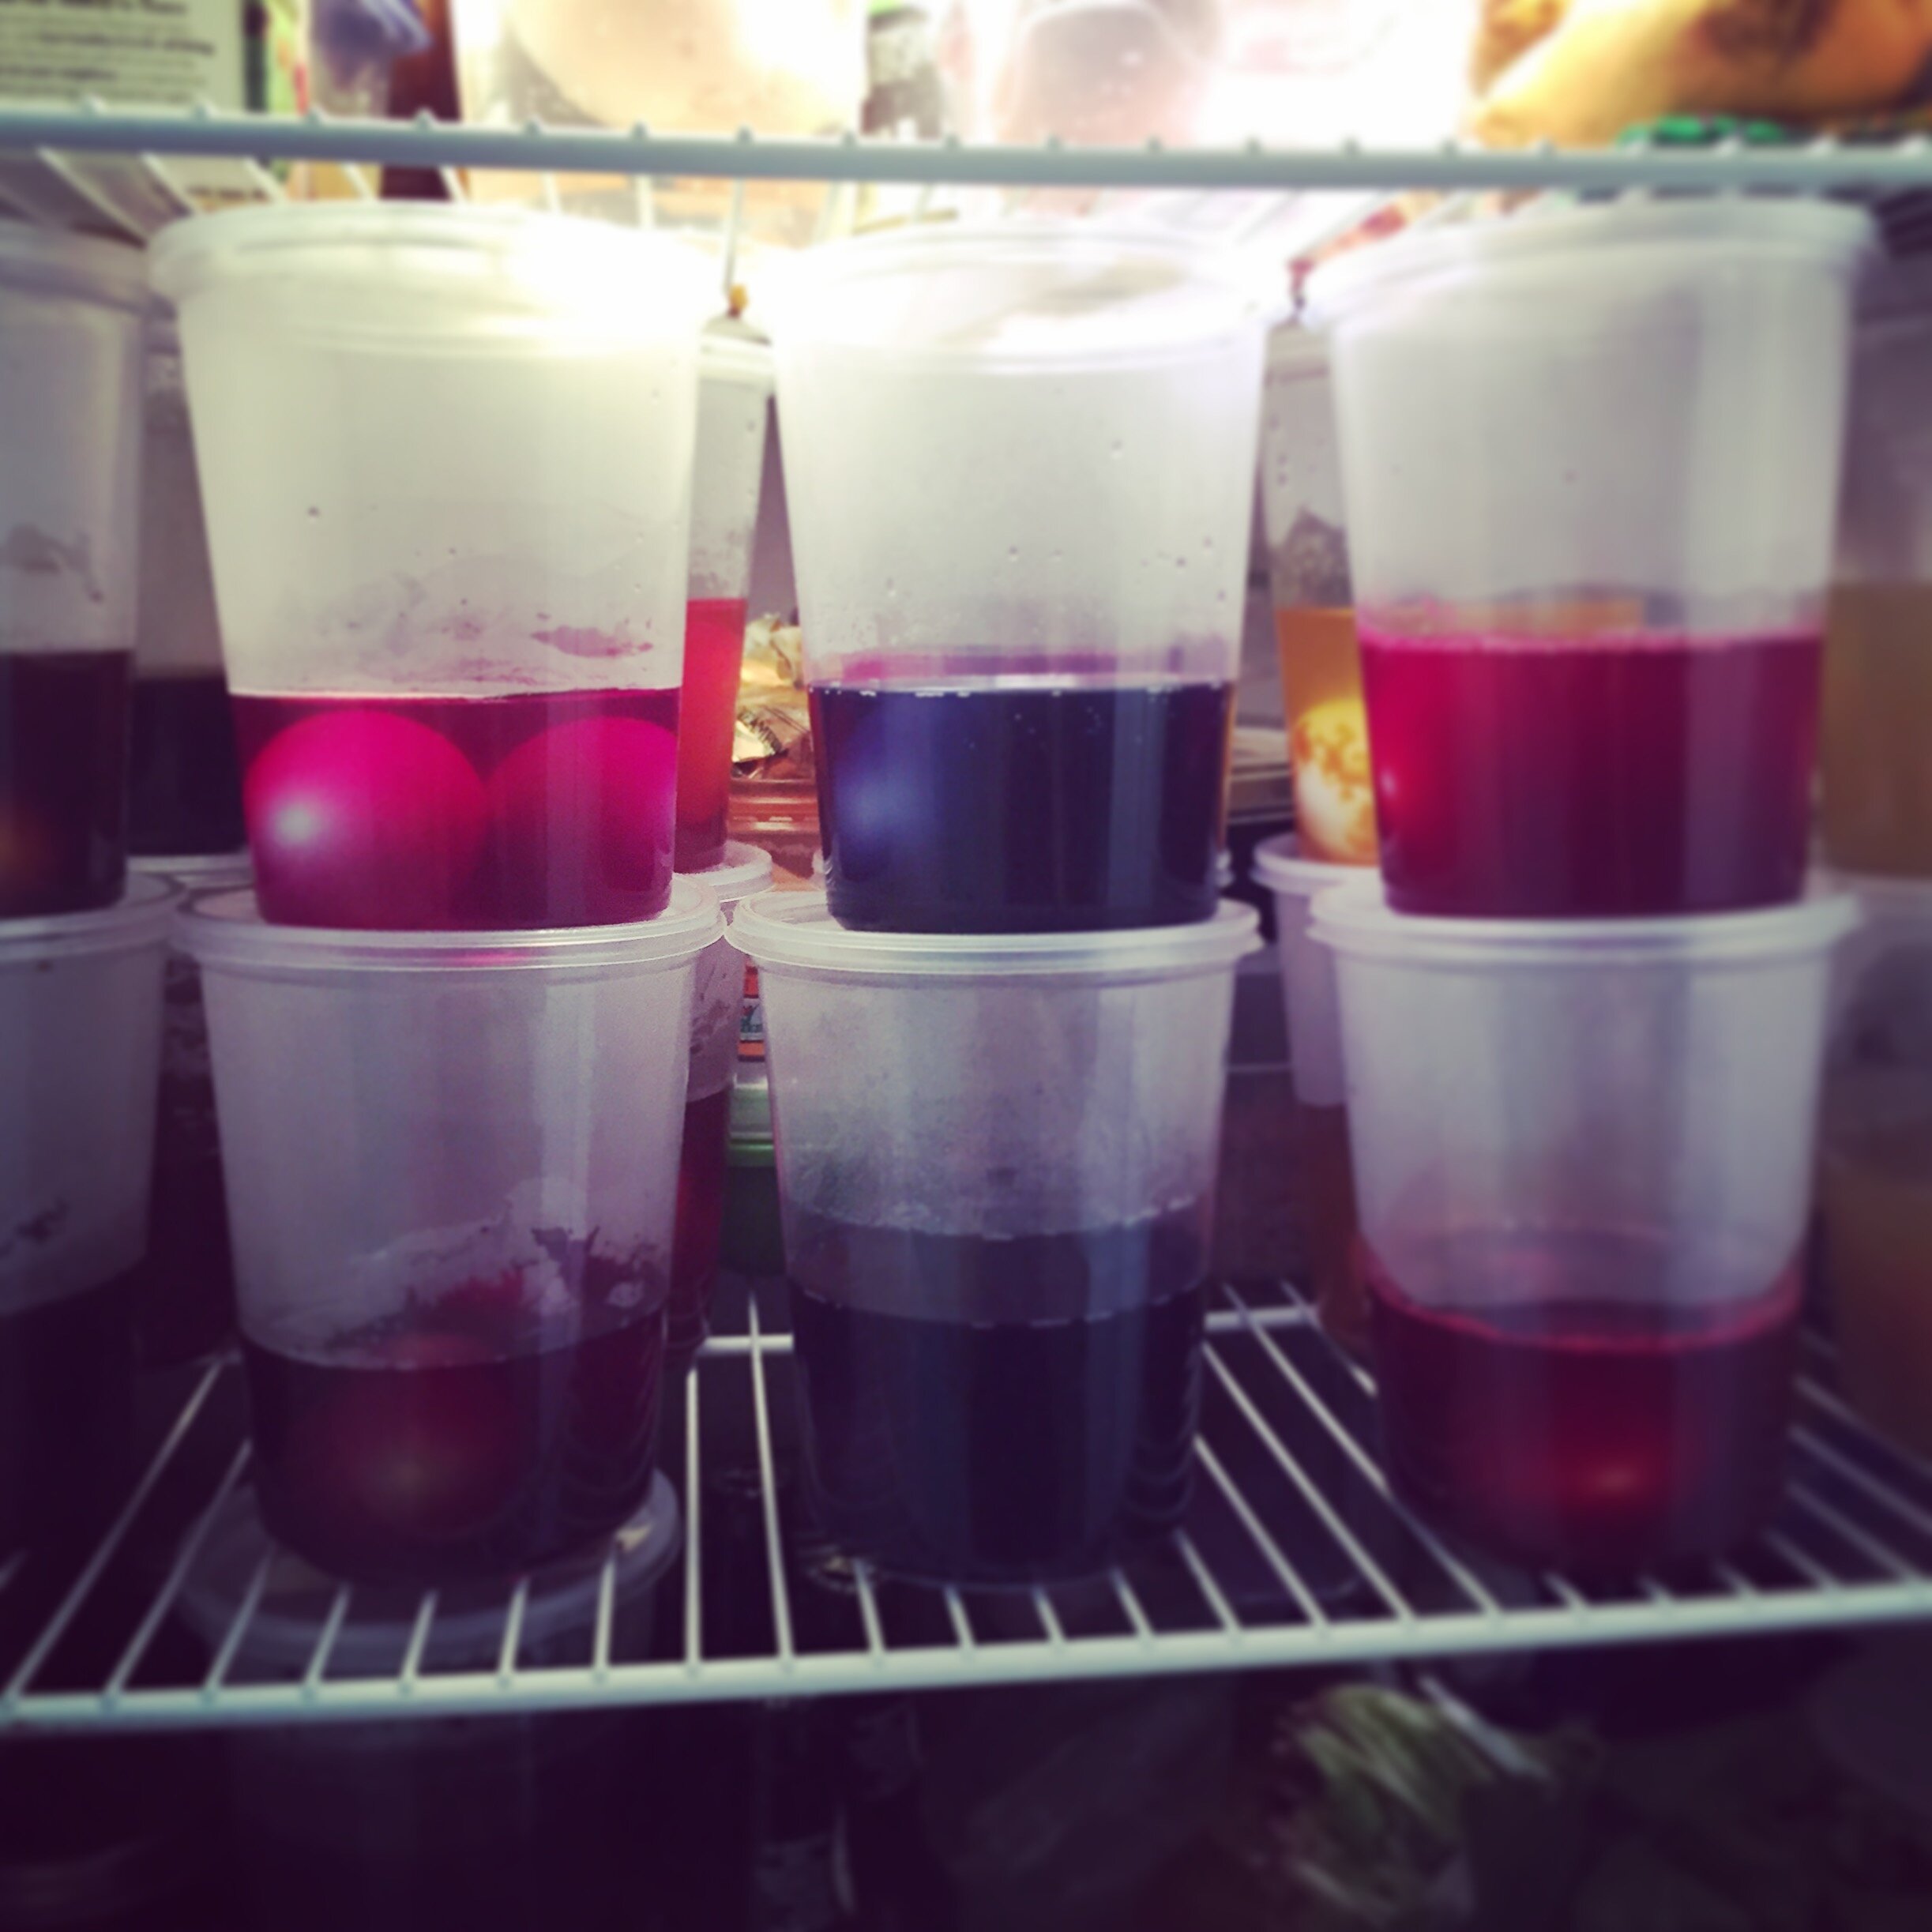
Once you've got your dye, add 2 teaspoons of vinegar to the container and drop in your boiled eggs. The longer you leave them, the deeper your color will be. When I did it with my kids, we left them in for maybe 10 minutes, that's all the kids could wait. I then put another set in the fridge for about a day to get deeper colors. Dan let his sit for 3 days and got beautifully deep colors.

IMG_4872
What fruits & veggies got what colors? Here's what we got:
Tumeric = Yellow
Saffron = Golden yellow
Blueberries = Blue
Coffee = Brown
Spinach = Pale green
Red Onion = Maroon
Yellow Onion = Pink
Grape juice = Dark Blue
Purple Cabbage = Purple
IMG_4874
Happy Dying!