
Monogramed Vintage Jewelry Display

IMG_2137
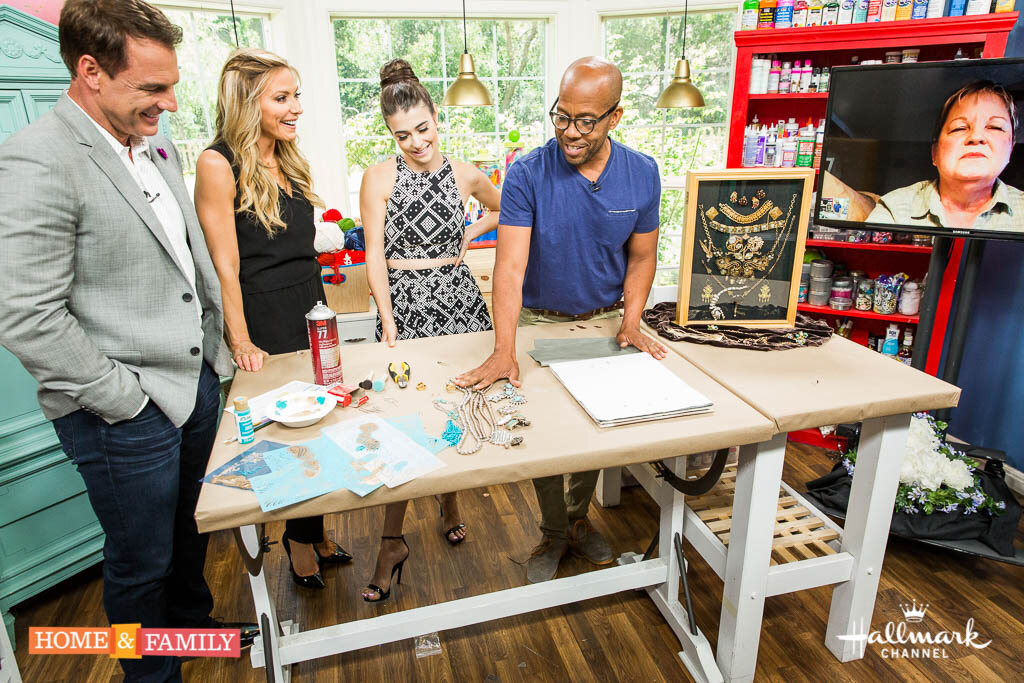
A lot of us have that box of old costume jewelry that used to belong to a great Aunt, a grandmother, or our mother. We cherish it, but don't know quite what to do with it....so it's tucked in a closet, on a shelf, in the attic, or, even worse, we can't quite remember where we put it. Well, go find it, dust it off and create this lovely piece of monogramed art that will not only look lovely, but be a wonderful tribute to her.
MATERIALS
Shadow box
Beaded pins or paper clips and wire snips
Monogram stencils
Paint
Foam brush
Fabric (optional)
Spray glue (optional)
Foam Core (optional)
STEPS
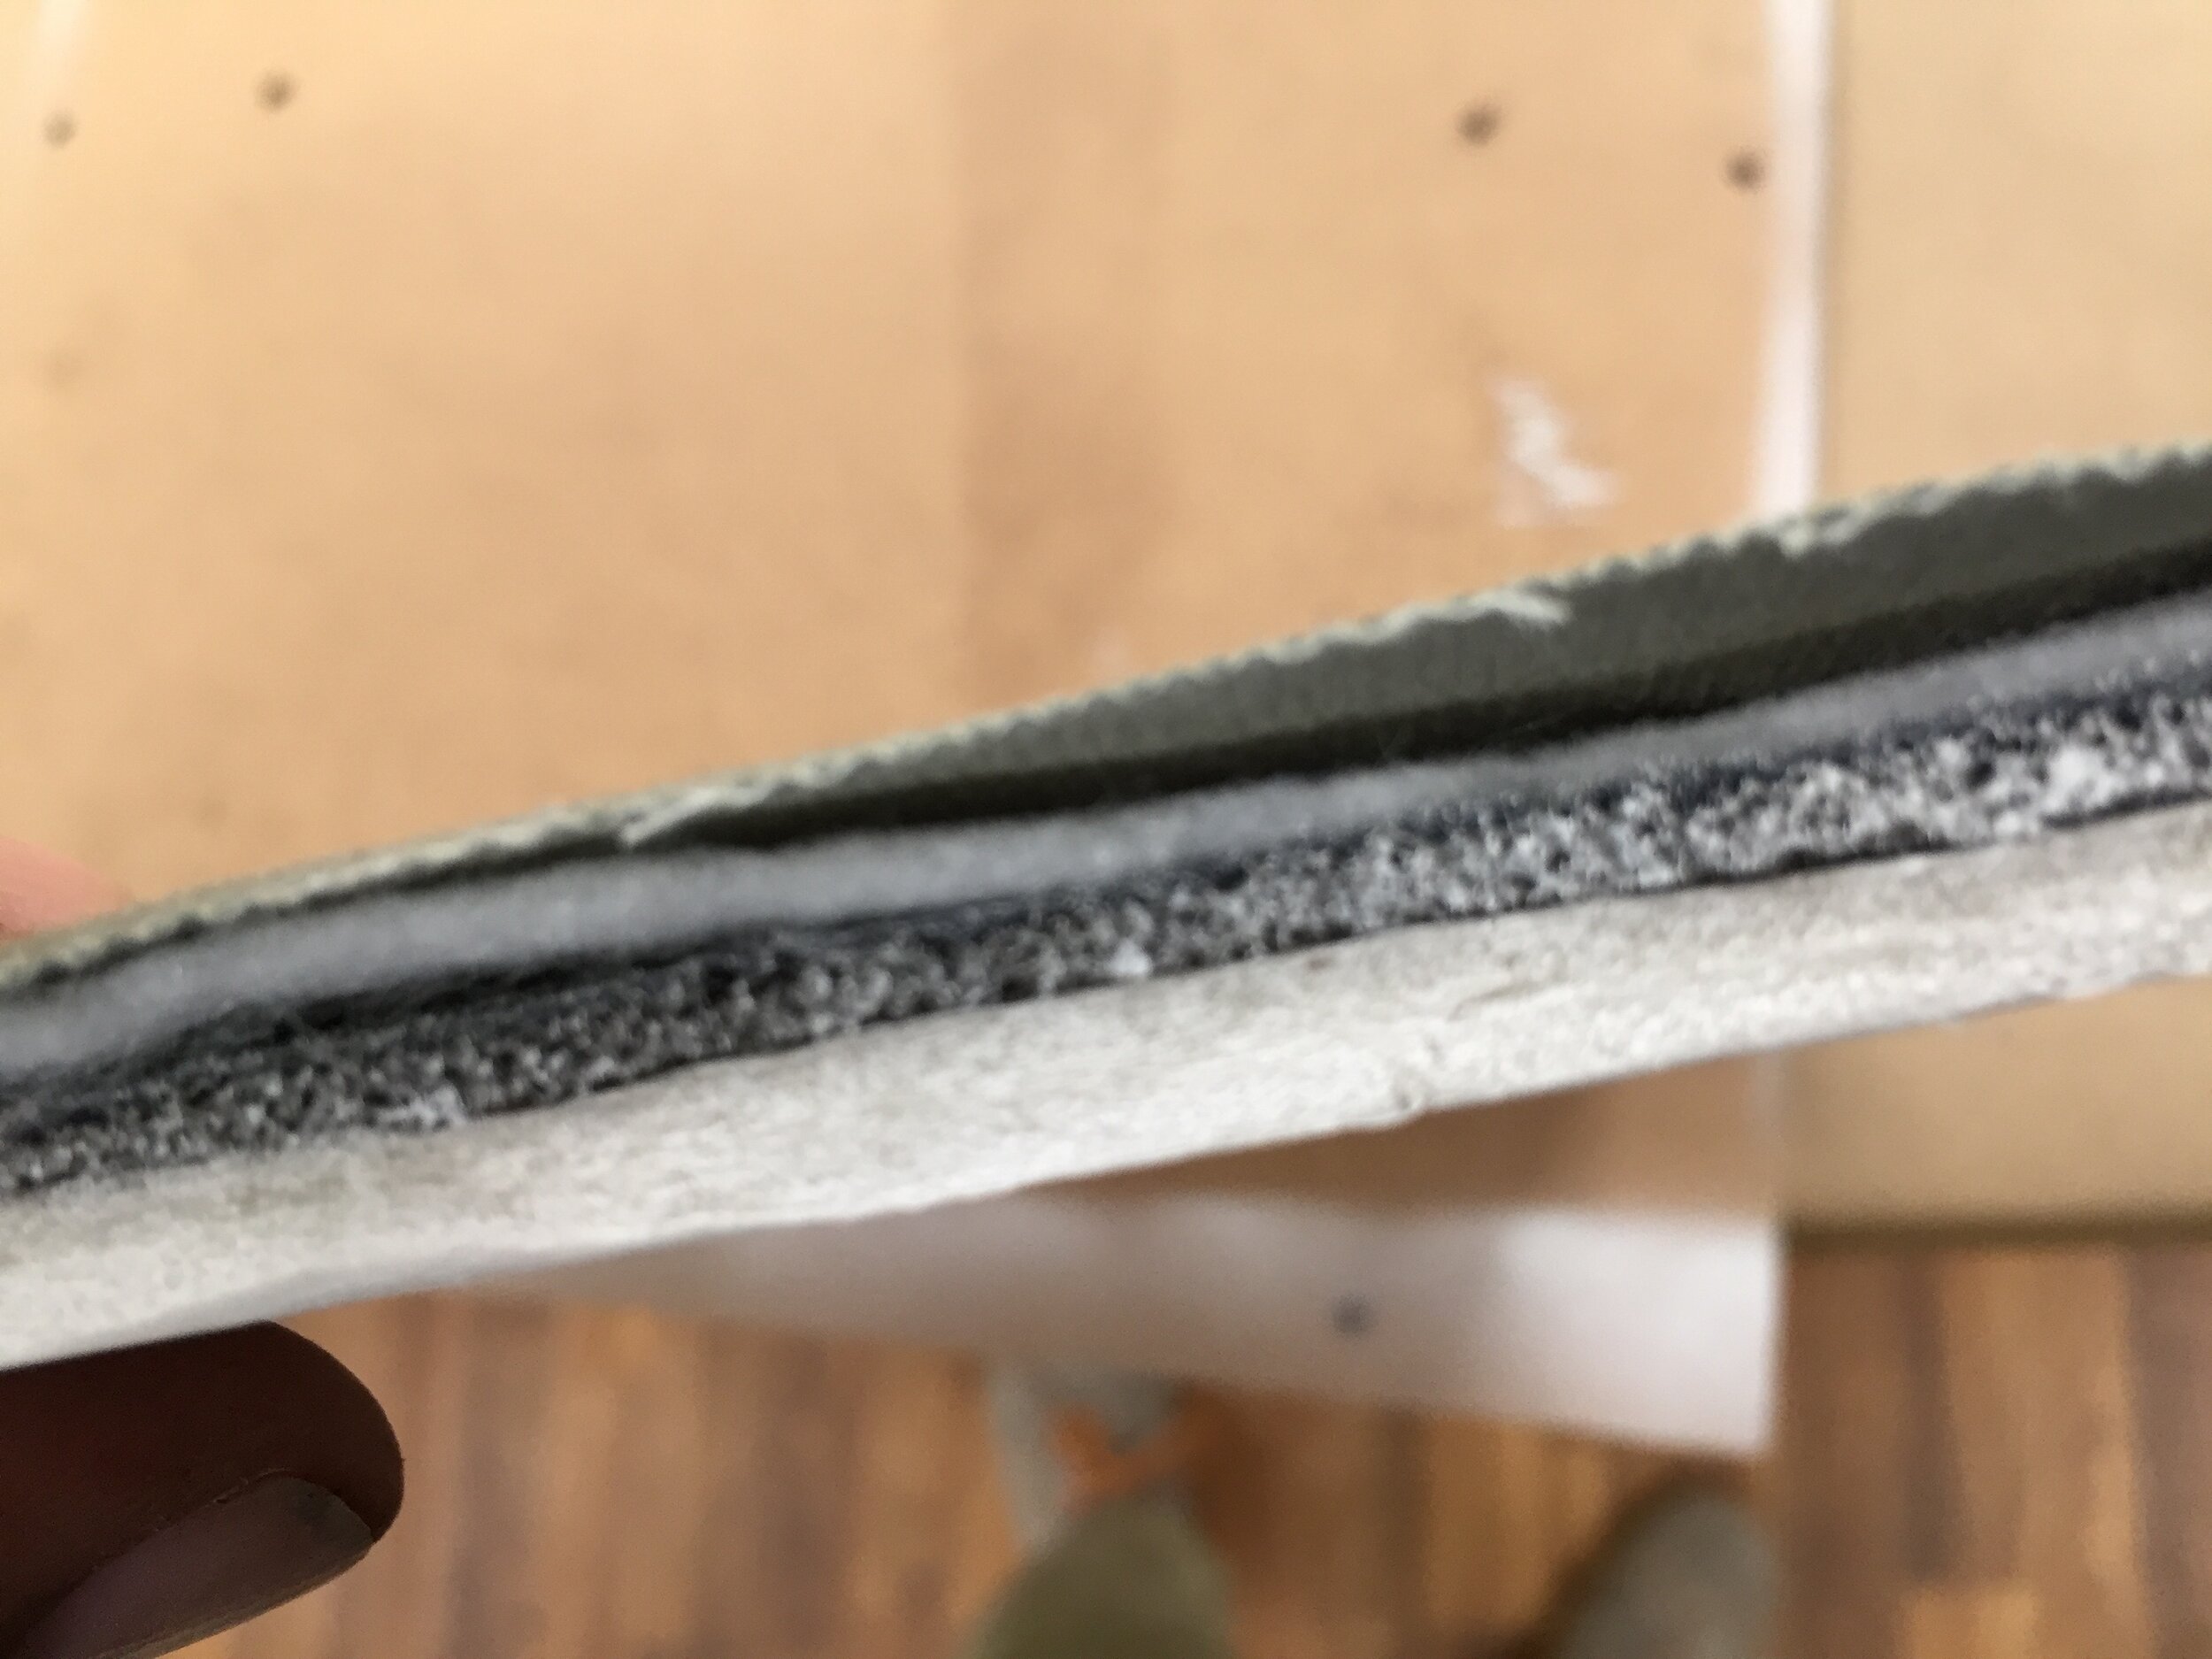
Prepare your shadow box frame. Take of the back and check out the backing. Honestly, I've never been able to figure out what some of these manufacturers are thinking. Shadow boxes are supposed to be made so you can pin things to them. Some are fine, with a soft cork or foam back that you can stick pins into. Others are barely cushioned at all, and you'd be hard pressed to get anything to pierce them. If you've got one that is not padded enough, fear not, just cut a piece of foam core board or cork to fit and glue it right on top of the existing back. I had to do that for one of mine and created a sandwich that looked like...
IMG_1820
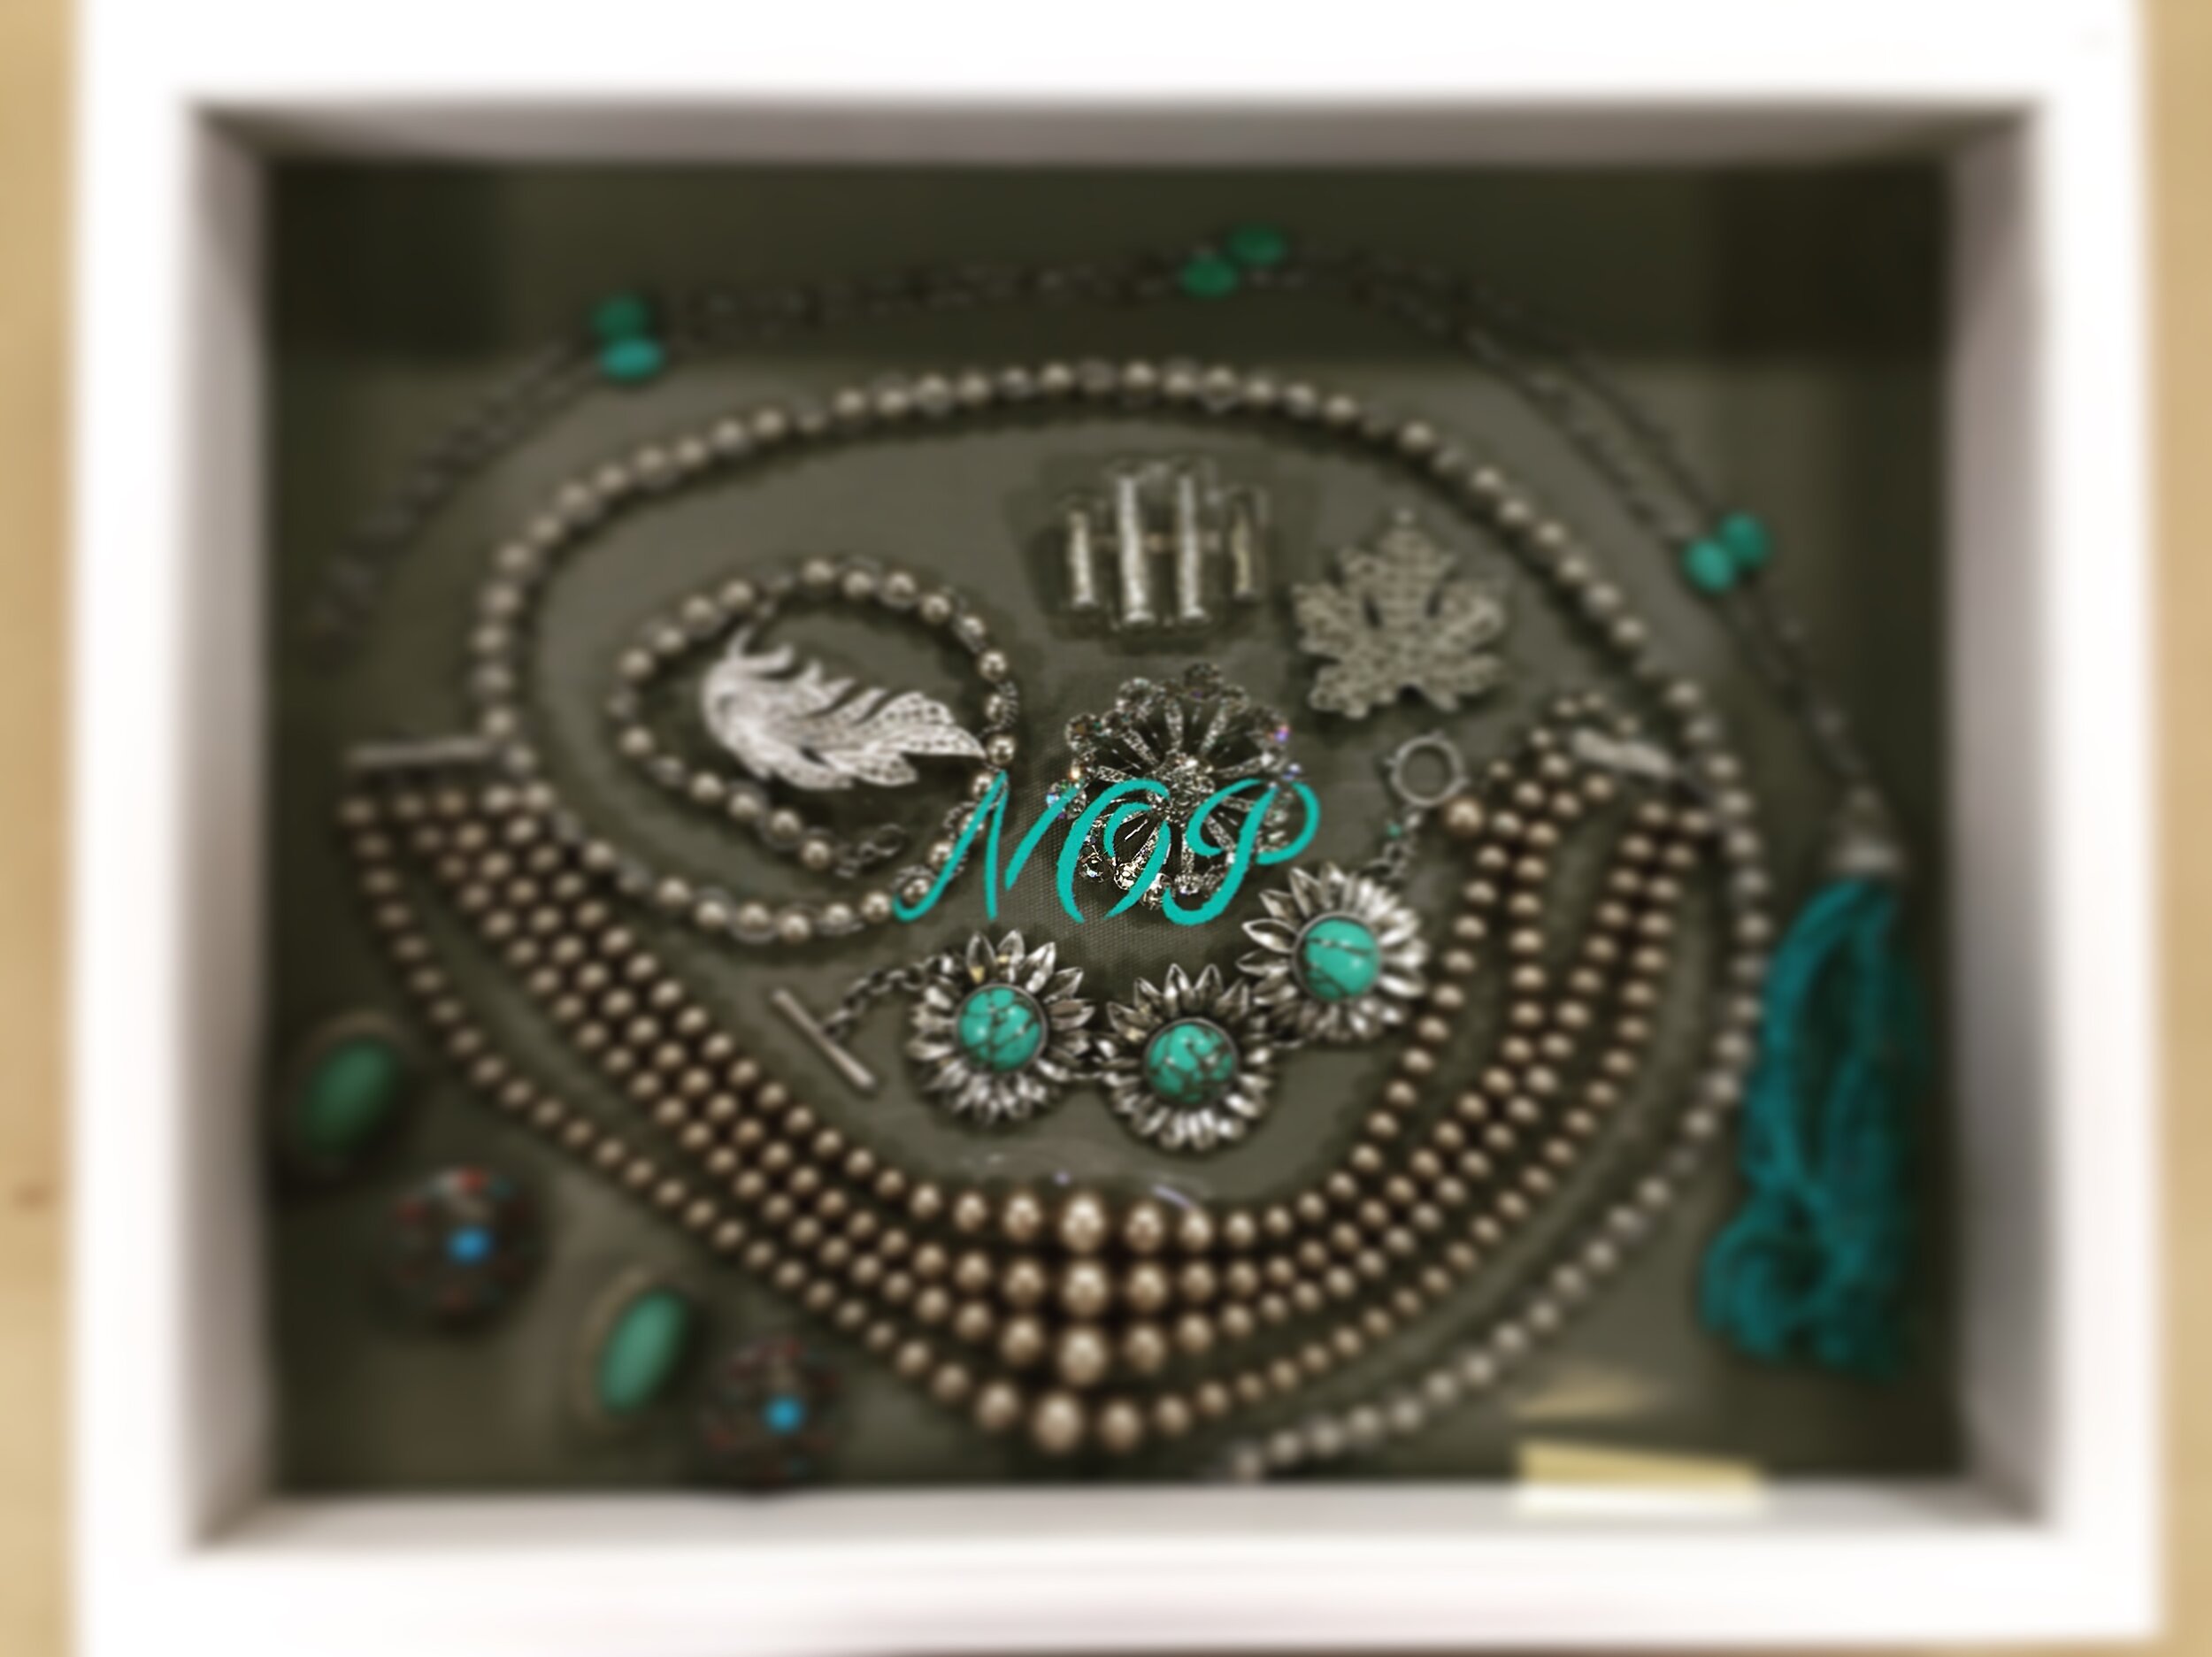
If you've got one that is already pin-able (yes, I just made that word up), decide if you like the color of the backing. For the one I made with gold jewelry, the existing black background was fine. The second one I made was with silver and turquoise pieces, so I wanted a color. I had a remnant of grey/blue linen that was perfect, so I just covered the back with it using a little spray adhesive.

IMG_1819
Next, arrange your jewelry. As I eluded to above, arrange the jewelry into groups that look good together. Usually a person has a certain style, so the jewelry often looks good together already. If it doesn't, divide it into categories. Lay it out on your backing and play around with it until you get an arrangement that looks good.

IMG_1814
Be a little creative, use long strands to create curves and circles, feel free to cross some pieces over others or to pair up different earrings.

IMG_1816

IMG_1818
Once you're happy, pin them in place. To use the paper clips, use wire snips to cut them in half to create three U-shaped pins. If you're using beaded pins, try to locate them so you don't see so much of the bead at the end. Use plenty of pins so that the pieces stay exactly as you've place them.
IMG_1811
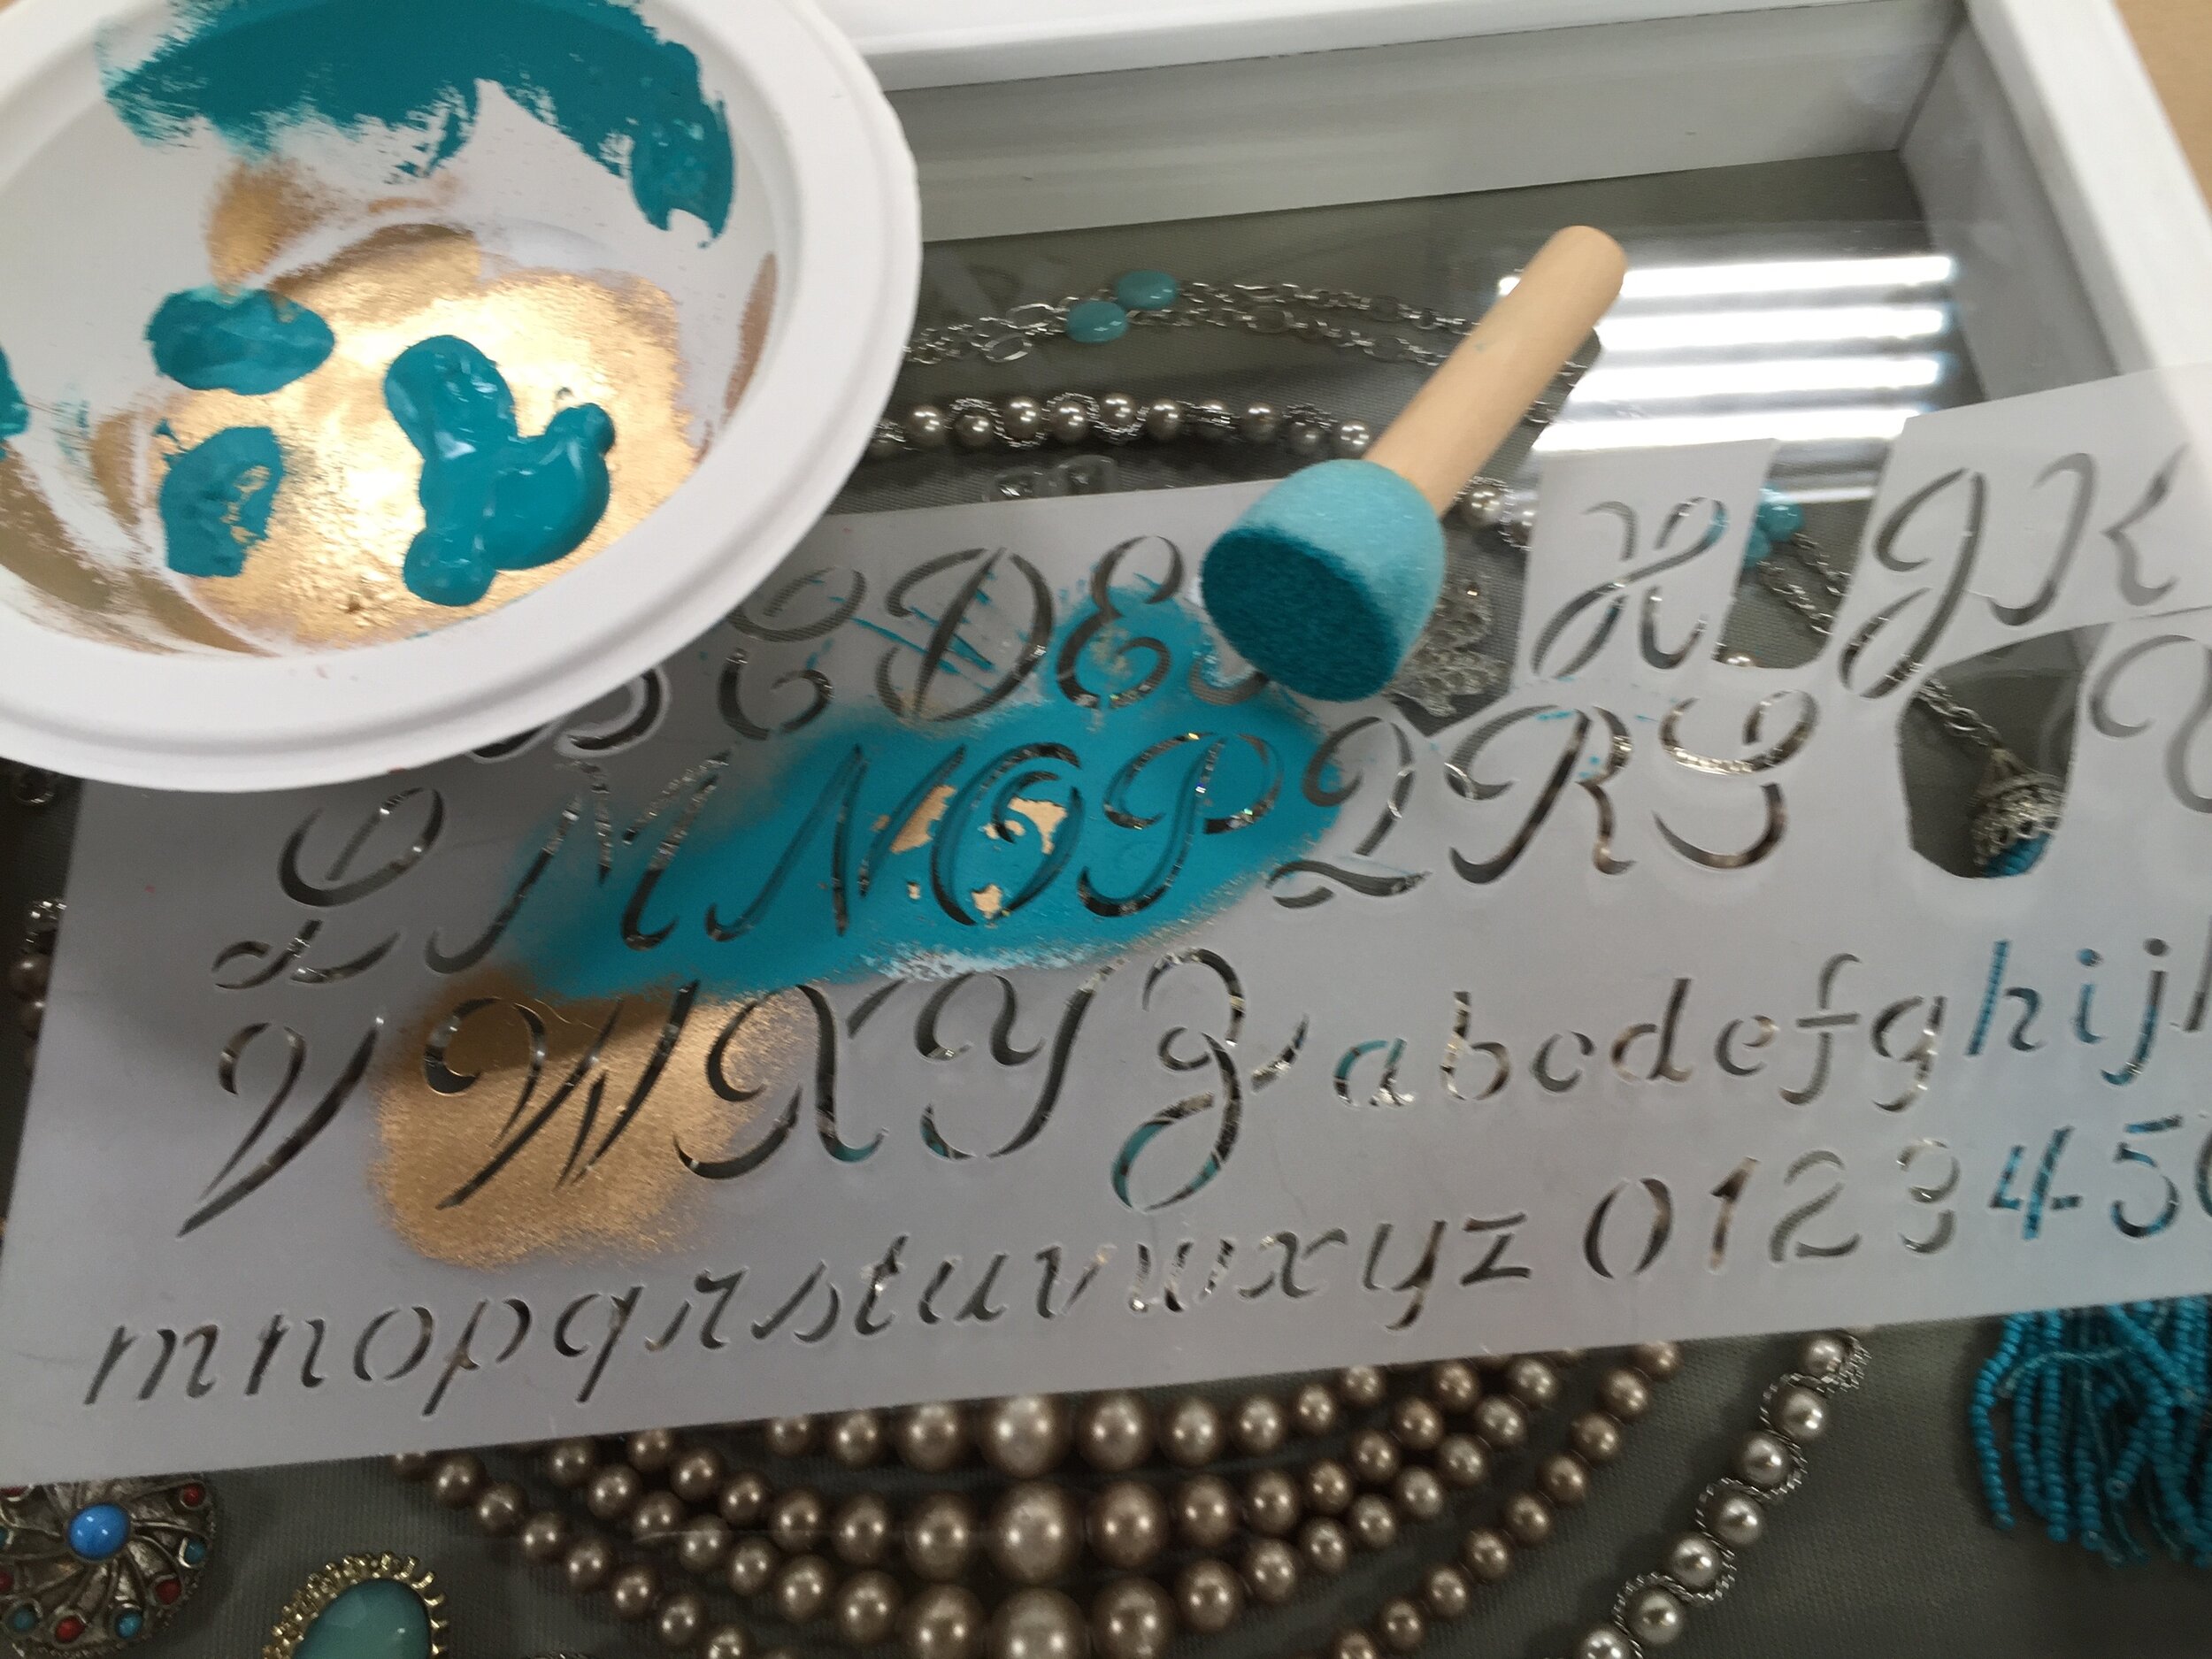
To monogram the glass, lay your stencil in place and use the sponge brush to lightly dab paint over it. Fear not, stenciling on glass is the absolute easiest since any mistakes can be wiped off right away or scraped off later with a razor blade. Choose a color that will play nicely with the jewelry behind it. I chose gold for one and turquoise for the other. Also, since it's competing with the jewelry behind it, you may need to add some extra flourishes so the monogram stands out.
IMG_1821
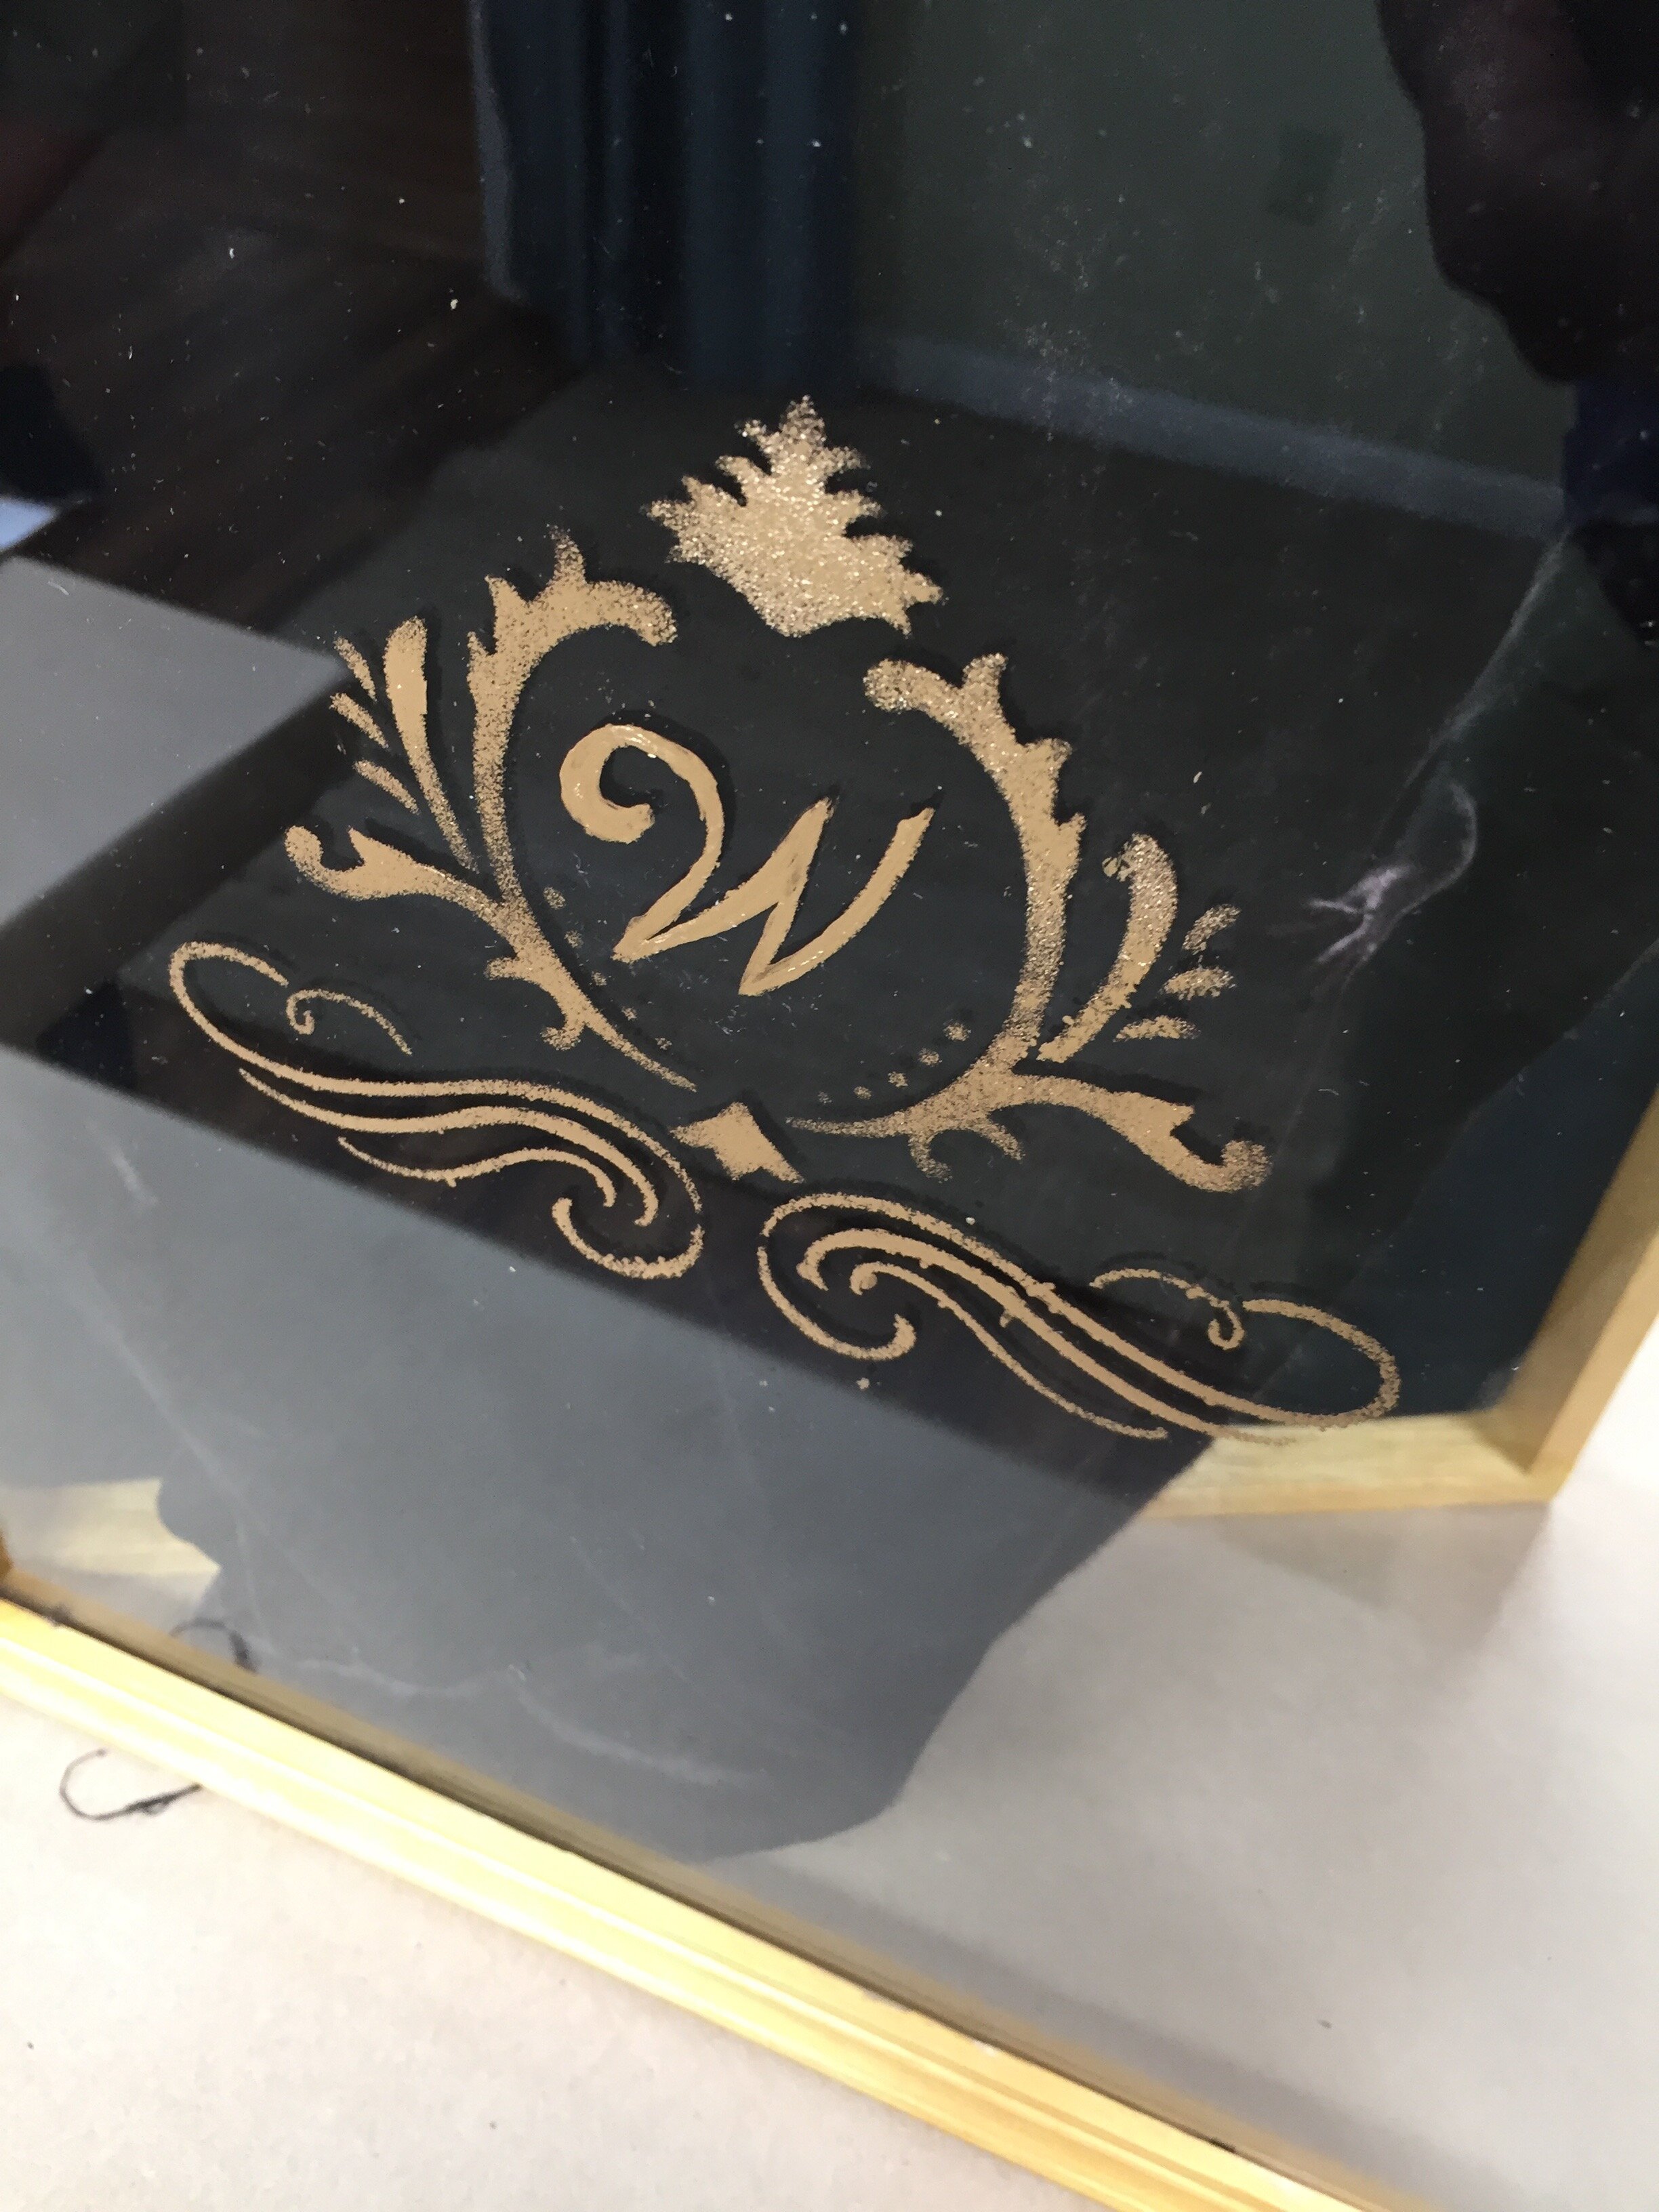
For the gold, I added a circular motif around the monogram and then some decorative flourishes below. Once you're done, hang, appreciate, and think fondly of the owner.
IMG_2138