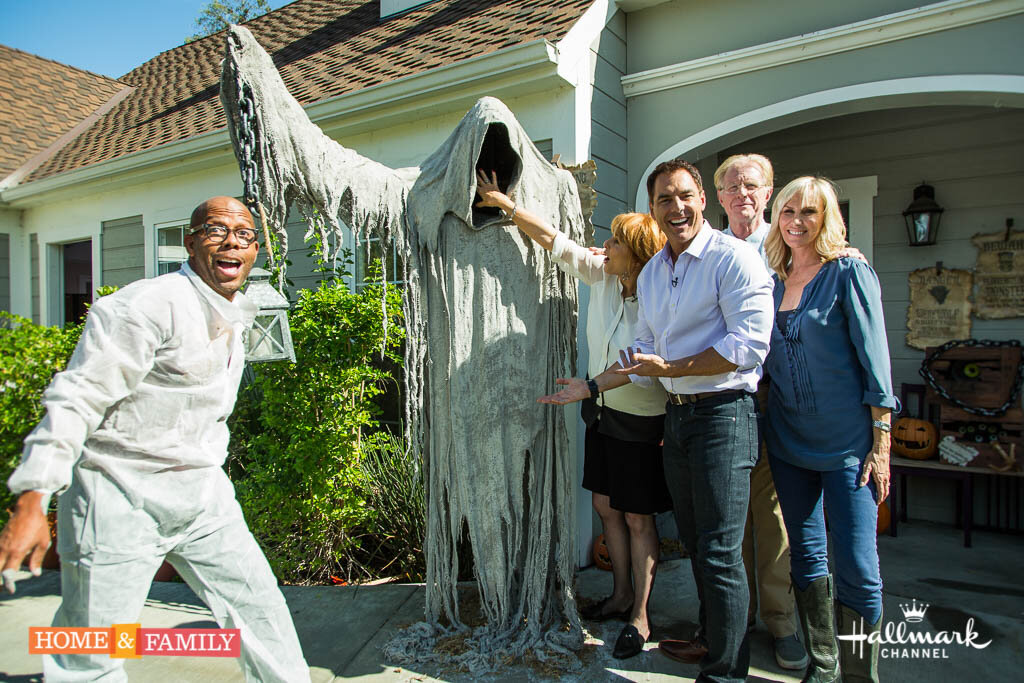
Grimm Reaper

Now I had mentioned to Dave Lowe, our Halloween obsessed Prop Master, that I wanted to make a shrouded figure this year, but I was thinking a modest human scale model. His eyes lit up, a sly smile came across his face and he said he'd be happy to take the lead on the project.....the next thing I knew he was masterminding a 7 foot tall Grimm Reaper. If you're one of those over-the-top Halloween decorators (you know who you are!) then this project is for you. It has lots and lots of drama, is inexpensive and can be put together start to finish in about 2 hours. Dave is no stranger to big projects like these, you have to check out his website Dave Lowe Designs to truly appreciate his genius. Here's how it went down a few nights ago in the Home & Family driveway with the ever handy prop crew, Corey and Tara....
MATERIALS
4 - 12" pipes
(all pipe is 3/4" pre-cut and pre-threaded - you can find it at any hardware store in the plumping section)
1 - 24" pipe
1 - 6' pipe
4 - flanges
2 - 45 degree elbows
1 - cross attachment
Chicken wire
Zip ties or string
24" board of 1/2" plywood
Burlap
4 tubs of drywall compound
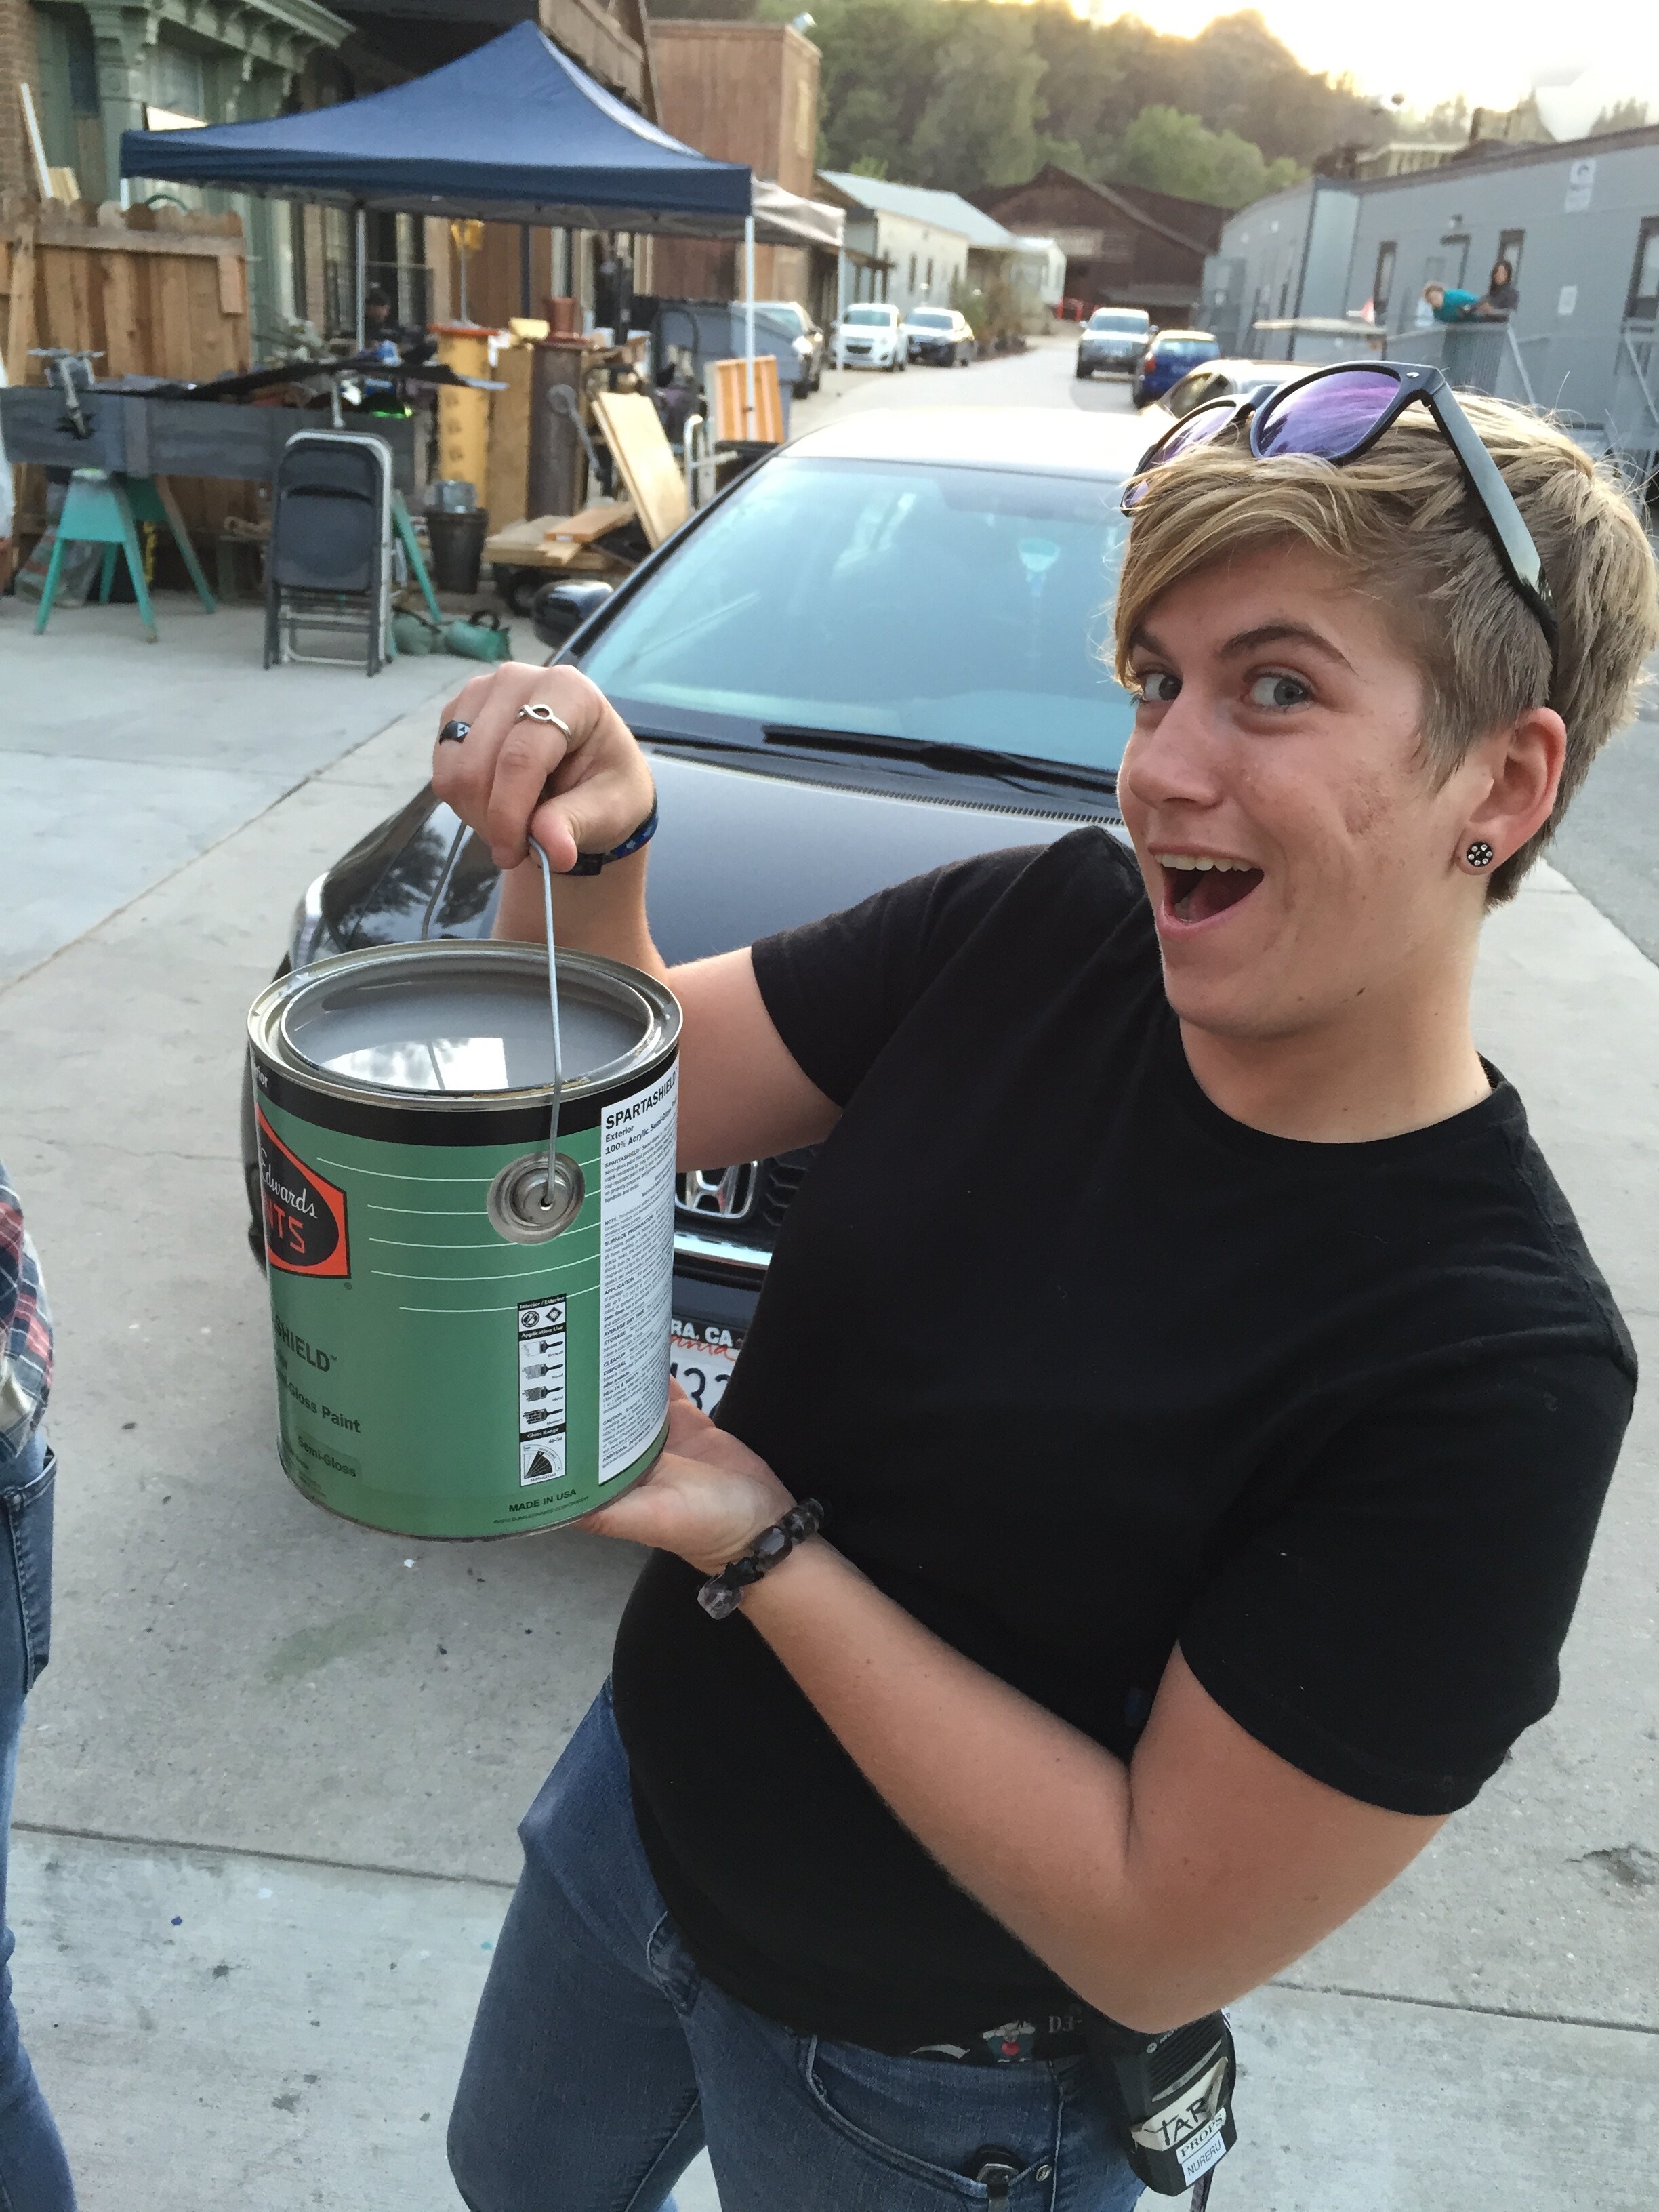
1 gallon of grey paint
A big tub
Polyurethane (optional)

IMG_1636
Screw one flange to the plywood base. Attach the 6' pipe by hand tightening.
IMG_1634
IMG_1635
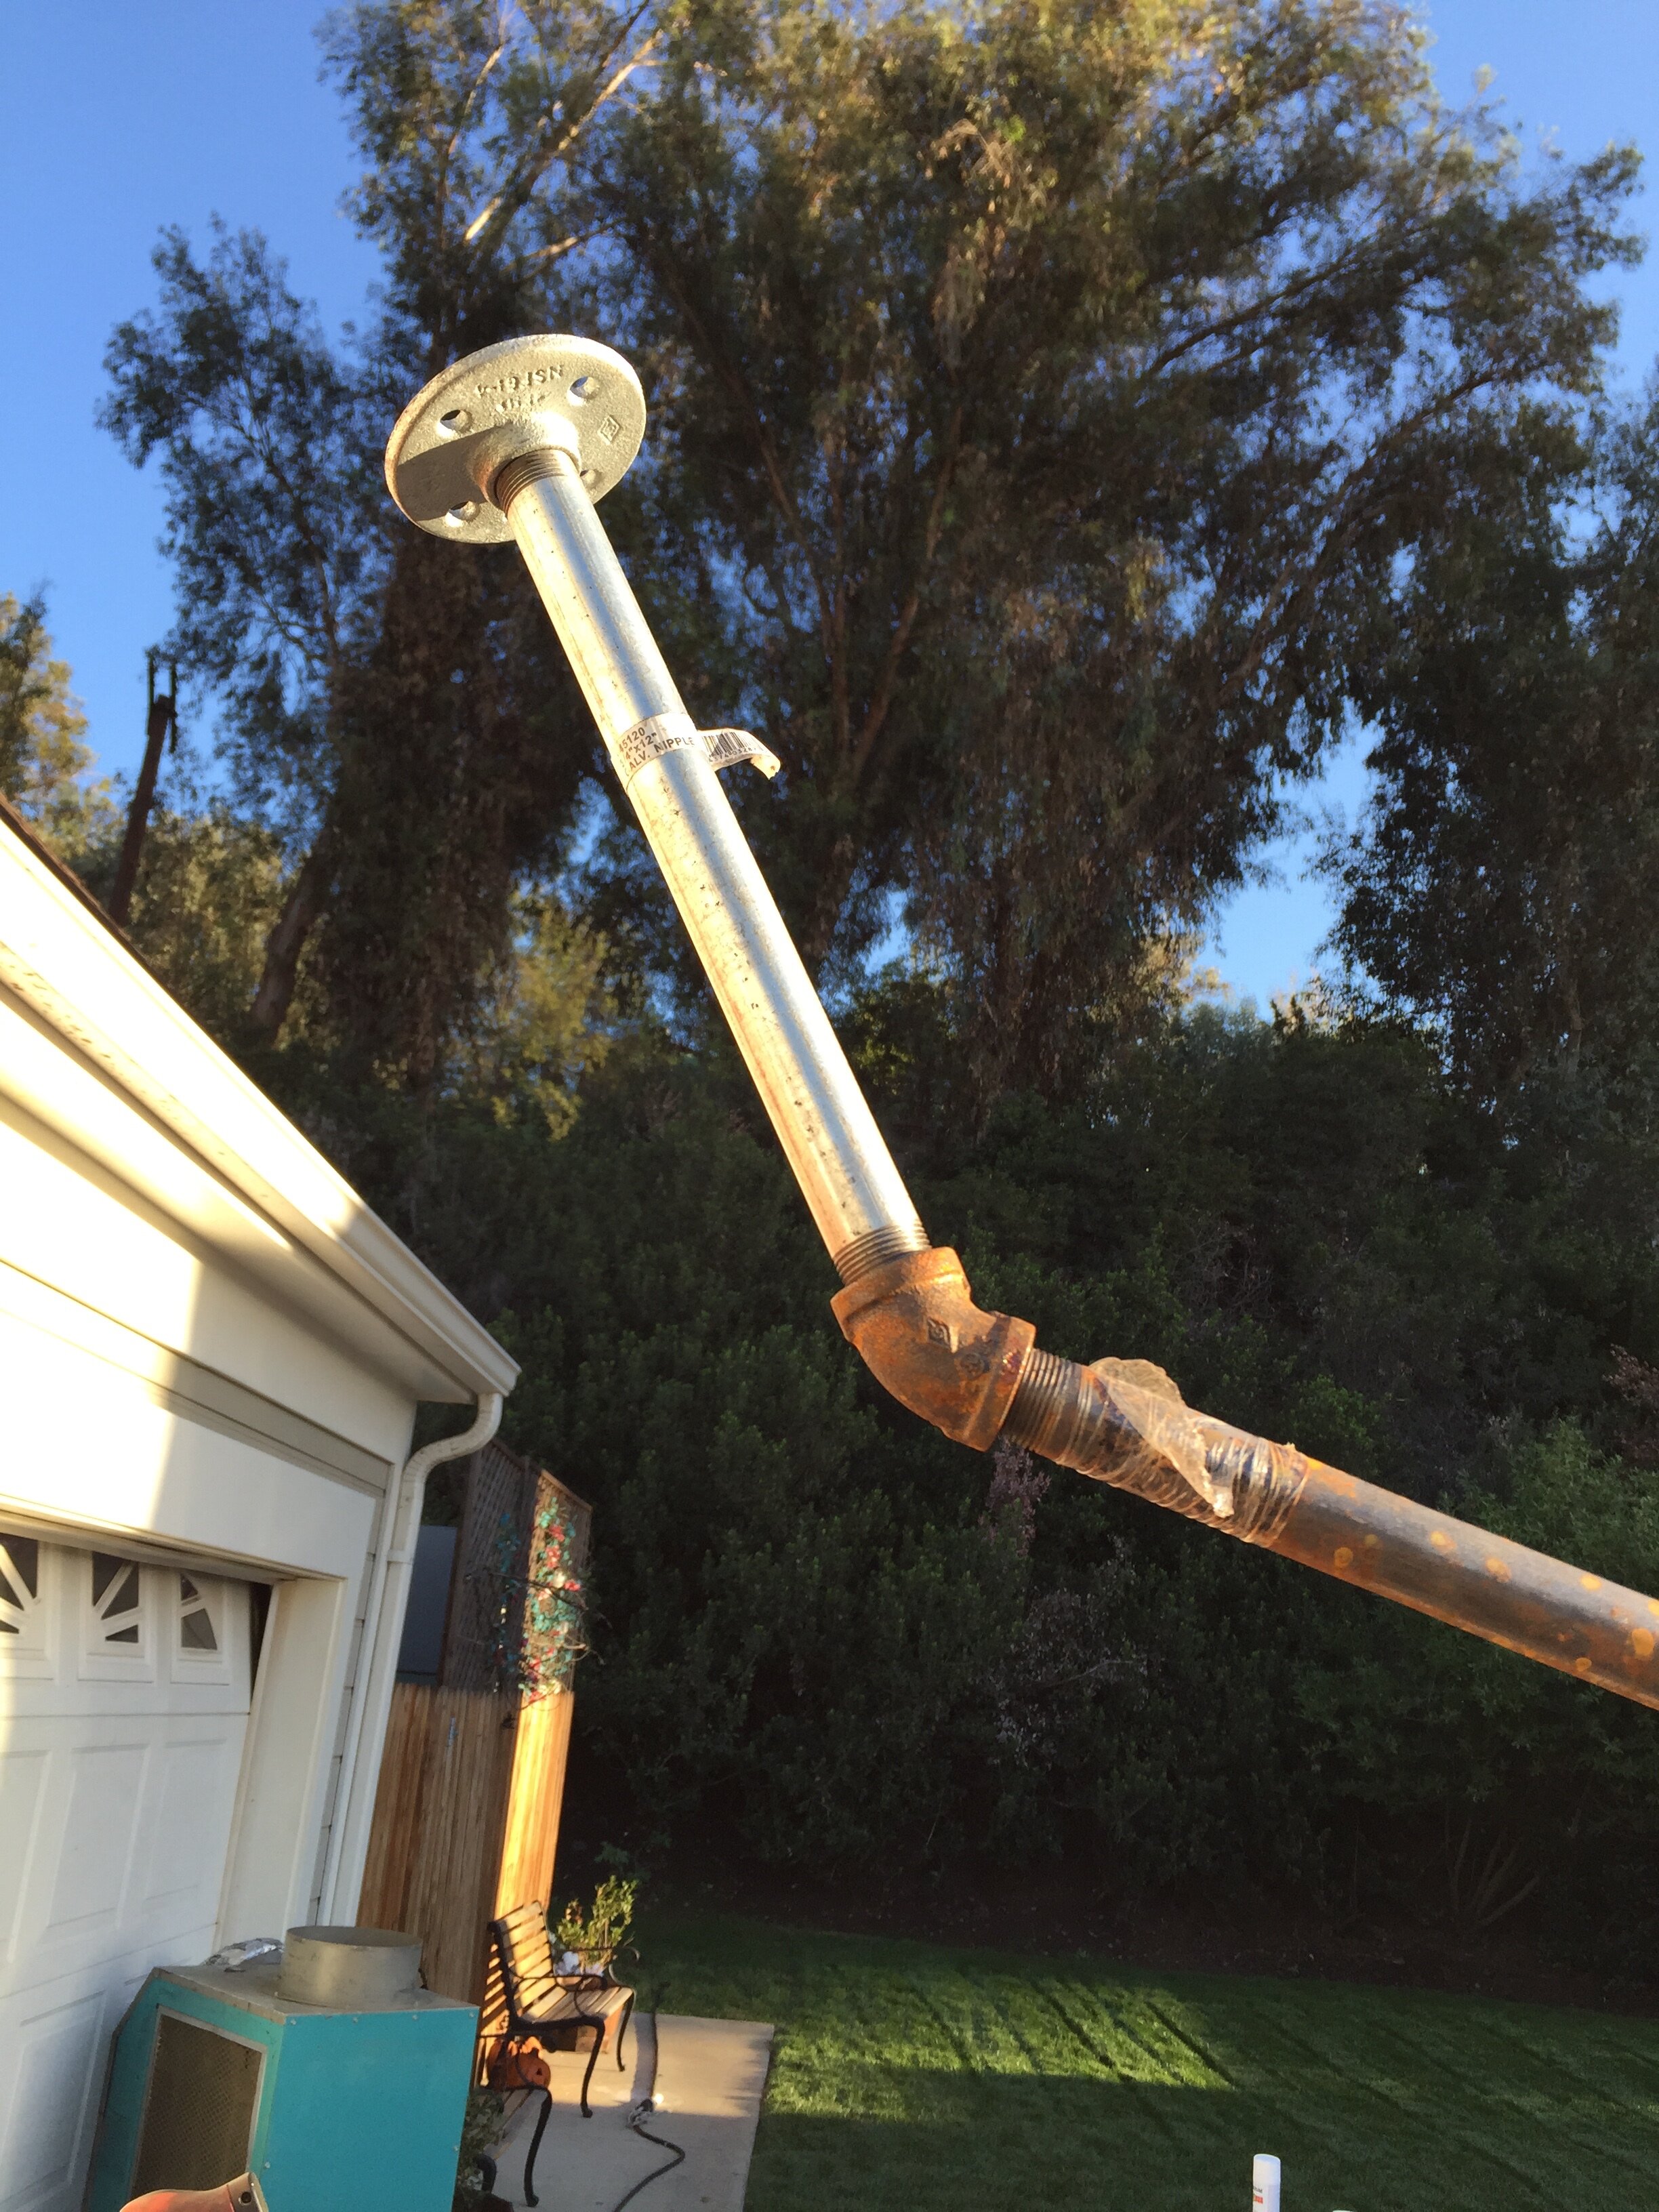
Make the remainder of the skeleton structure. Attach the cross piece to the top of the 6' pipe, attach a 12" pipe to the top and sides of the cross. For the head and one of the arms add a flange. For the extended arm add a 45 degree elbow, the 24" piece, another 45 degree elbow, the final 12" pipe and the last flange.

IMG_1641
Cut a large square of chicken wire and drape it over the head flange and use zip ties or string to secure it to the two "shoulder" pipes. Cut another rectangle, wrap and zip tie it to the extended arm all the way to the flange. It's fine to piece it together if you don't have a single piece big enough. Giving your best Dave Grumpy Face seems to help.

IMG_1651
Next, roll out your burlap and get a rough idea of how you want to drape the pieces over the form and get them all cut. We used one piece for the arm, a piece for each shoulder that went up the back, over the shoulder and down the front, one for the back, one for the front and one for the hood. You notice we made some cuts up the arm pieces to make it look bedraggled while it was dry, but found that it would have been easier to wait and cut it later. Now comes the fun part.....

IMG_1640
IMG_1643
IMG_1646

IMG_1642

IMG_1648

IMG_1645
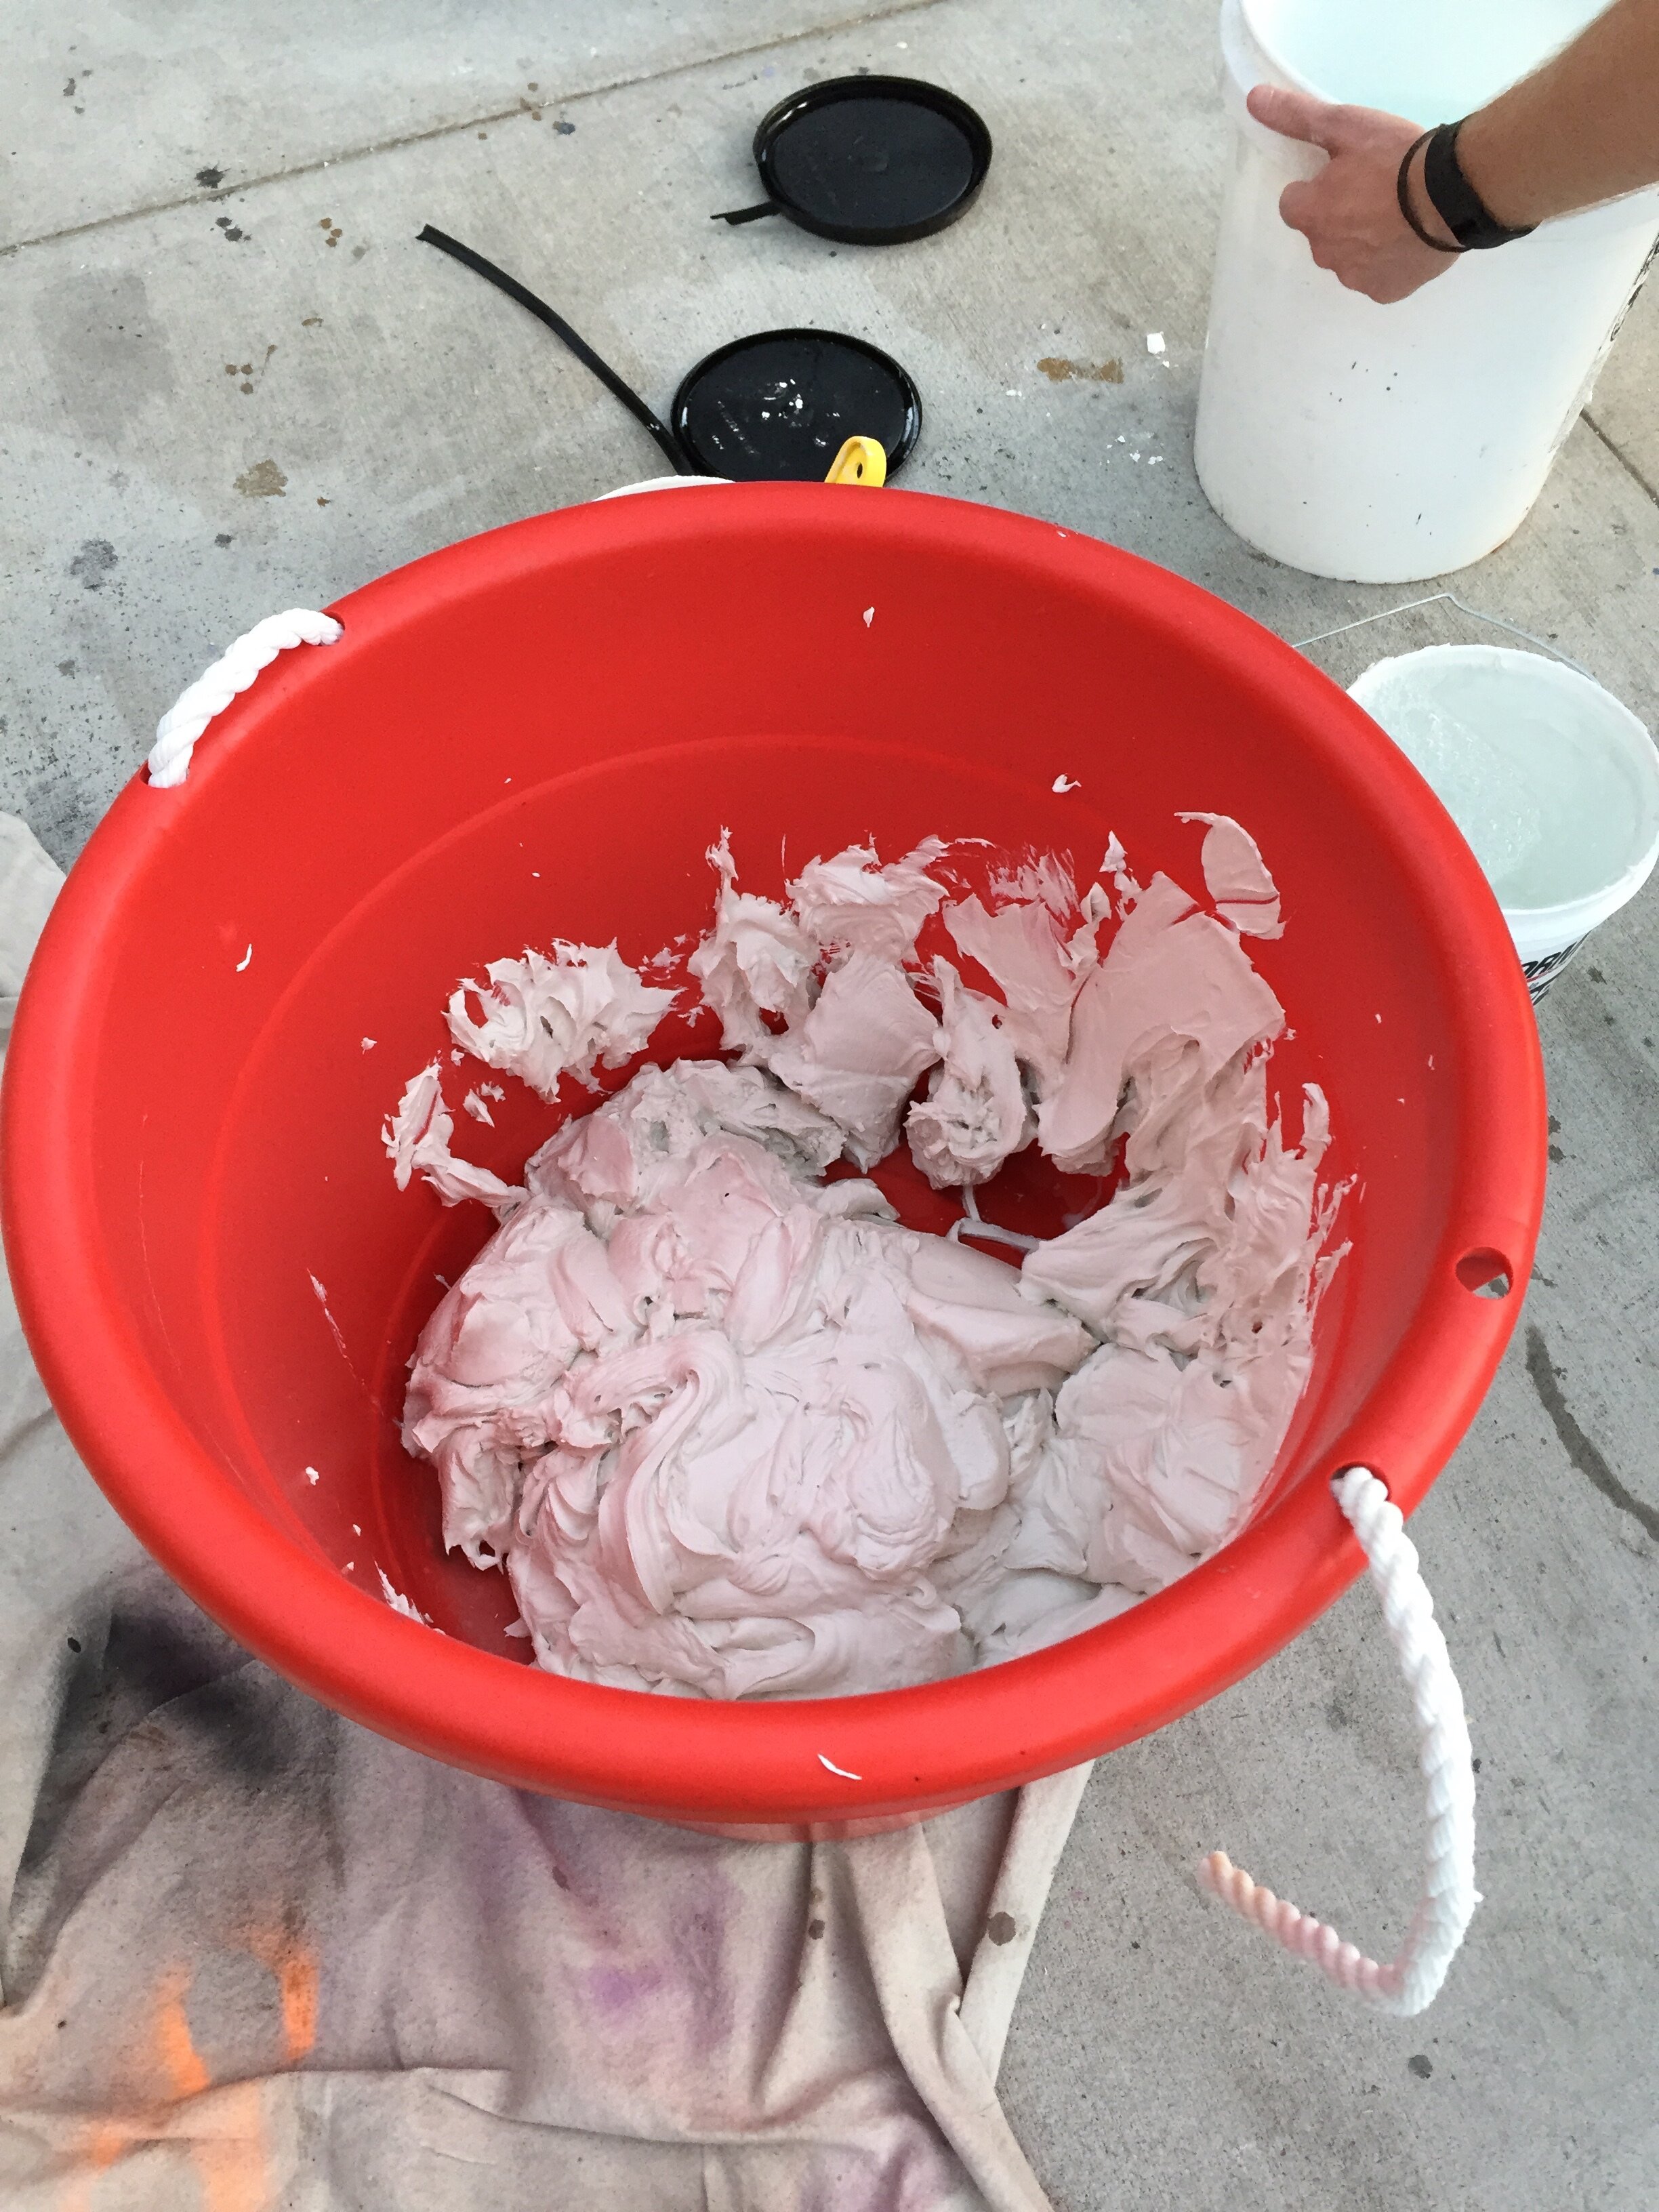
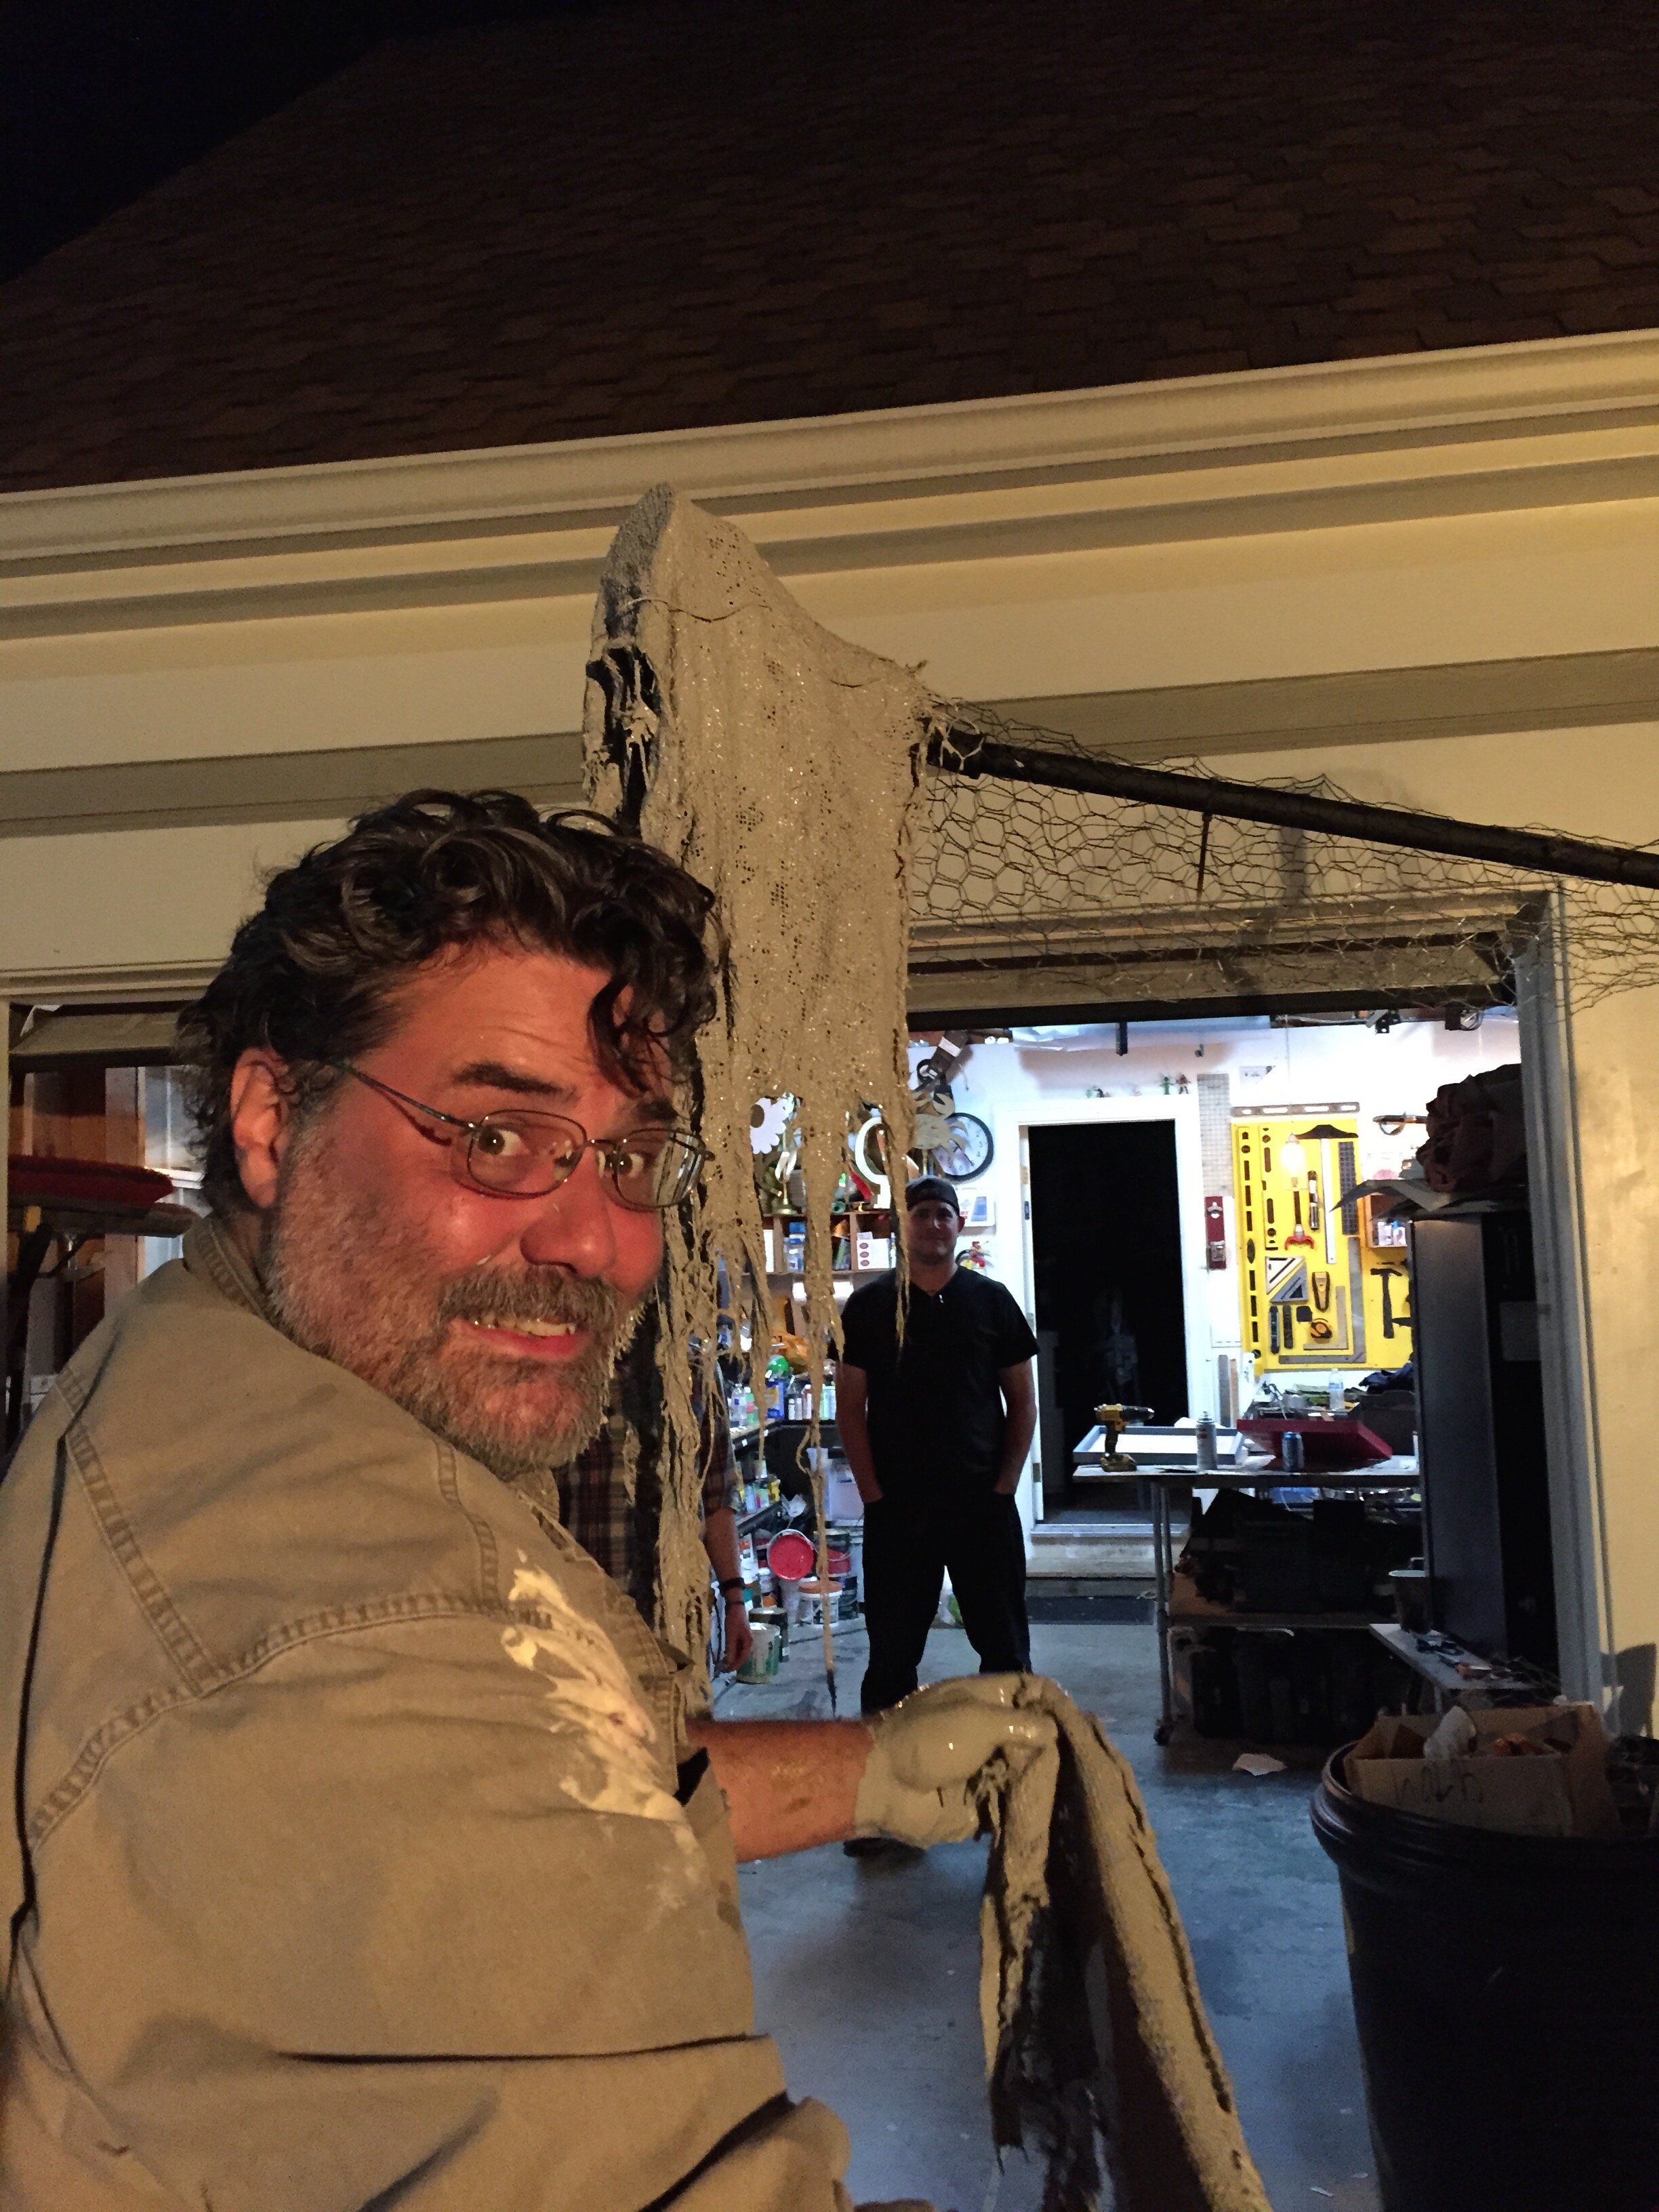
....making the Monster Mud! Empty the 4 tubs of drywall compound into the big tub and add the gallon of grey paint. You can mix it by hand, but using a drill attachment will make it much easier. If it seems too thick, add some water. What you're going for is a sort of pancake batter consistency.
IMG_1659
Now just dip and drape! Dunk each piece into the mud, lightly squeeze out the excess and lay it over the form. Having a Dave Happy Face definitely helps with this part. Just keep dunking and draping. It's basically like doing paper mache, use extra mud to hide some of the seams and smooth over some of the texture of the burlap if you'd like. Use scissors to get some strategic rips and tears. Now, just let it dry. It will take about a day to dry, so make sure it's somewhere it won't get wet. If you're expecting rain before the holiday, you can then give it a coat of polyurethane to withstand the elements. Otherwise just leave it. I then added a rope with a lantern on the end with a battery powered candle....you could add a large scythe instead. When Halloween is over, you can discard the robe and unscrew the form and save it for next year!
Happy Haunting!