
Teapot Lamp

1
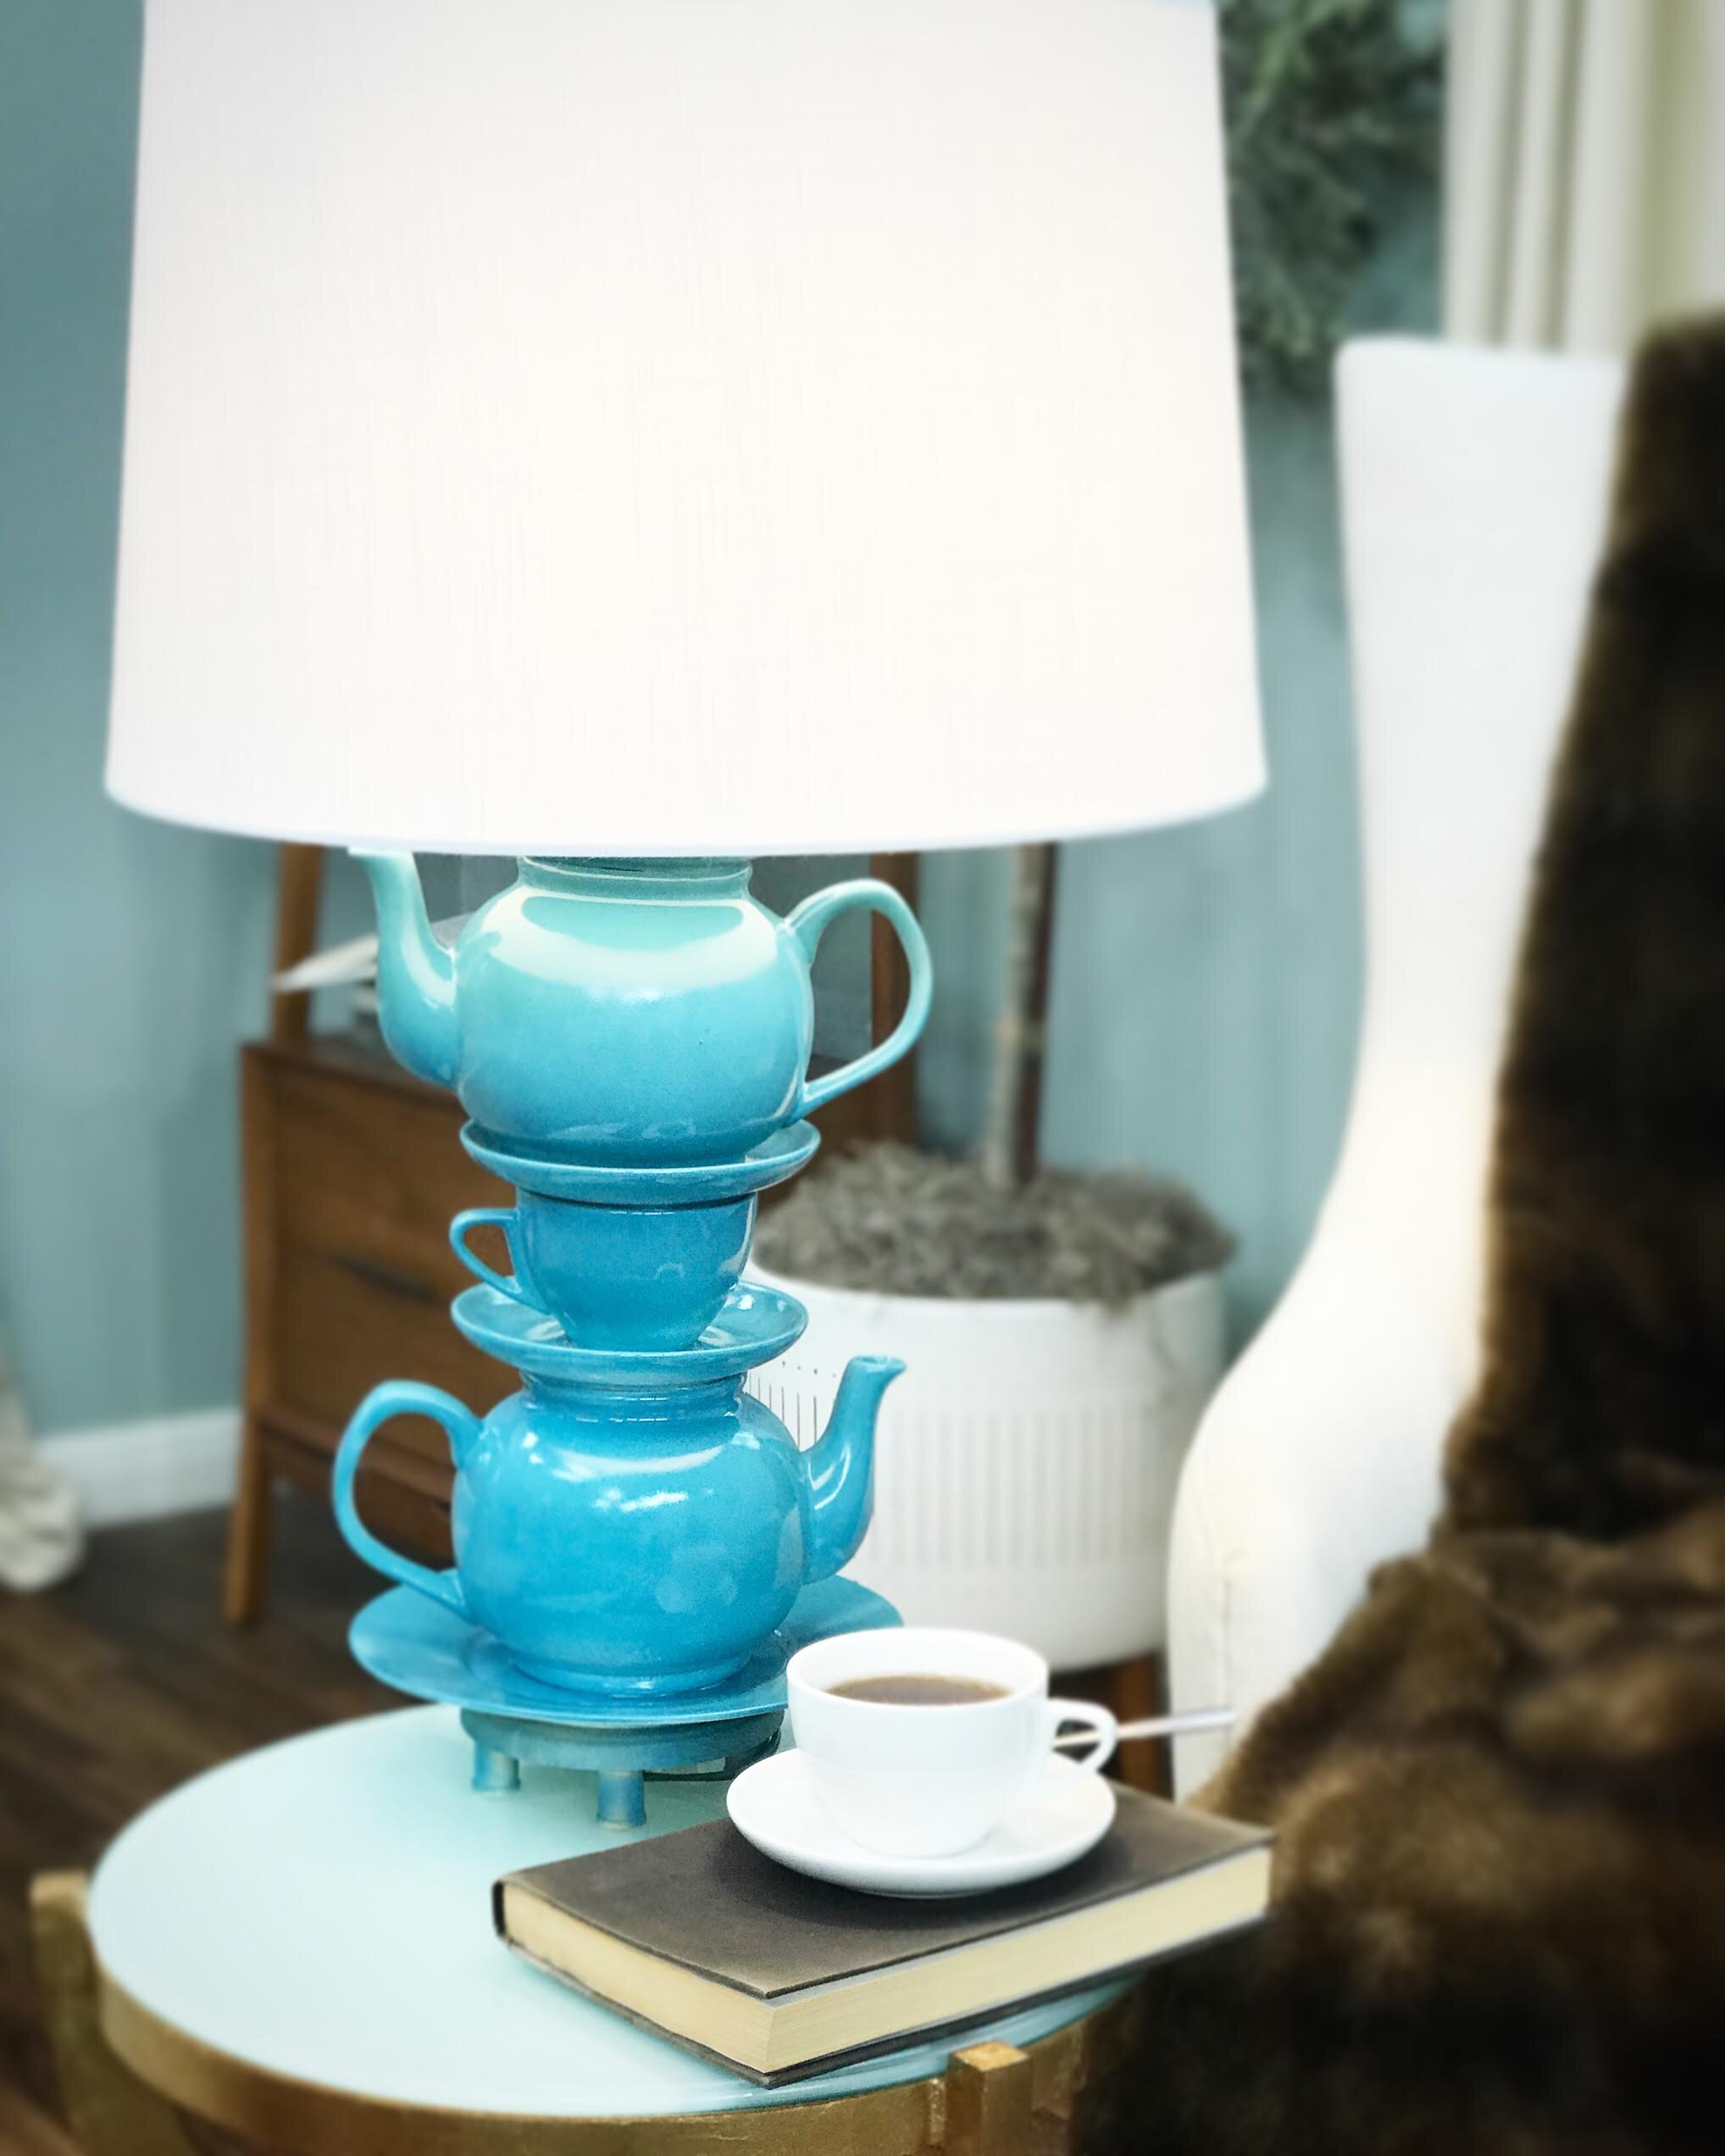
I don’t know if it’s Alice in Wonderland, high tee at the Ritz, or the kookiness of a tea cozy, there’s something about a teapot that’s always charmed me. Now take that charm and add a bit of drama and utility and you have this teapot lamp. I’d been eyeing them on line, but at a price tag of $400, uh…yeah, that wasn’t going to happen. So here’s my version, just as dramatic and it’ll run you about $15 if you already have a few cups and old teapots already laying around.
MATERIALS:
2 teapots
2 cups
3 saucers
1 salad plate
Wood plaque
4 small feet (rubber feet or wood spools work)
Lamp kit
Threaded lamp rod and washer
Drill with a regular bit and glass bit to match the size of your threaded rod. (I used 3/8th)
Glue gun.
STEPS:
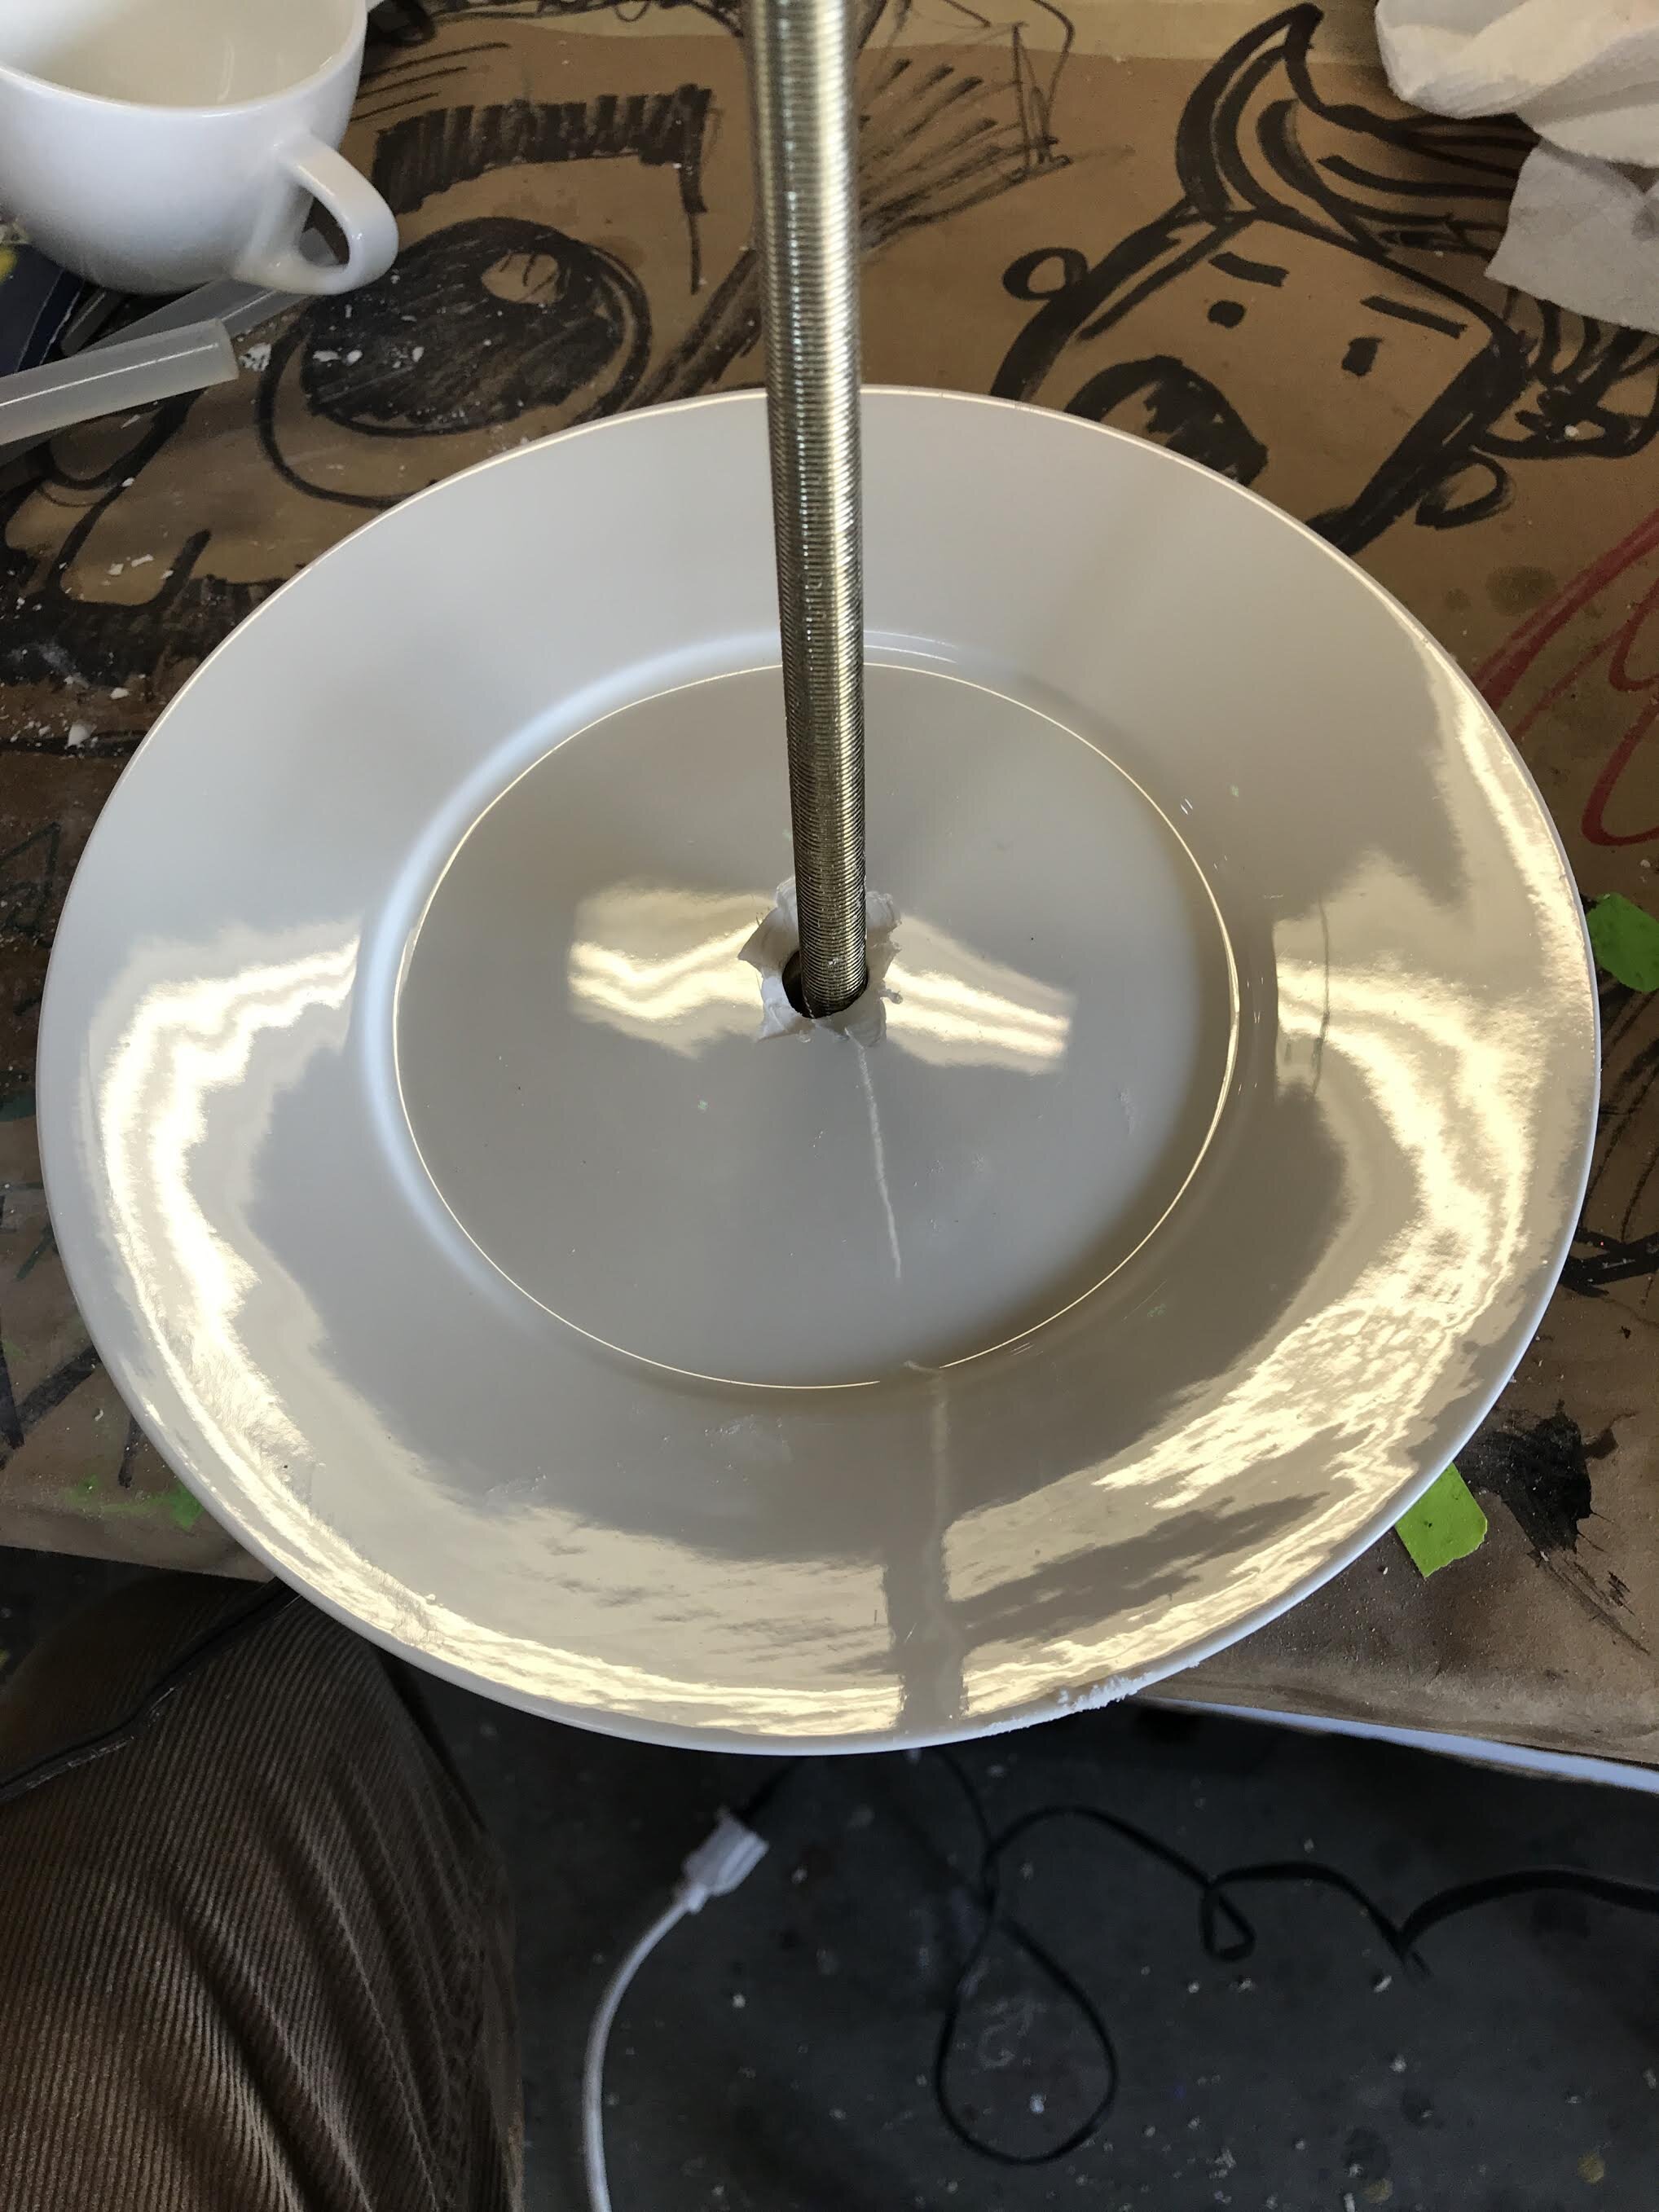
Drill the center of all of your pieces using the glass bit. Be patient and go slow. Also, dribble a little water on the spot before you start to keep it from overheating. It takes patients and don’t worry if the holes aren’t pretty, no one will ever see them. Drill a hole in the center of the wood plaque.
2
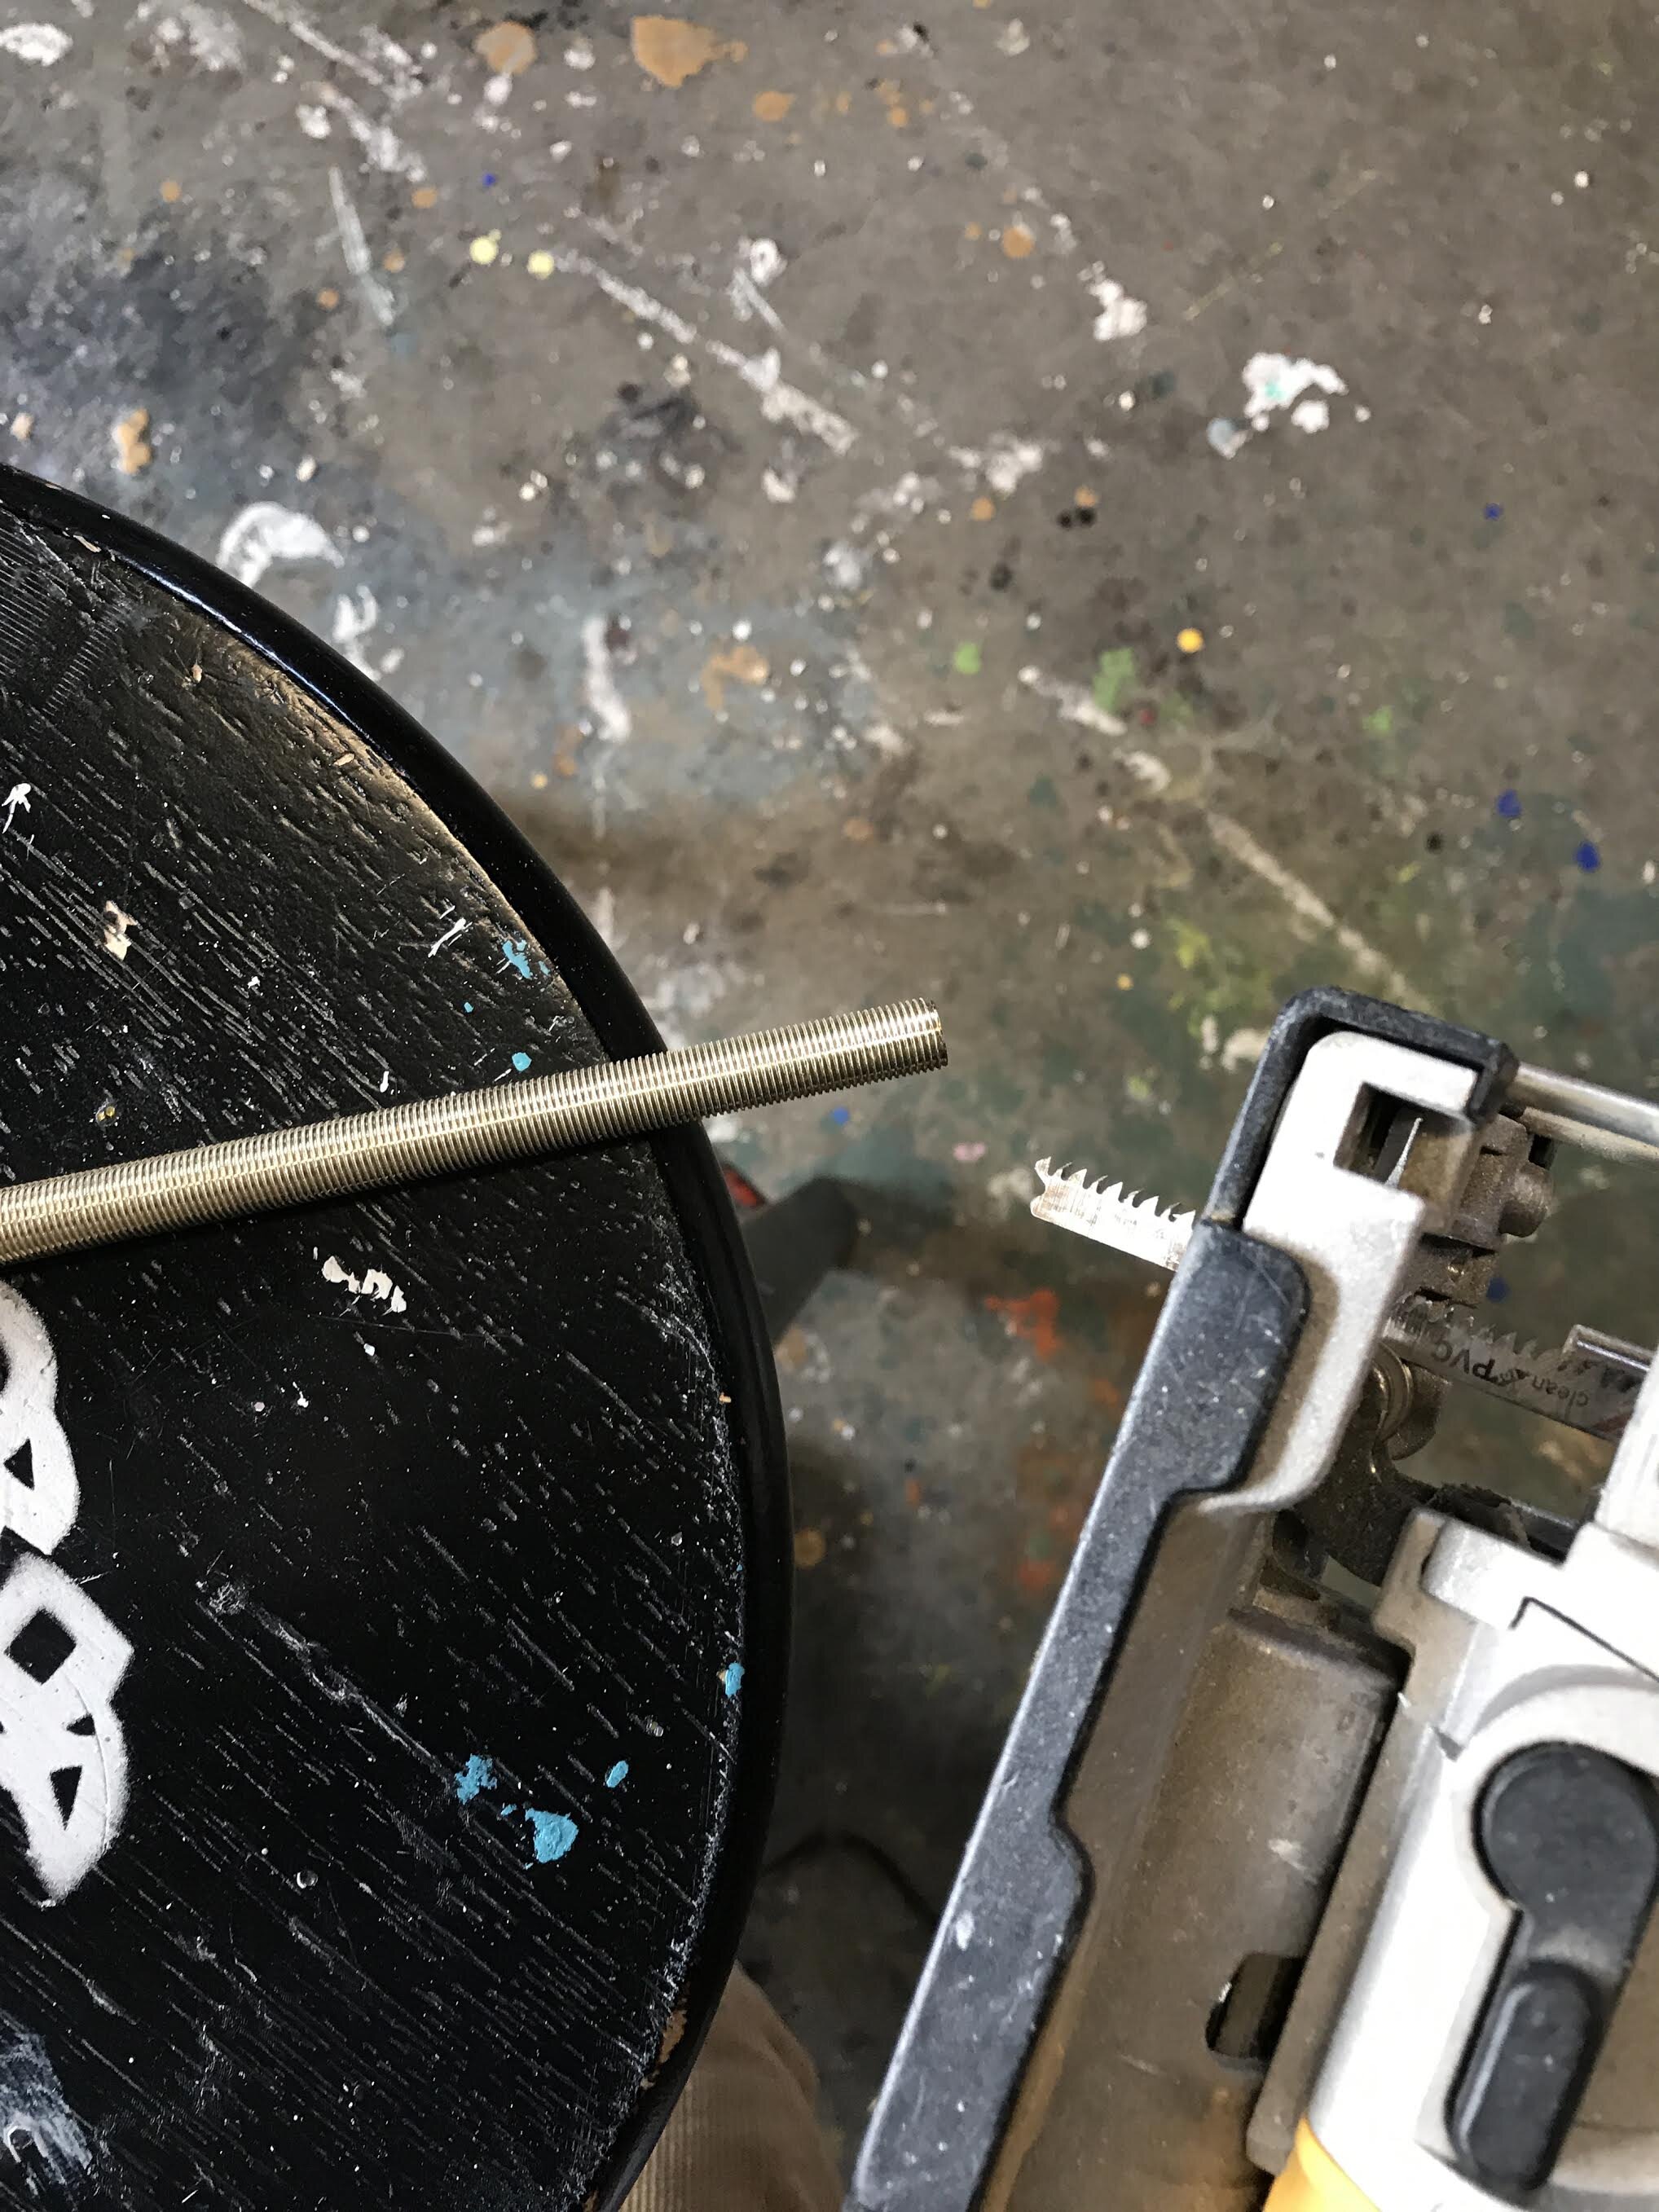
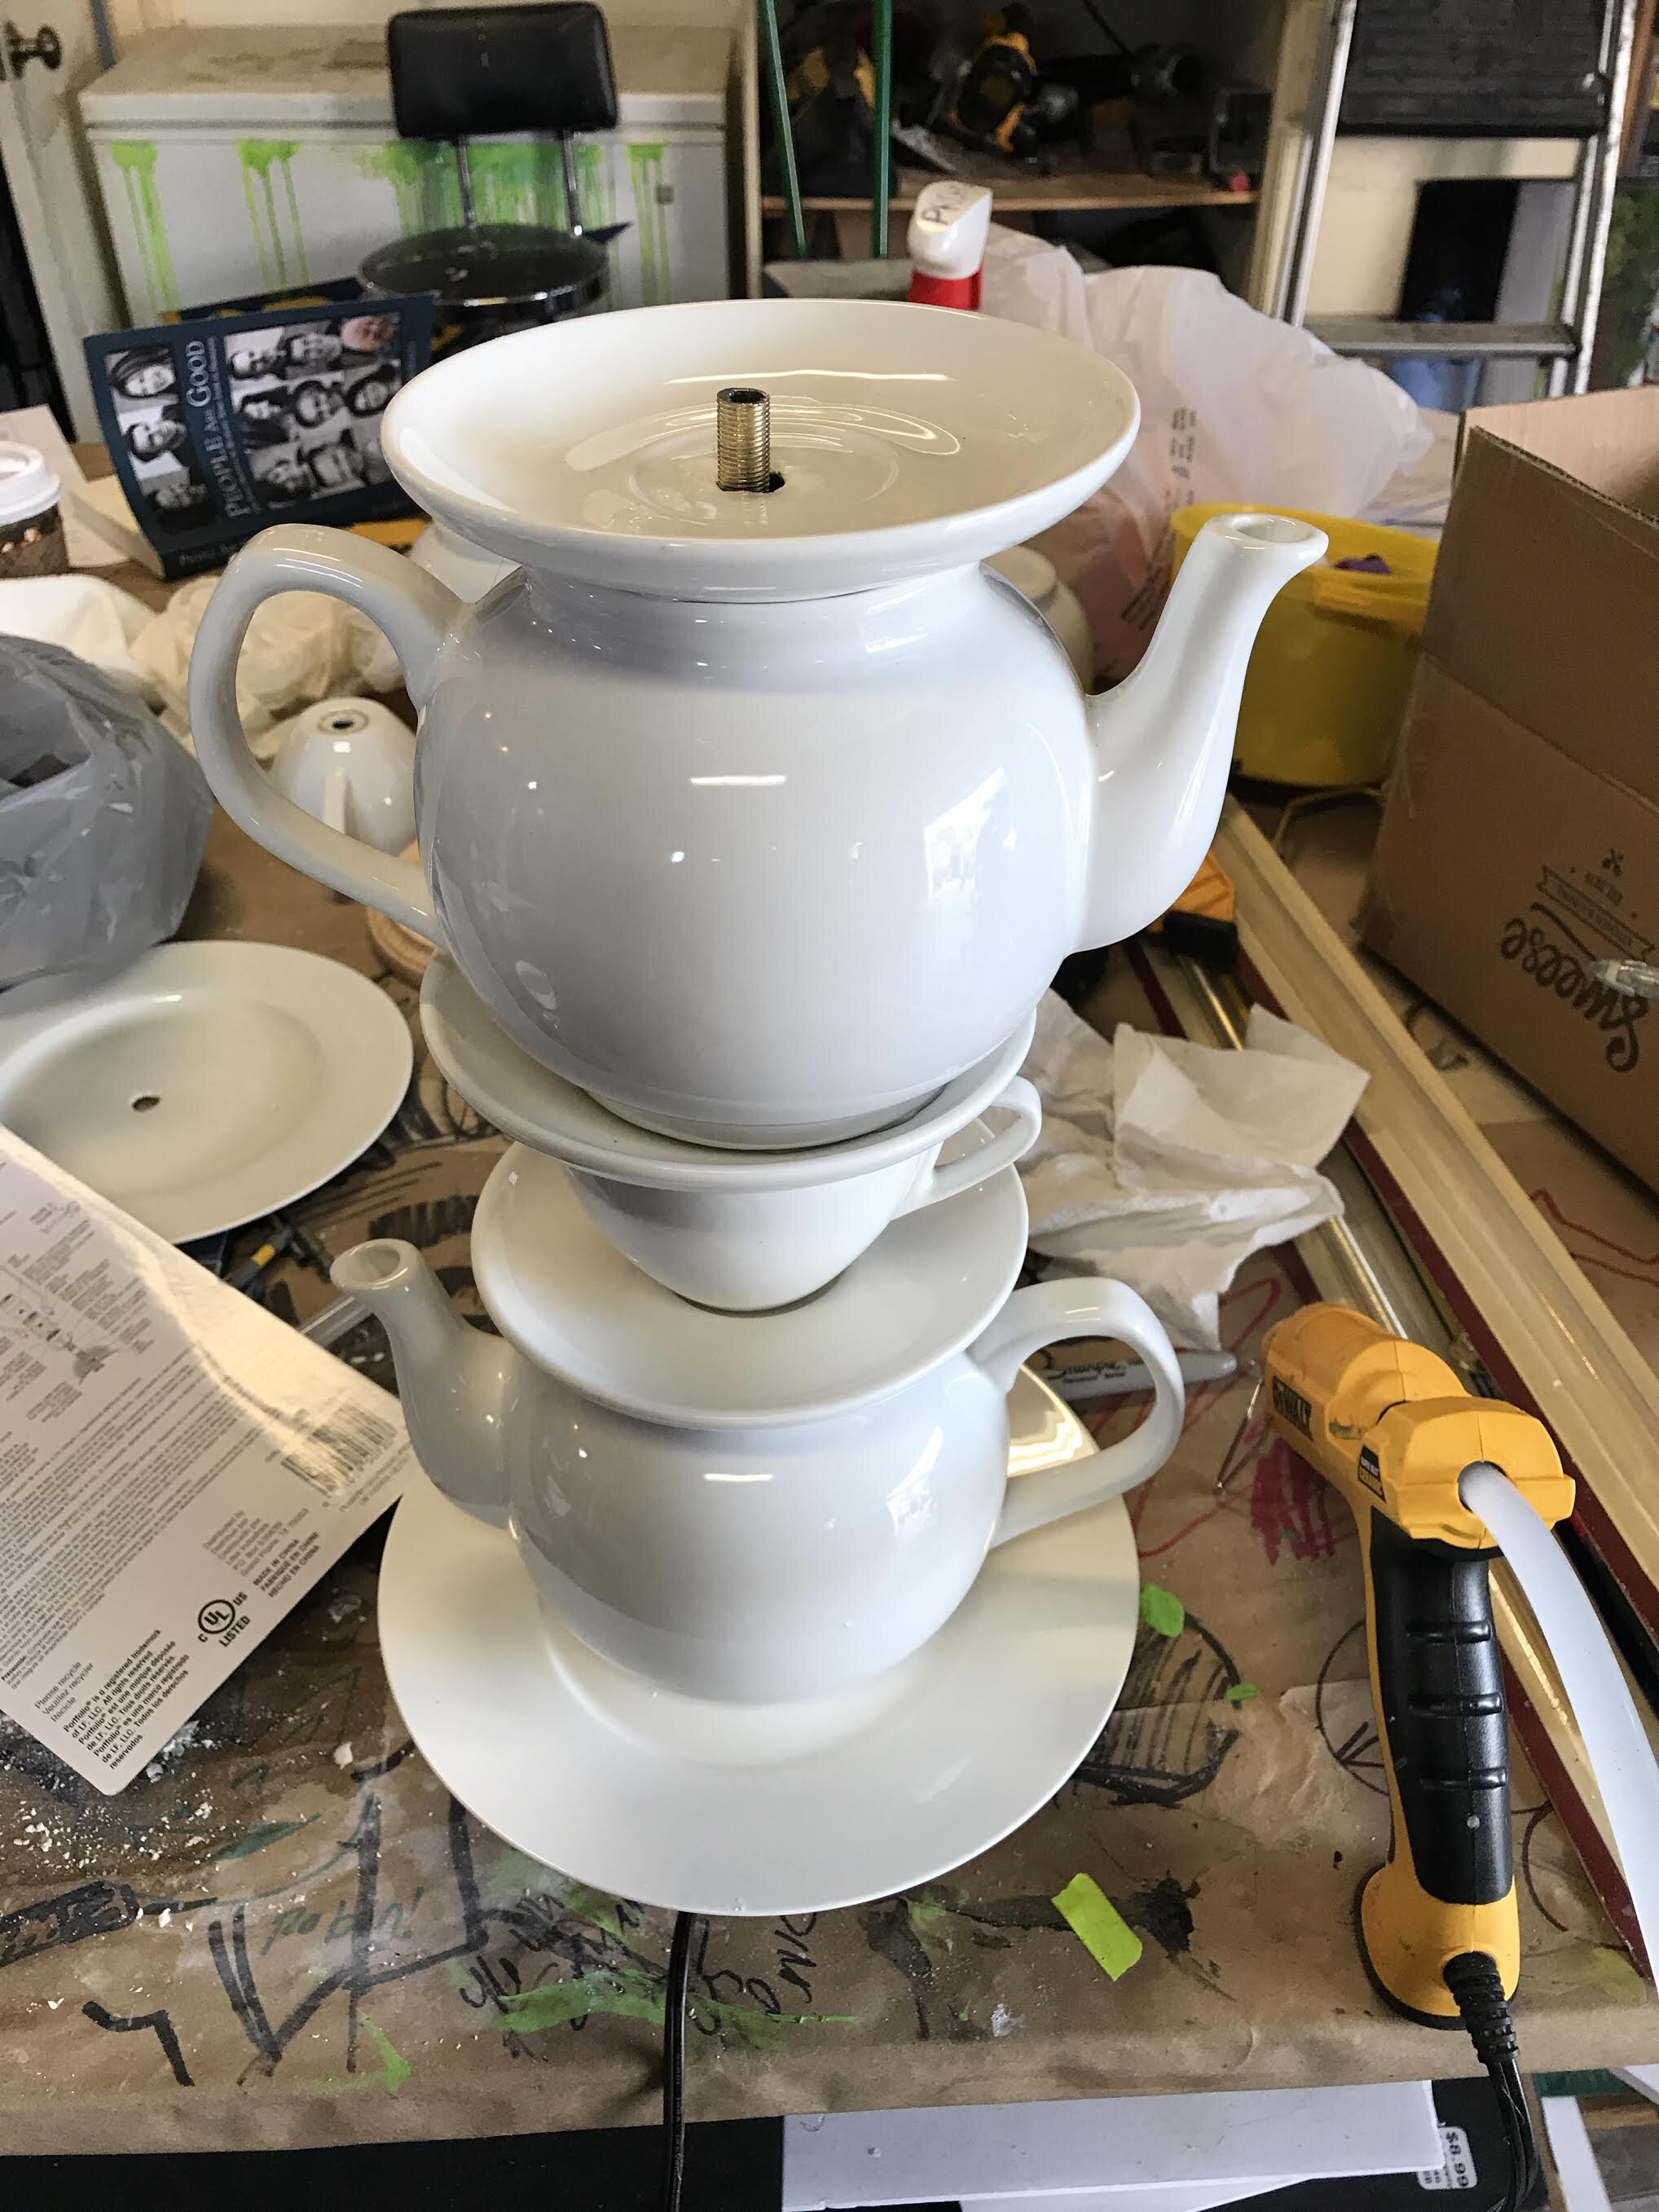
Stack your pieces to find the final height, including the plaque. I did salad plate, teapot, saucer, cup, saucer, teapot, saucer, and cup. Different pieces will nest better in different configurations, so play around with it and find something that works for you. Measure how tall it stands and cut your threaded rod to the same length plus 1”. Use a jig saw to cut the threaded rod to that length.
3
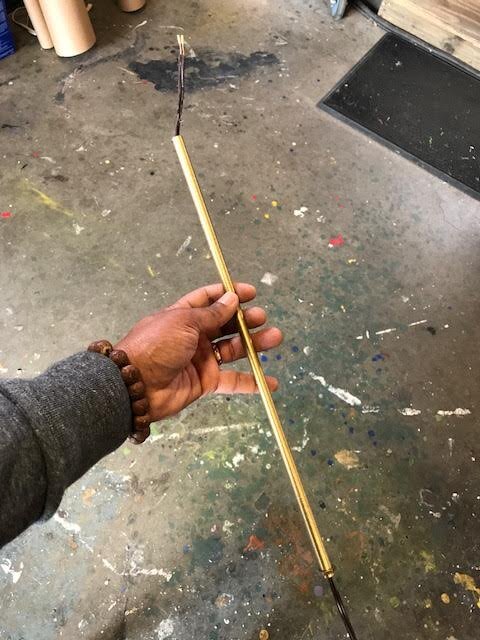
Take the hex nut and thread it onto your cut rod, leave it right near the bottom. Now thread the electrical cord through the rod, leaving the plug end having out of the hex not side.
4
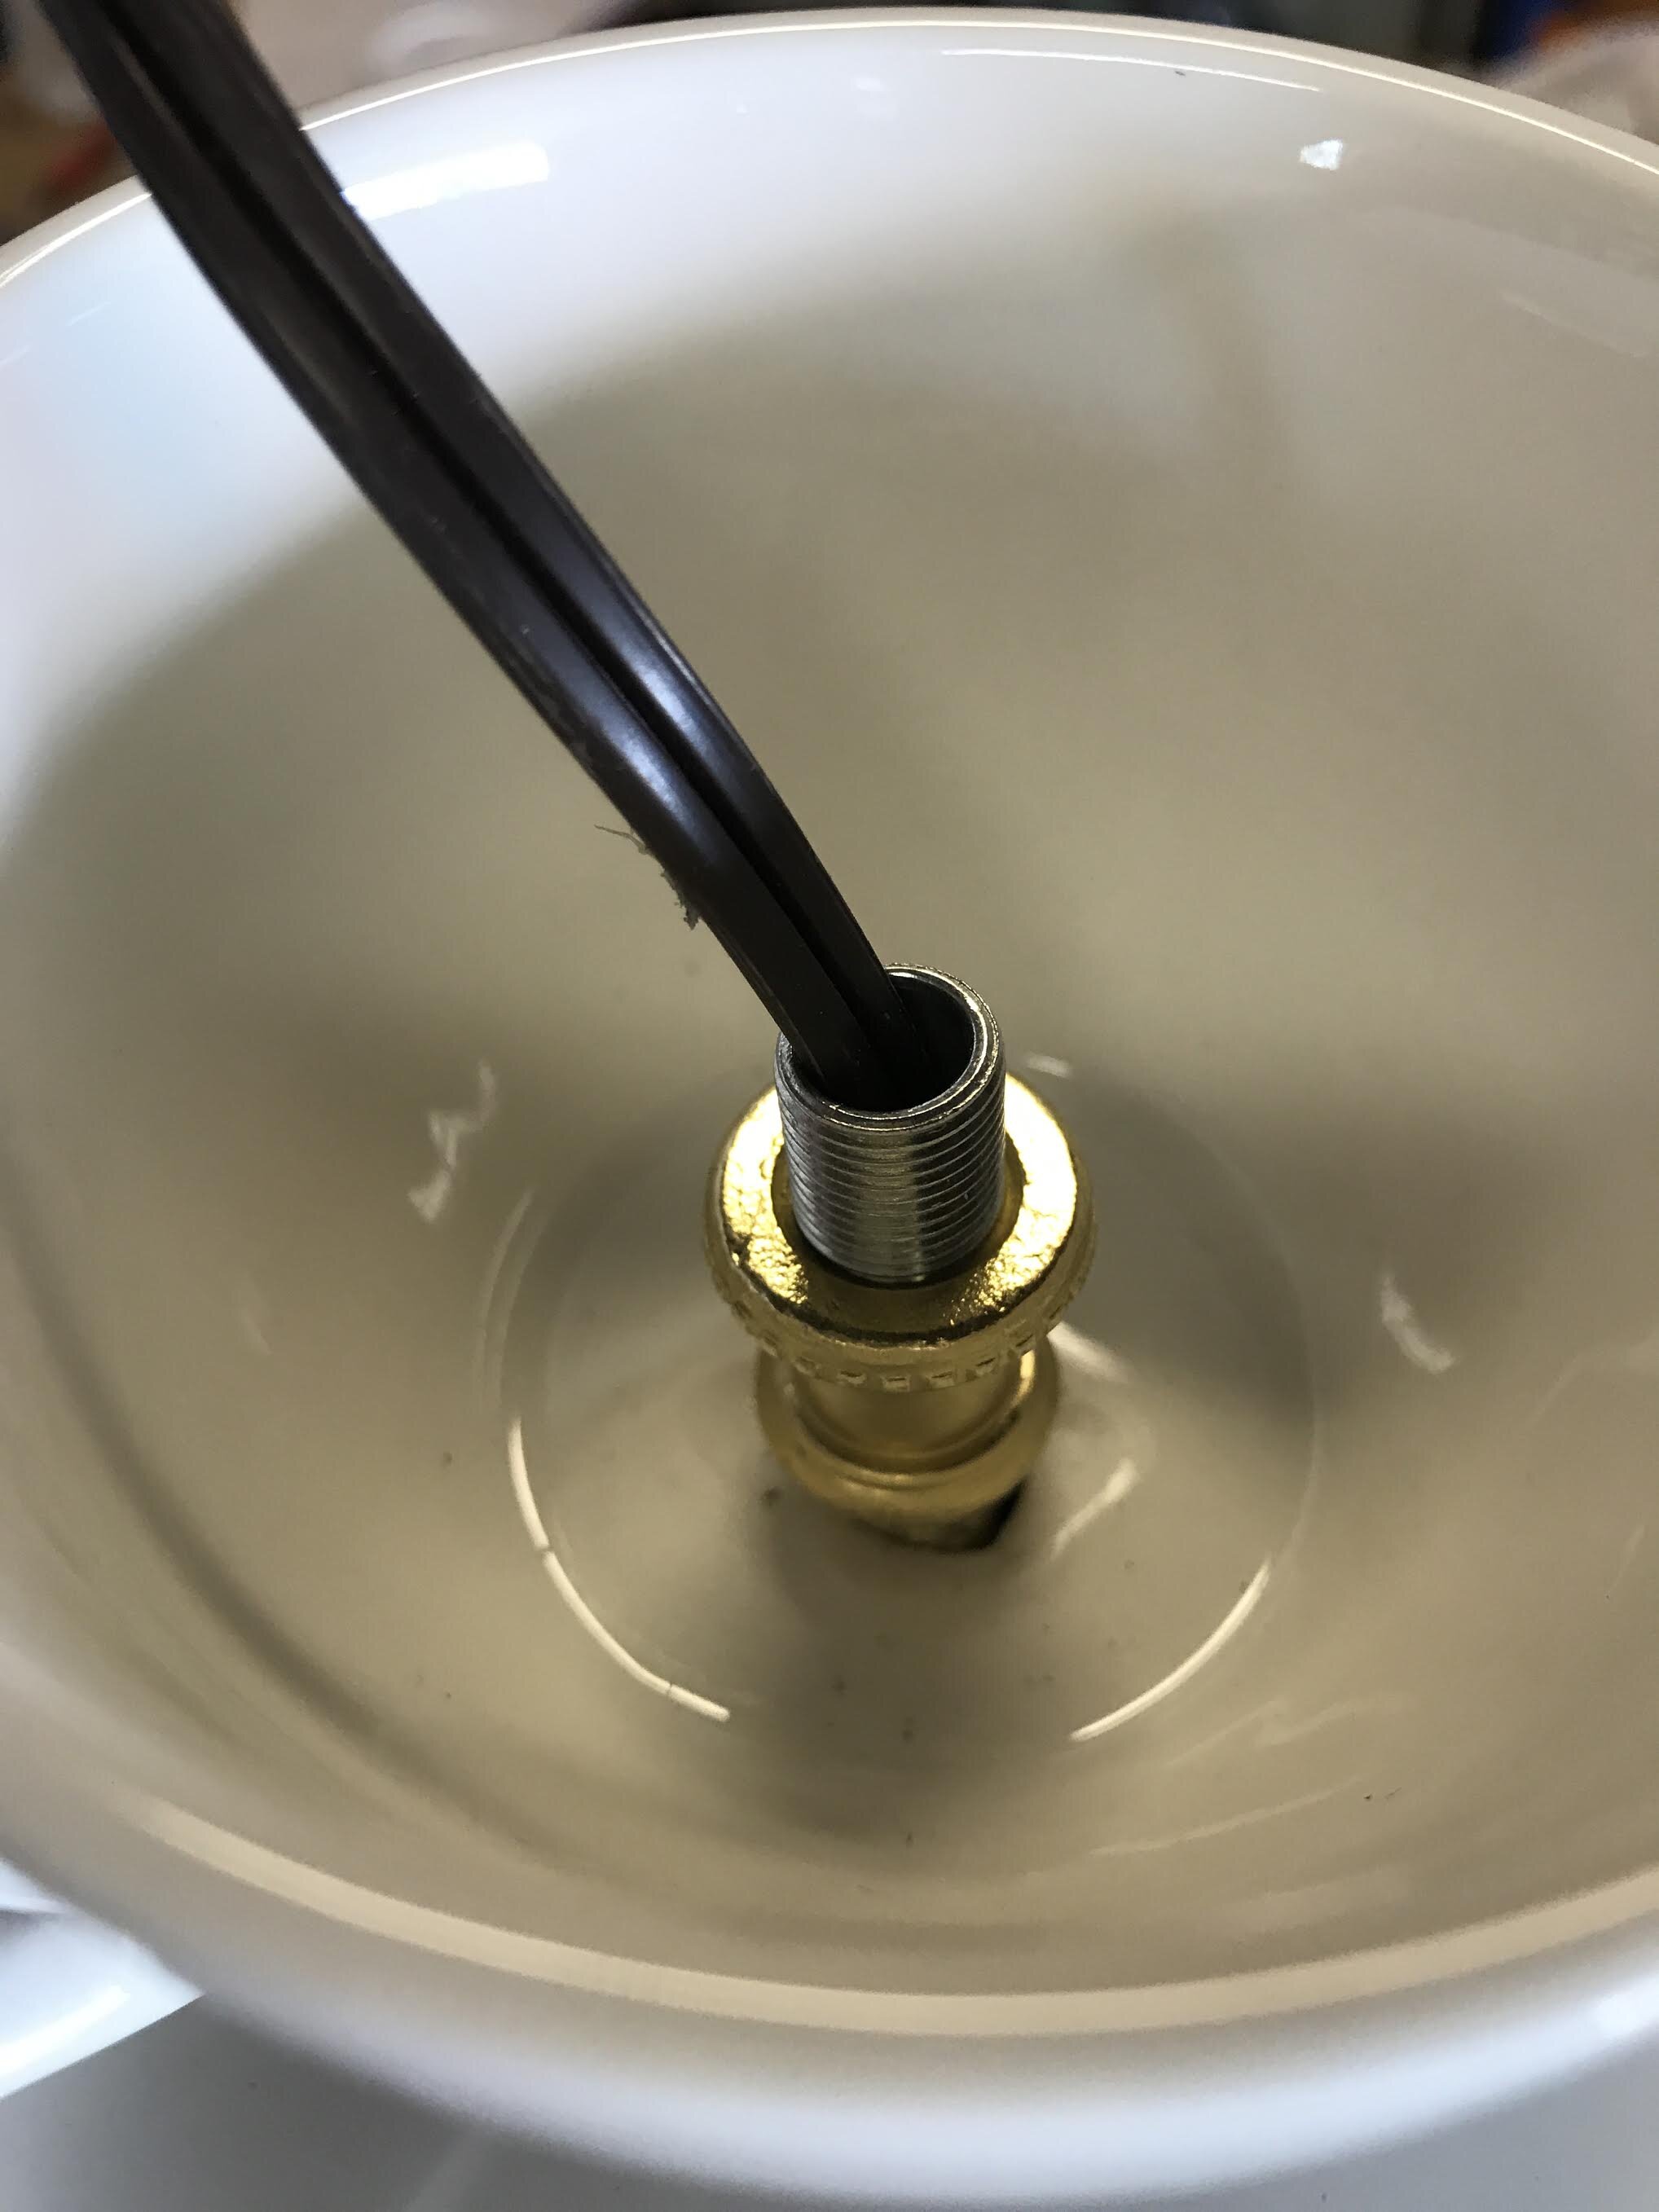
Glue your 4 feet to the bottom of the wood plaque. Insert the rod up through the wood plaque with the hex nut at the bottom keeping it from coming all the way though. If your hole is too big to stop the nut, just add a washer.
5
Stack your china, just as before, but use hot glue on each piece to secure it in place. Once they’re all stacked you should have about 3/4” of rod left at the top.
6
7
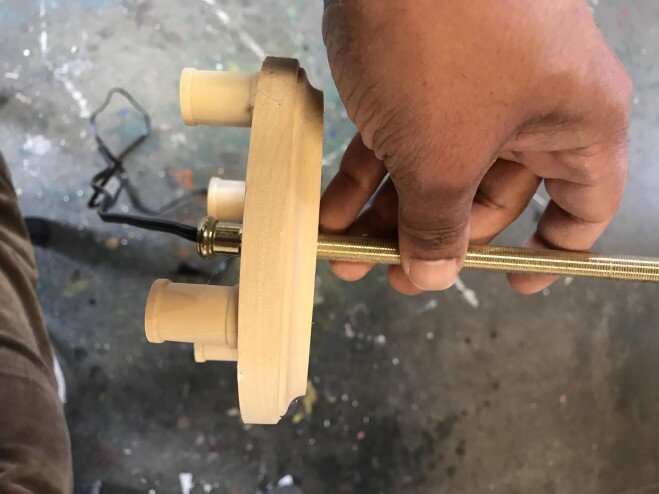
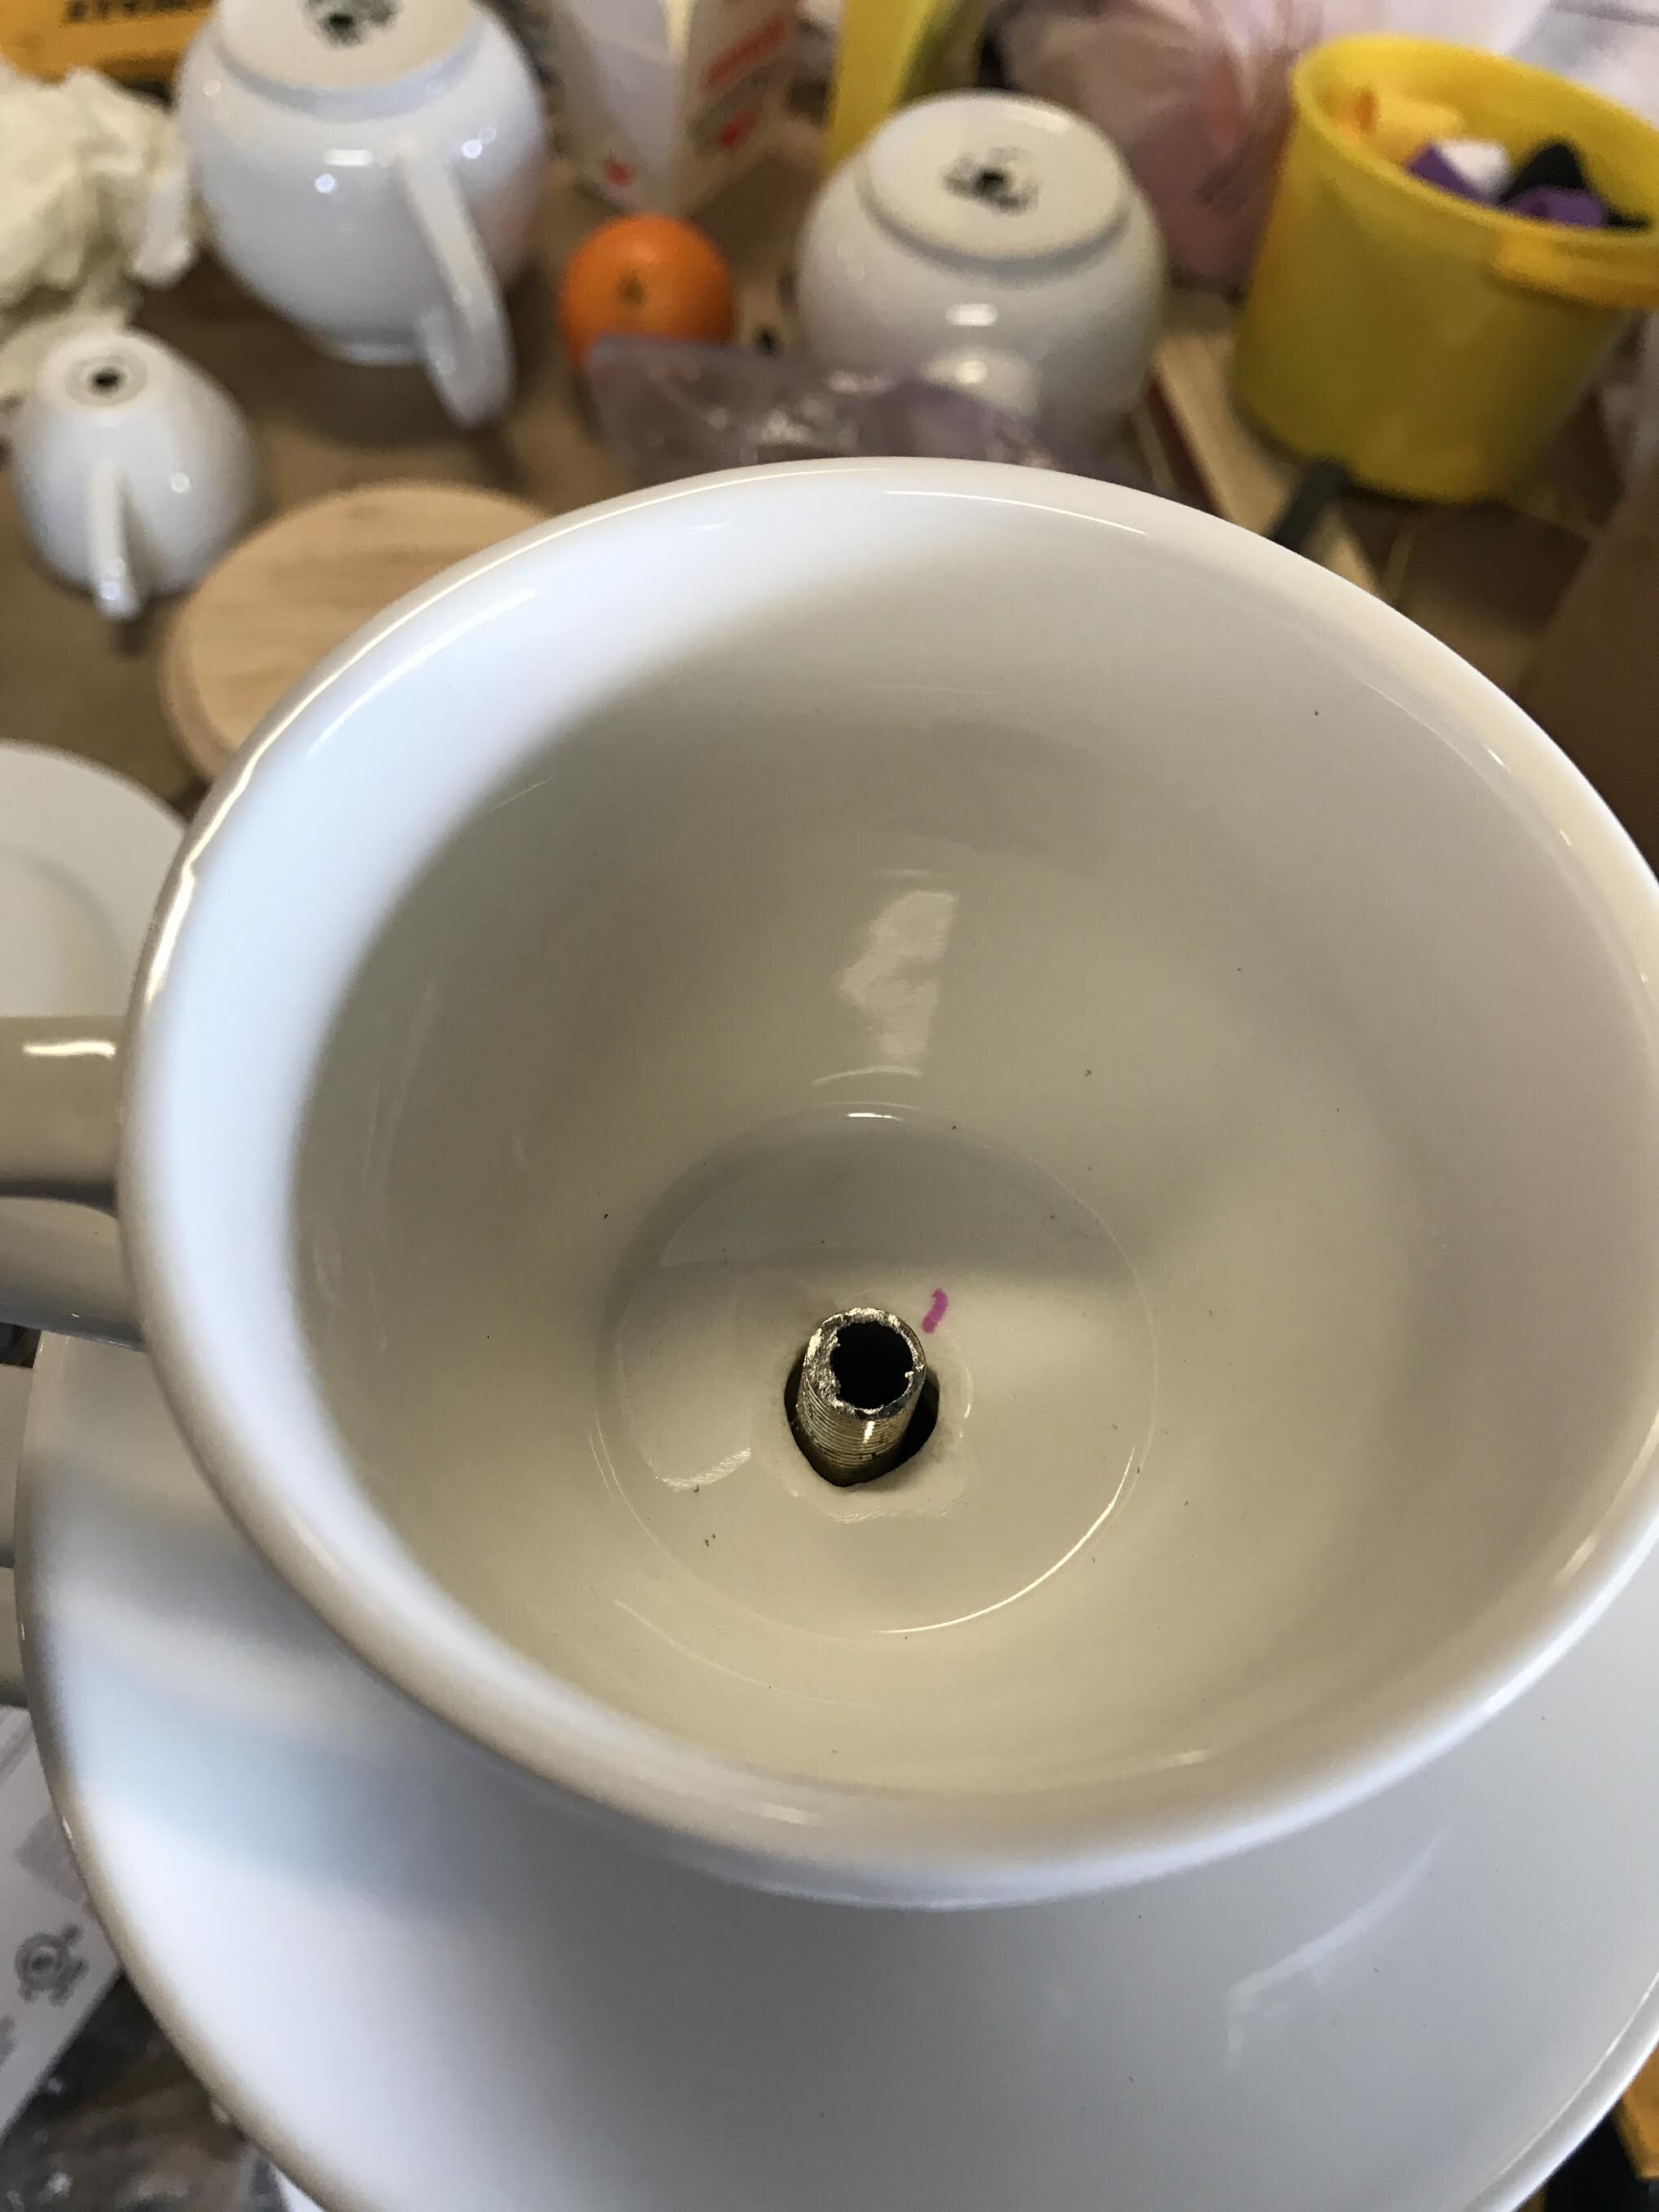
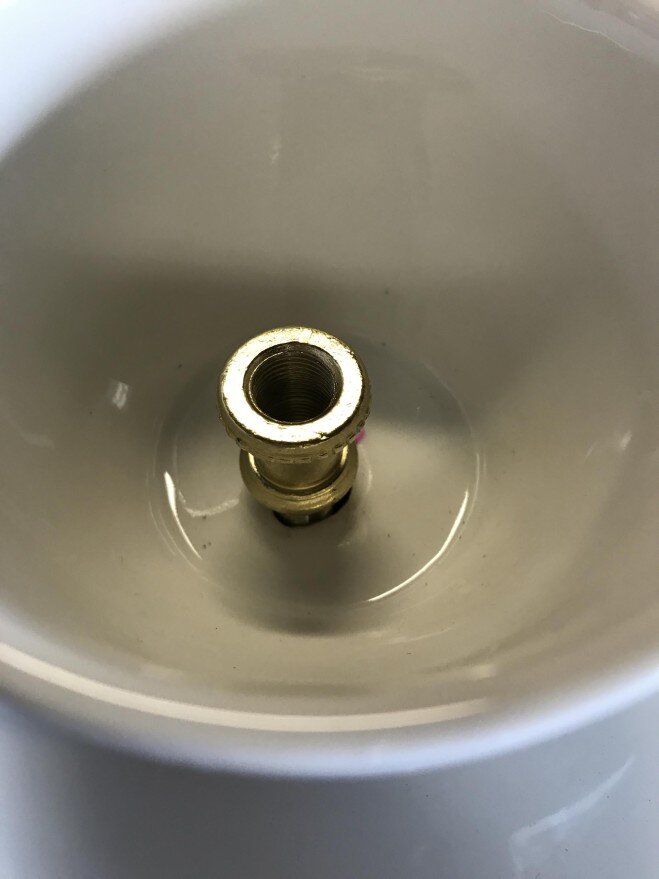
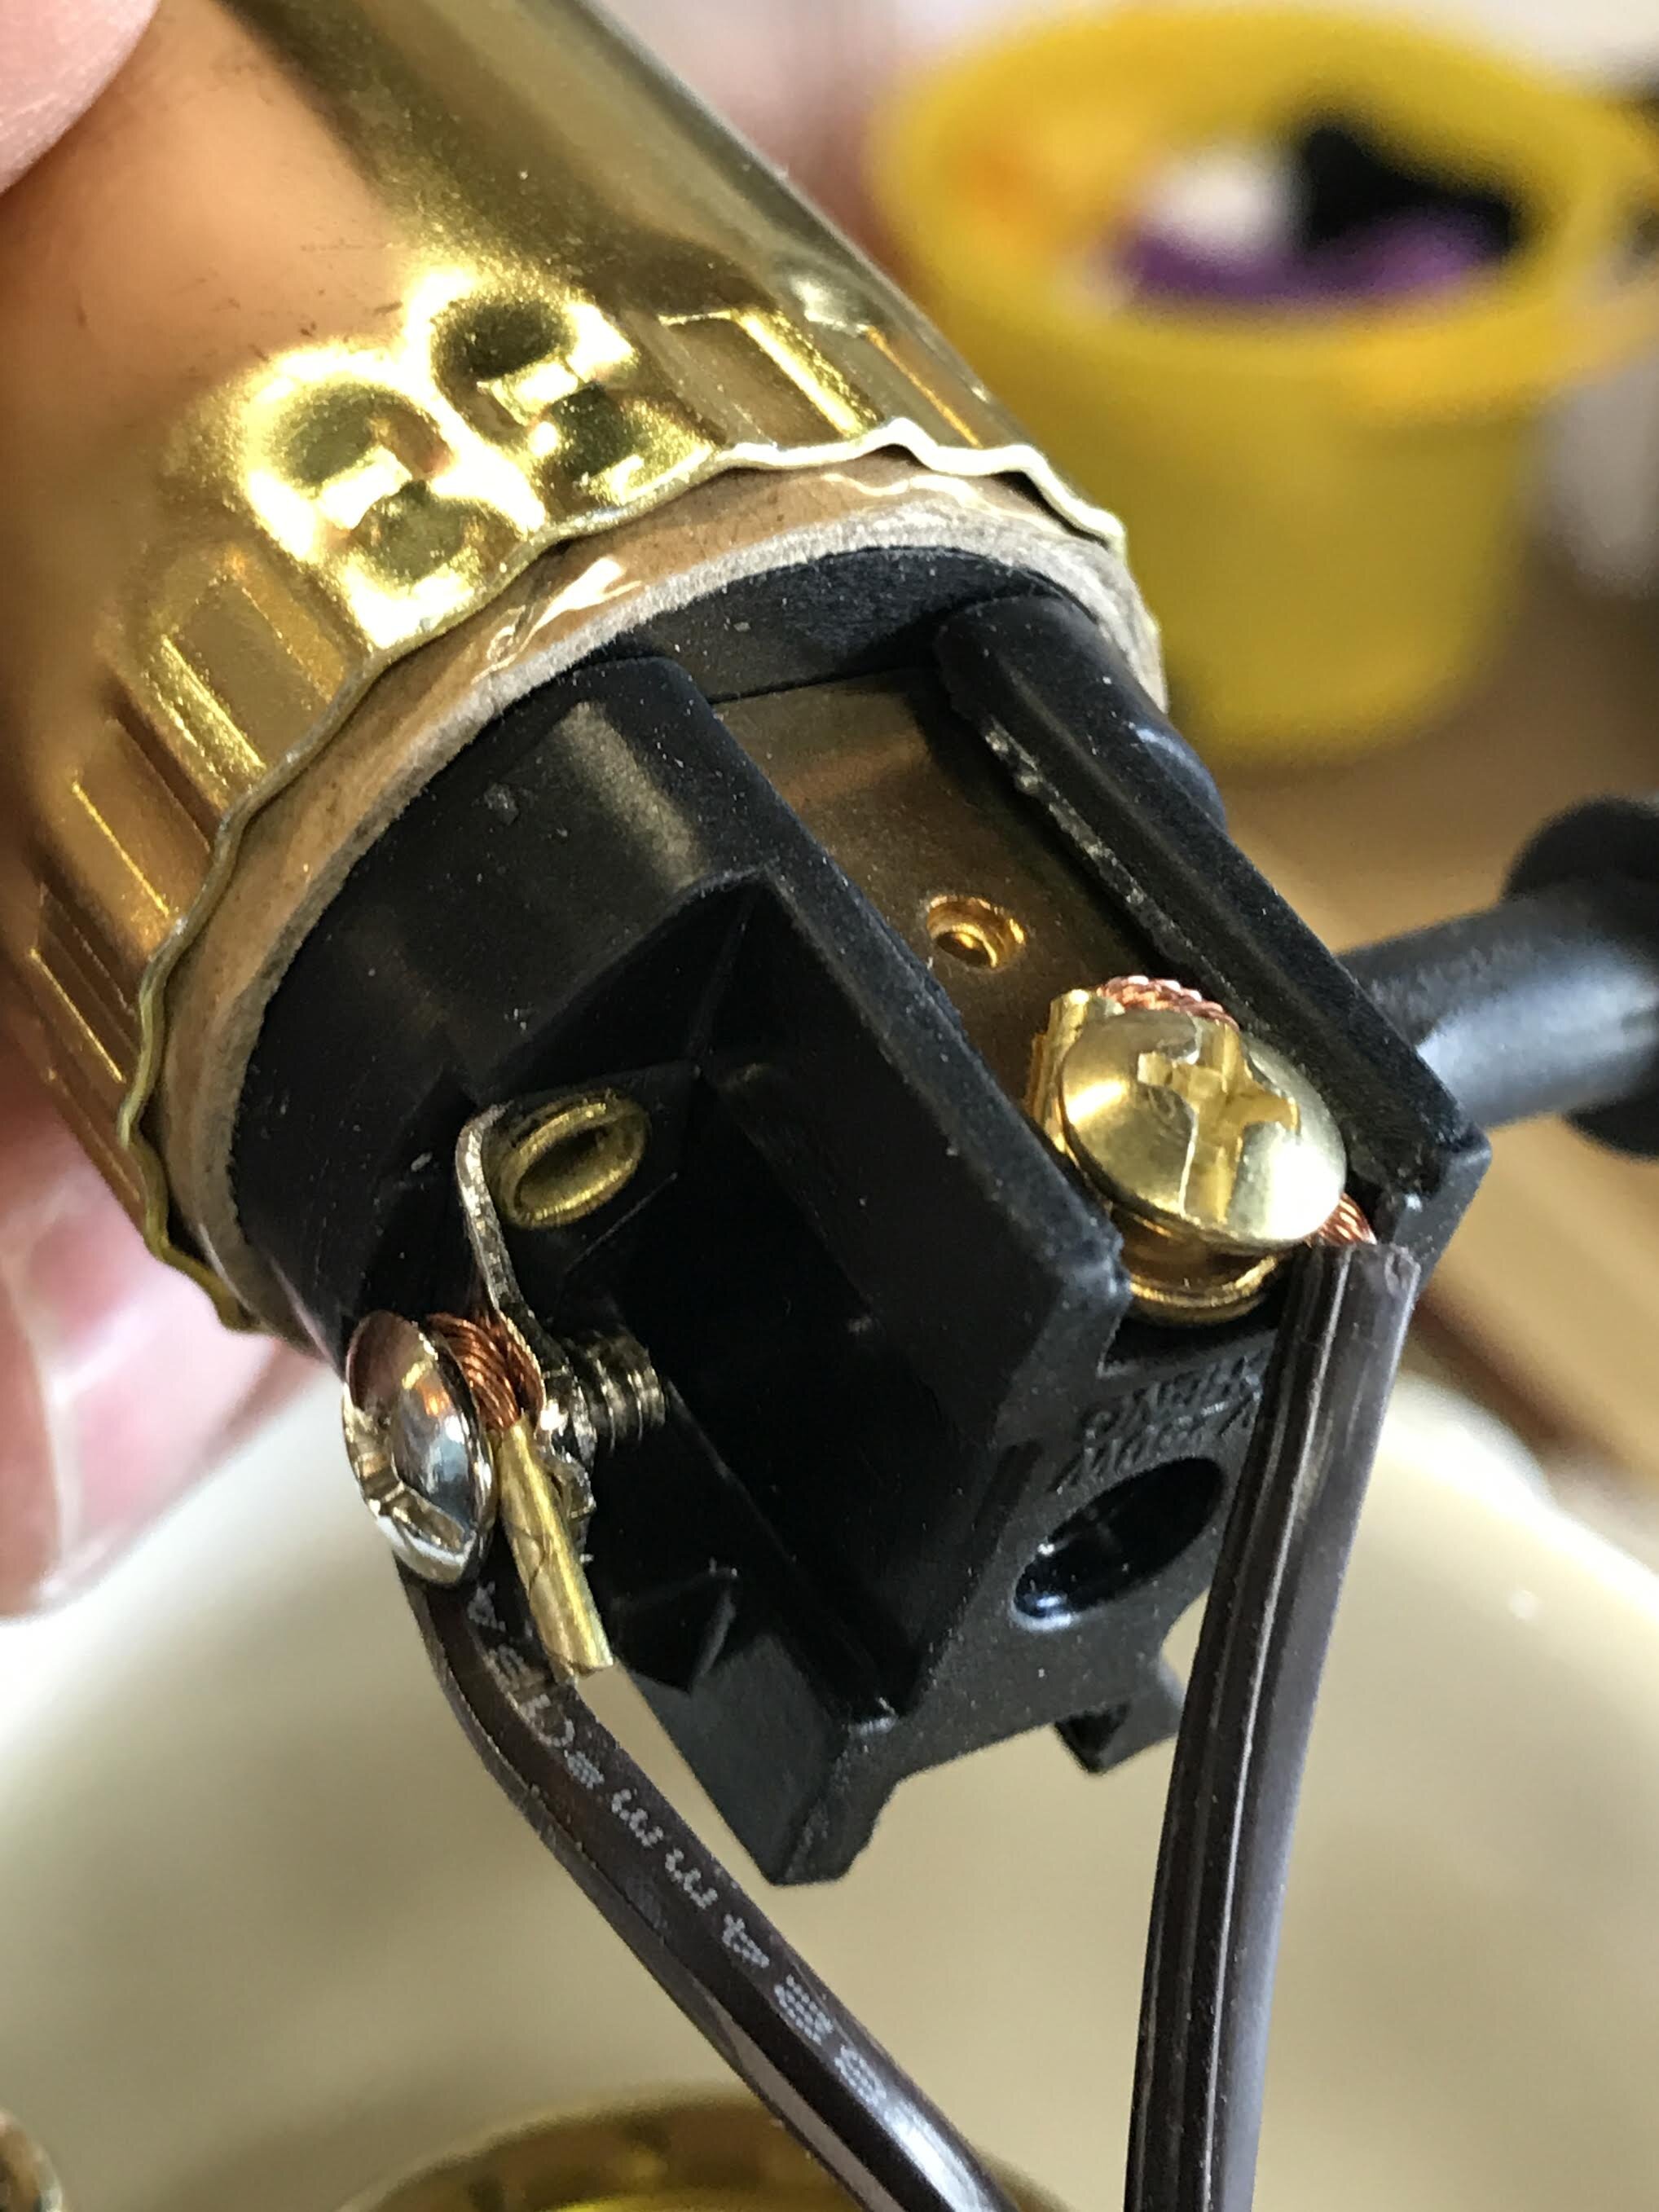
Following the directions on your lamp kit, add the collar, threaded nipple and bottom, harp saddle and the bottom of the socket.
8
9
10
Pulling the cord up through the pieces as you go. Now attach the wires to the gold and silver screws on the socket. (Be sure to attach gold to the positive wire and silver to the negative wire.) add the top of the socket.
11
Now, you’re basically done and can add a light bulb and bask in the glory of your work. If you want to paint it, like I did, just tape off the socket and cord and hit it with some spray paint. Personally, I love how modern it becomes, but left in its natural state….it’s just as charming. Now, one lump or two?
1