
Mosaic Plate Table Top or Wall Art

I was hankering to do another plate mosaic after my stepping stones from a season or two ago, but I wanted this one to be a bit more modern and abstract. I landed on a cafe table top that could also be used as a piece of wall art. All white plates that had a bit of relief or detail to them seemed to answer my call for a modern feel. It was a fun and easy project - using just the white makes the opportunity for screwing up very limited.

IMG_0333
MATERIALS
Plates
Mastic or tile adhesive
Sanded grout (I chose an off white)
1/2" plywood
1" x 2" trim
STEPS
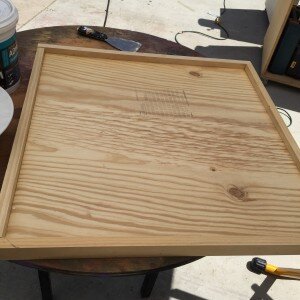
Get your base built. I cut a simple square from the plywood and nailed the 1" x 2" around the edge so I had a lip that was about 1 1/2". You could also easily buy a serving tray of similar construction and not bother with building anything. Always a good option.
IMG_0342
Lay your plates face down, cover with a towel and give them a few whacks with a hammer. (Gold hammer not required.)

IMG_0341
Scoop some of the mastic on to the wood and spread it out. Because the plate pieces are not flat, you need a lot of mastic to be able to even out the pieces.

IMG_0343
Start placing your pieces one by one until you have the surface covered. Try to get the plate pieces as flat as possible with no sharp edges pointing up. It's a total trial and error process. You may need to add more mastic here and there to get the plates pieces to sit the way you want them to.

IMG_0345

IMG_0388
Now let the entire thing dry according to the directions on your container of mastic. It takes a while since we've used so much - I'd say overnight is best.
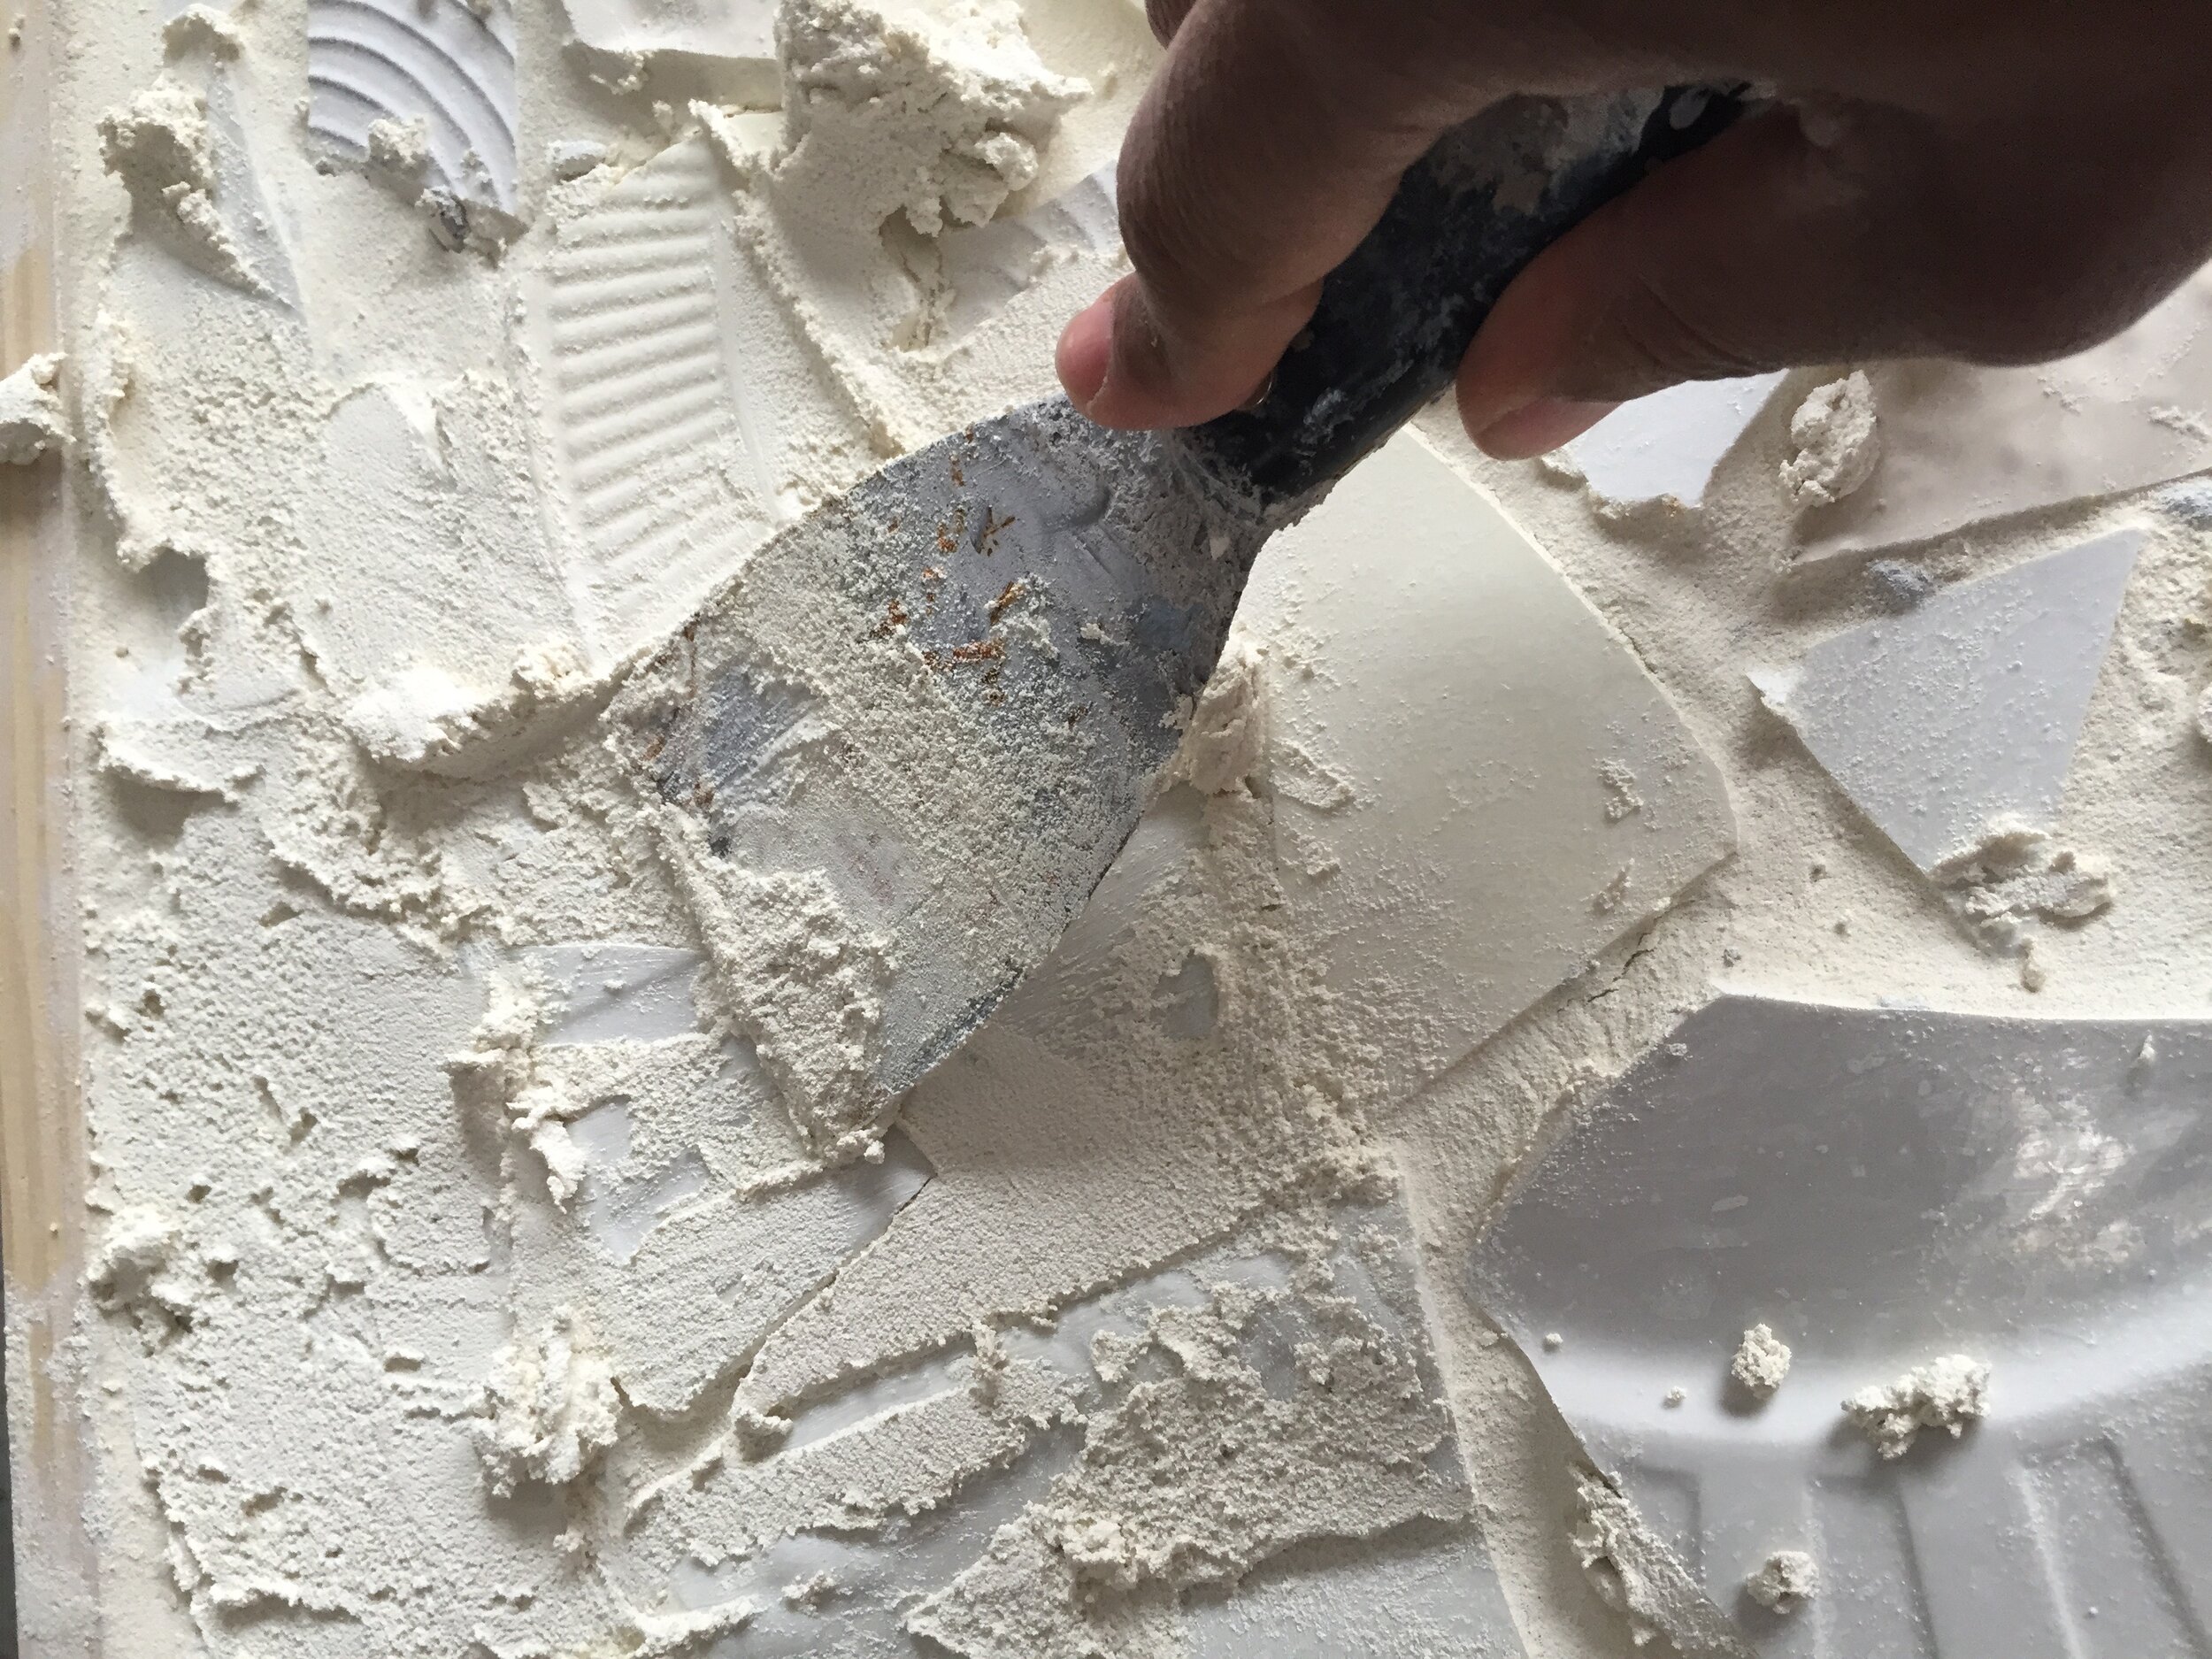
Now it's time to grout. Just spread the grout all over the top of your mosaic and use a spatula to really push it into all the nooks and crannies around the pieces. Really be sure to work it into all the gaps and don't worry if you're covering up the plate pieces. Now let it set for 15 or 20 minutes or according to the directions on the container.
IMG_0381
Once it has set up a bit, go back with a bucket of water and a damp sponge and start to wipe away the excess. You'll need to dunk the sponge after every wipe or two - the goal is to get all the grout off except for that which is between the pieces. It'll take a while, but is very satisfying.

IMG_0382
Once you've got it to where you like it, let it dry completely. If you still have a few pieces poking up or have a few gaps, you can always go back and do another round of grout and sponging.
IMG_0394
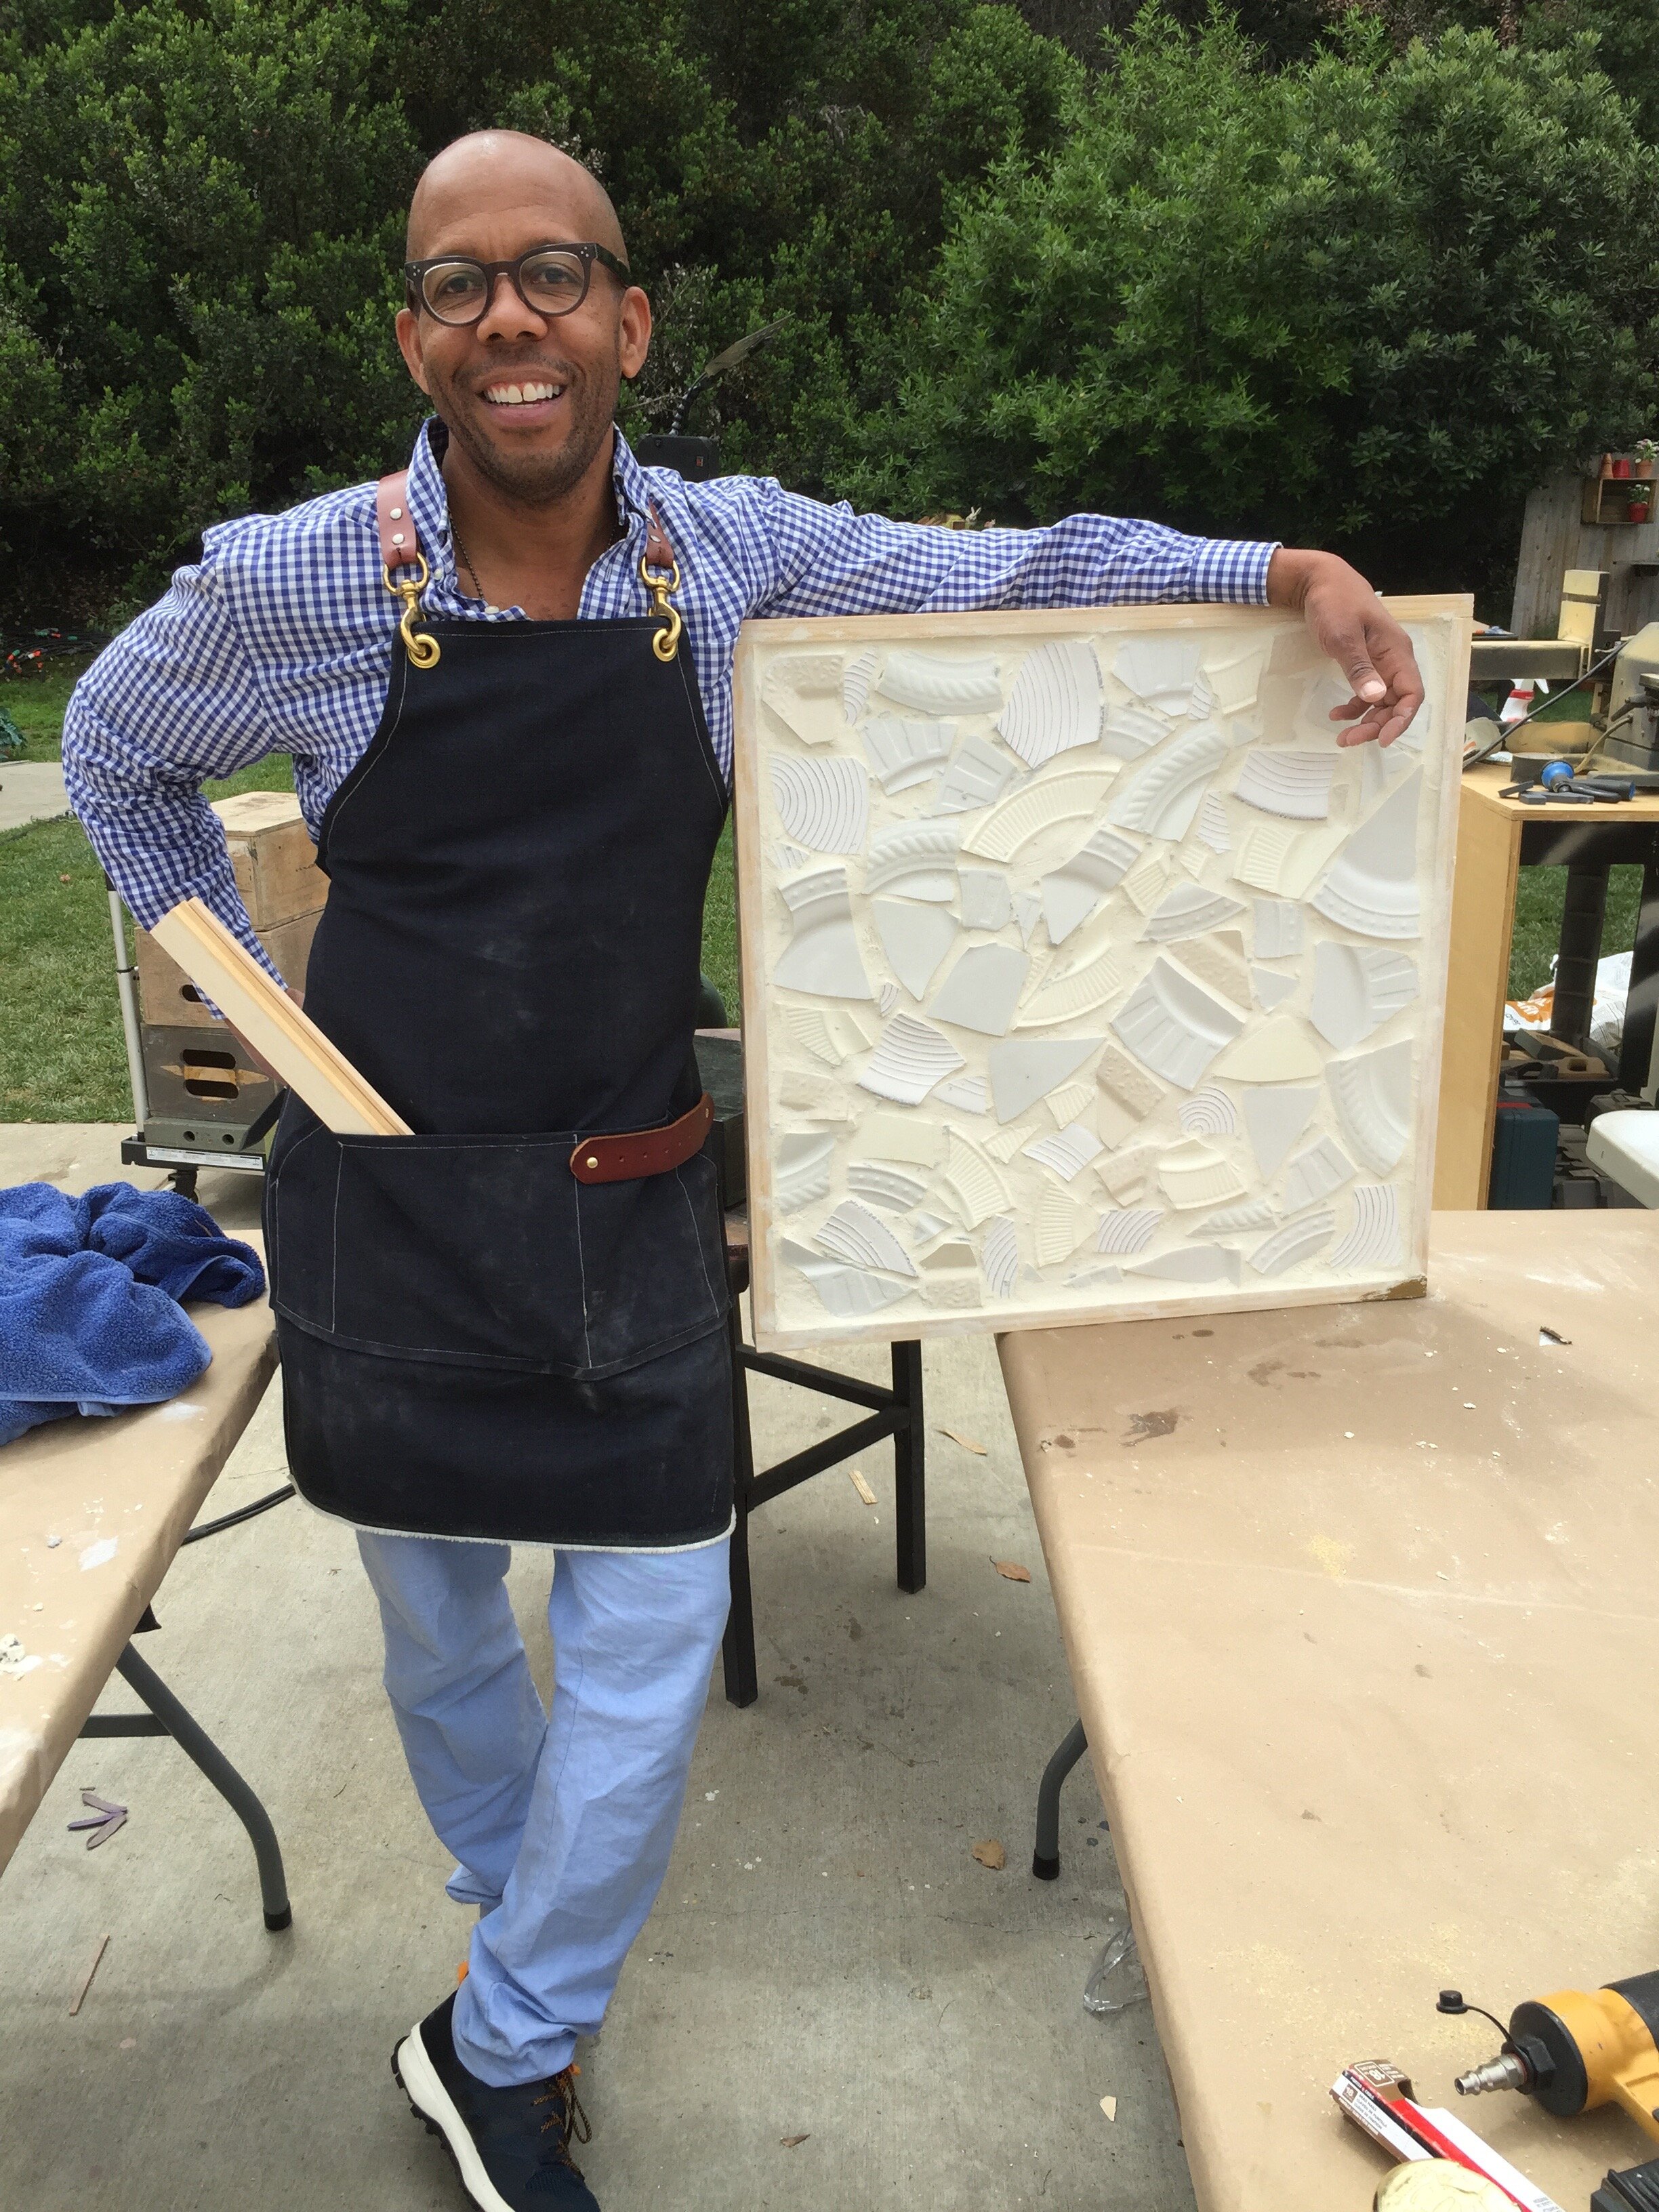
Now that you've got your finished piece, paint the edges of the wood if you like. I chose gold, but a white or pickled wood finish would be great. Paige made this simple base for me by screwing a flange onto a piece of plywood and adding a piece of pipe. All we had to do then, was add another flange to the back of the mosaic and you've got a table......that being said...I'm still taking mine home and hanging it on my kitchen wall.
