
Marquee Sign

-1
I have long been a fan of old marquee signs. Rusted and oversized they always seem to whisper secrets of their past life. To find real ones these days is getting harder and harder as they've become the go-to design elements for every bar, restaurant and artist's loft. While reproductions of smaller ones are popping up everywhere, finding reproduced larger ones is still difficult and expensive. So Dave Lowe, our Prop Master, and I decided to tackle making one that had all the impact and mystery of an original, but was made using everyday materials. I have to say, I was very happy with the results. BTW, Dave is a mastermind and you can find lots of his creations on his blog, Dave Lowe Design.
MATERIALS
4X8 sheet of 1/2" plywood

wiggle wood

hqdefault
Bender board (for edging flower beds)
String of Christmas lights
Brown paint
Red spray paint
Table salt
Saw
Drill
Screws or nail gun
STEPS
Draw out your shape on the plywood and cut out with a jig saw. Use a paddle bit the same diameter as your Christmas light sockets and drill holes where desired. Make sure that the distance between the holes isn't more that the distance between the sockets on your light set (we learned this the hard way). Measure a section of the side of your shape and cut a piece of bender board to fit. Place the bender board against the plywood and position it so that 1.5" of the bender board is below the plywood and the rest is on top, you want a cavity behind the sign for the wiring to fit. Attach the side with screws or nails. Repeat until you've completed your sign.

arrowRAWDLOWE (1)
The faux finish is really what makes this sign. This is something that Dave came up with and is really amazing. It's incredibly simple, but with stunning results. Here's how to get the effect:

CHIP2DLOWEb (1)
CHIP3dloweb (1)

CHIP4DLOWEb (1)

CHIP5dloweb (1)
Here's our arrow with the base coat of brown. And you do want to lay it on thick and then pounce the brush up and down, it makes it look like metal where the paint is bubbling up.

ARROWbasecoatDLOWE
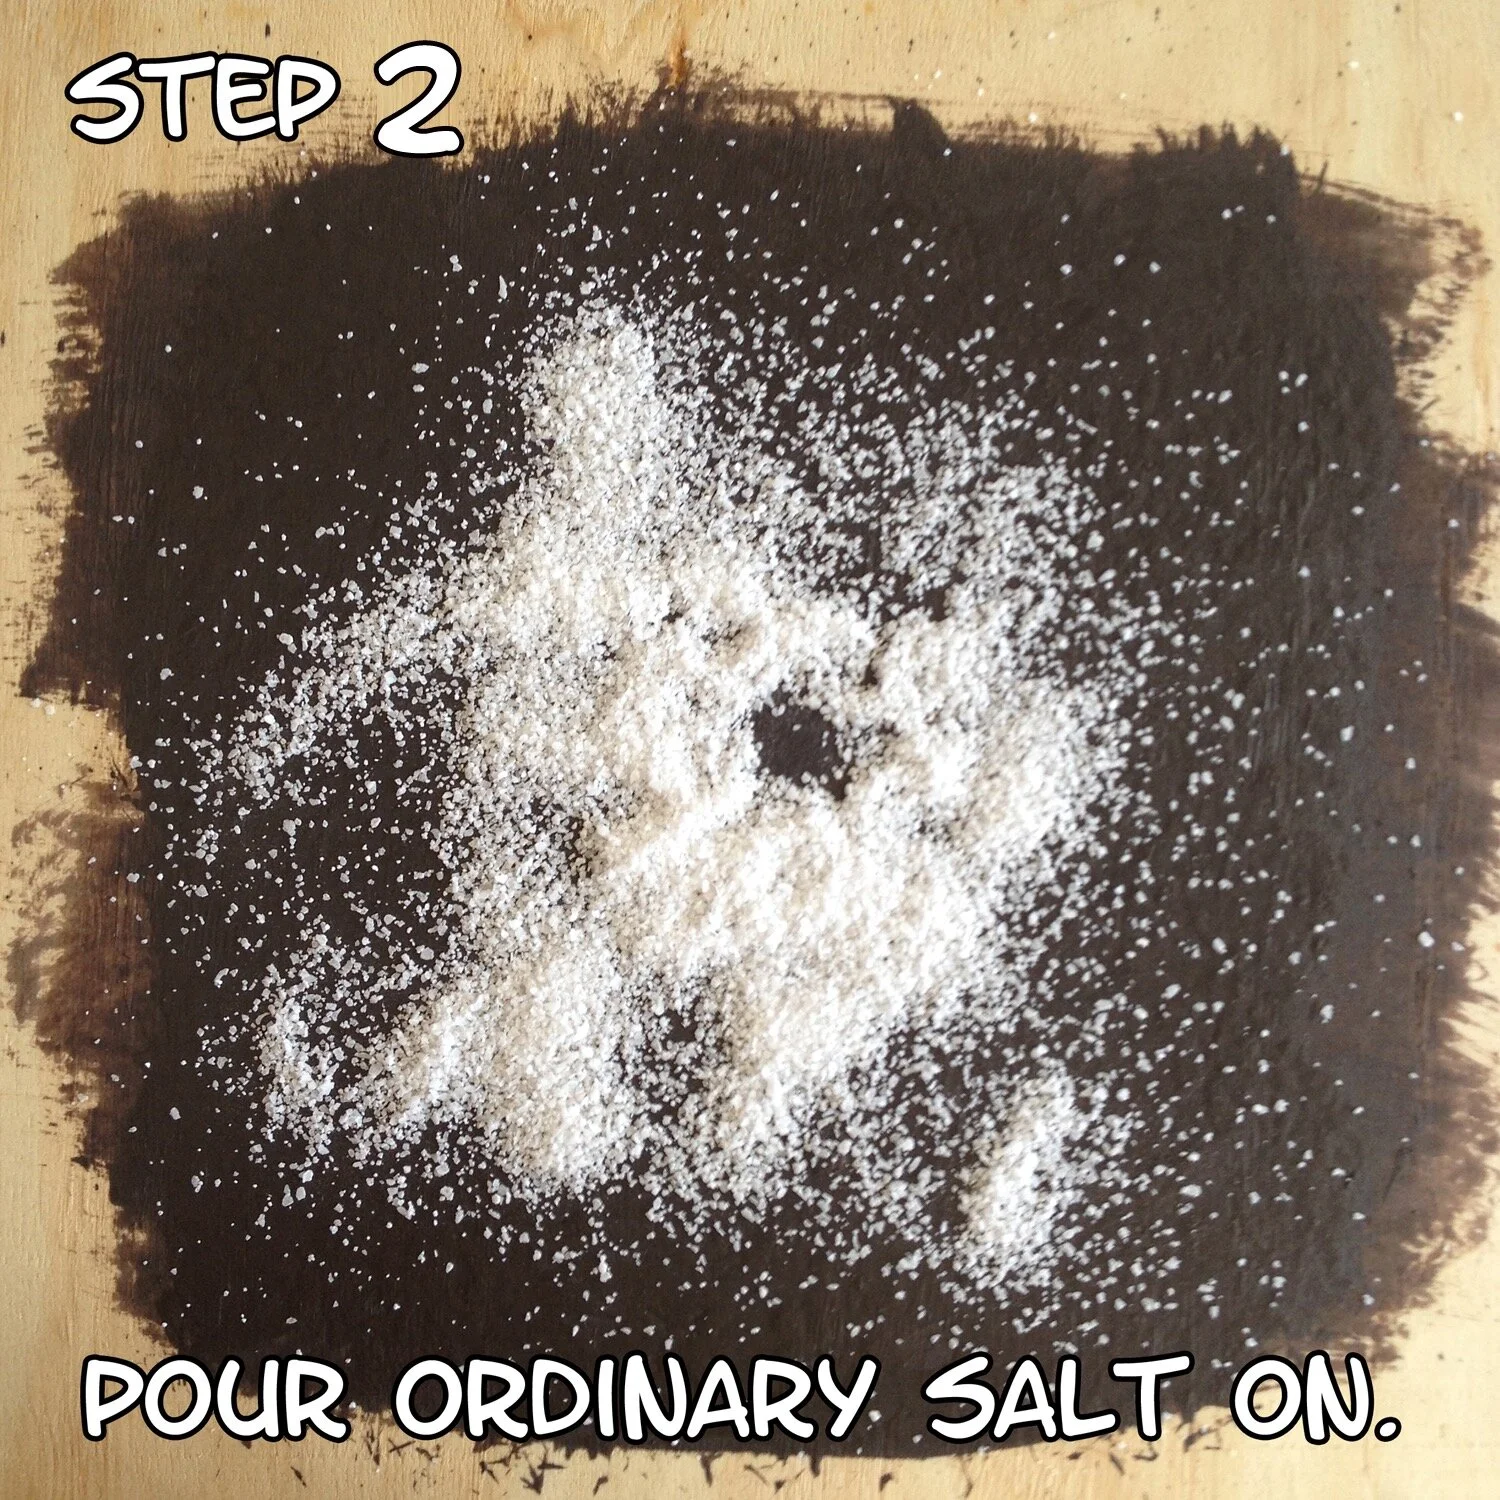
Then really pile the salt on. We found that mixing the salt with water until you get a paste also works, that way it doesn't move around so much and you can get it to stick to vertical surfaces as well.

IMG_4274
And then spray paint over everything. It's going to look really weird and some of the salt will move around due to the force of the spray paint, but go ahead and have at it. It's going to look a little weird....

Once everything is dry, brush off the salt. Some of it won't come off and will be stuck in the paint which really gives it that corroded feel.
arrowPAINTEDdlowe
IMG_4283
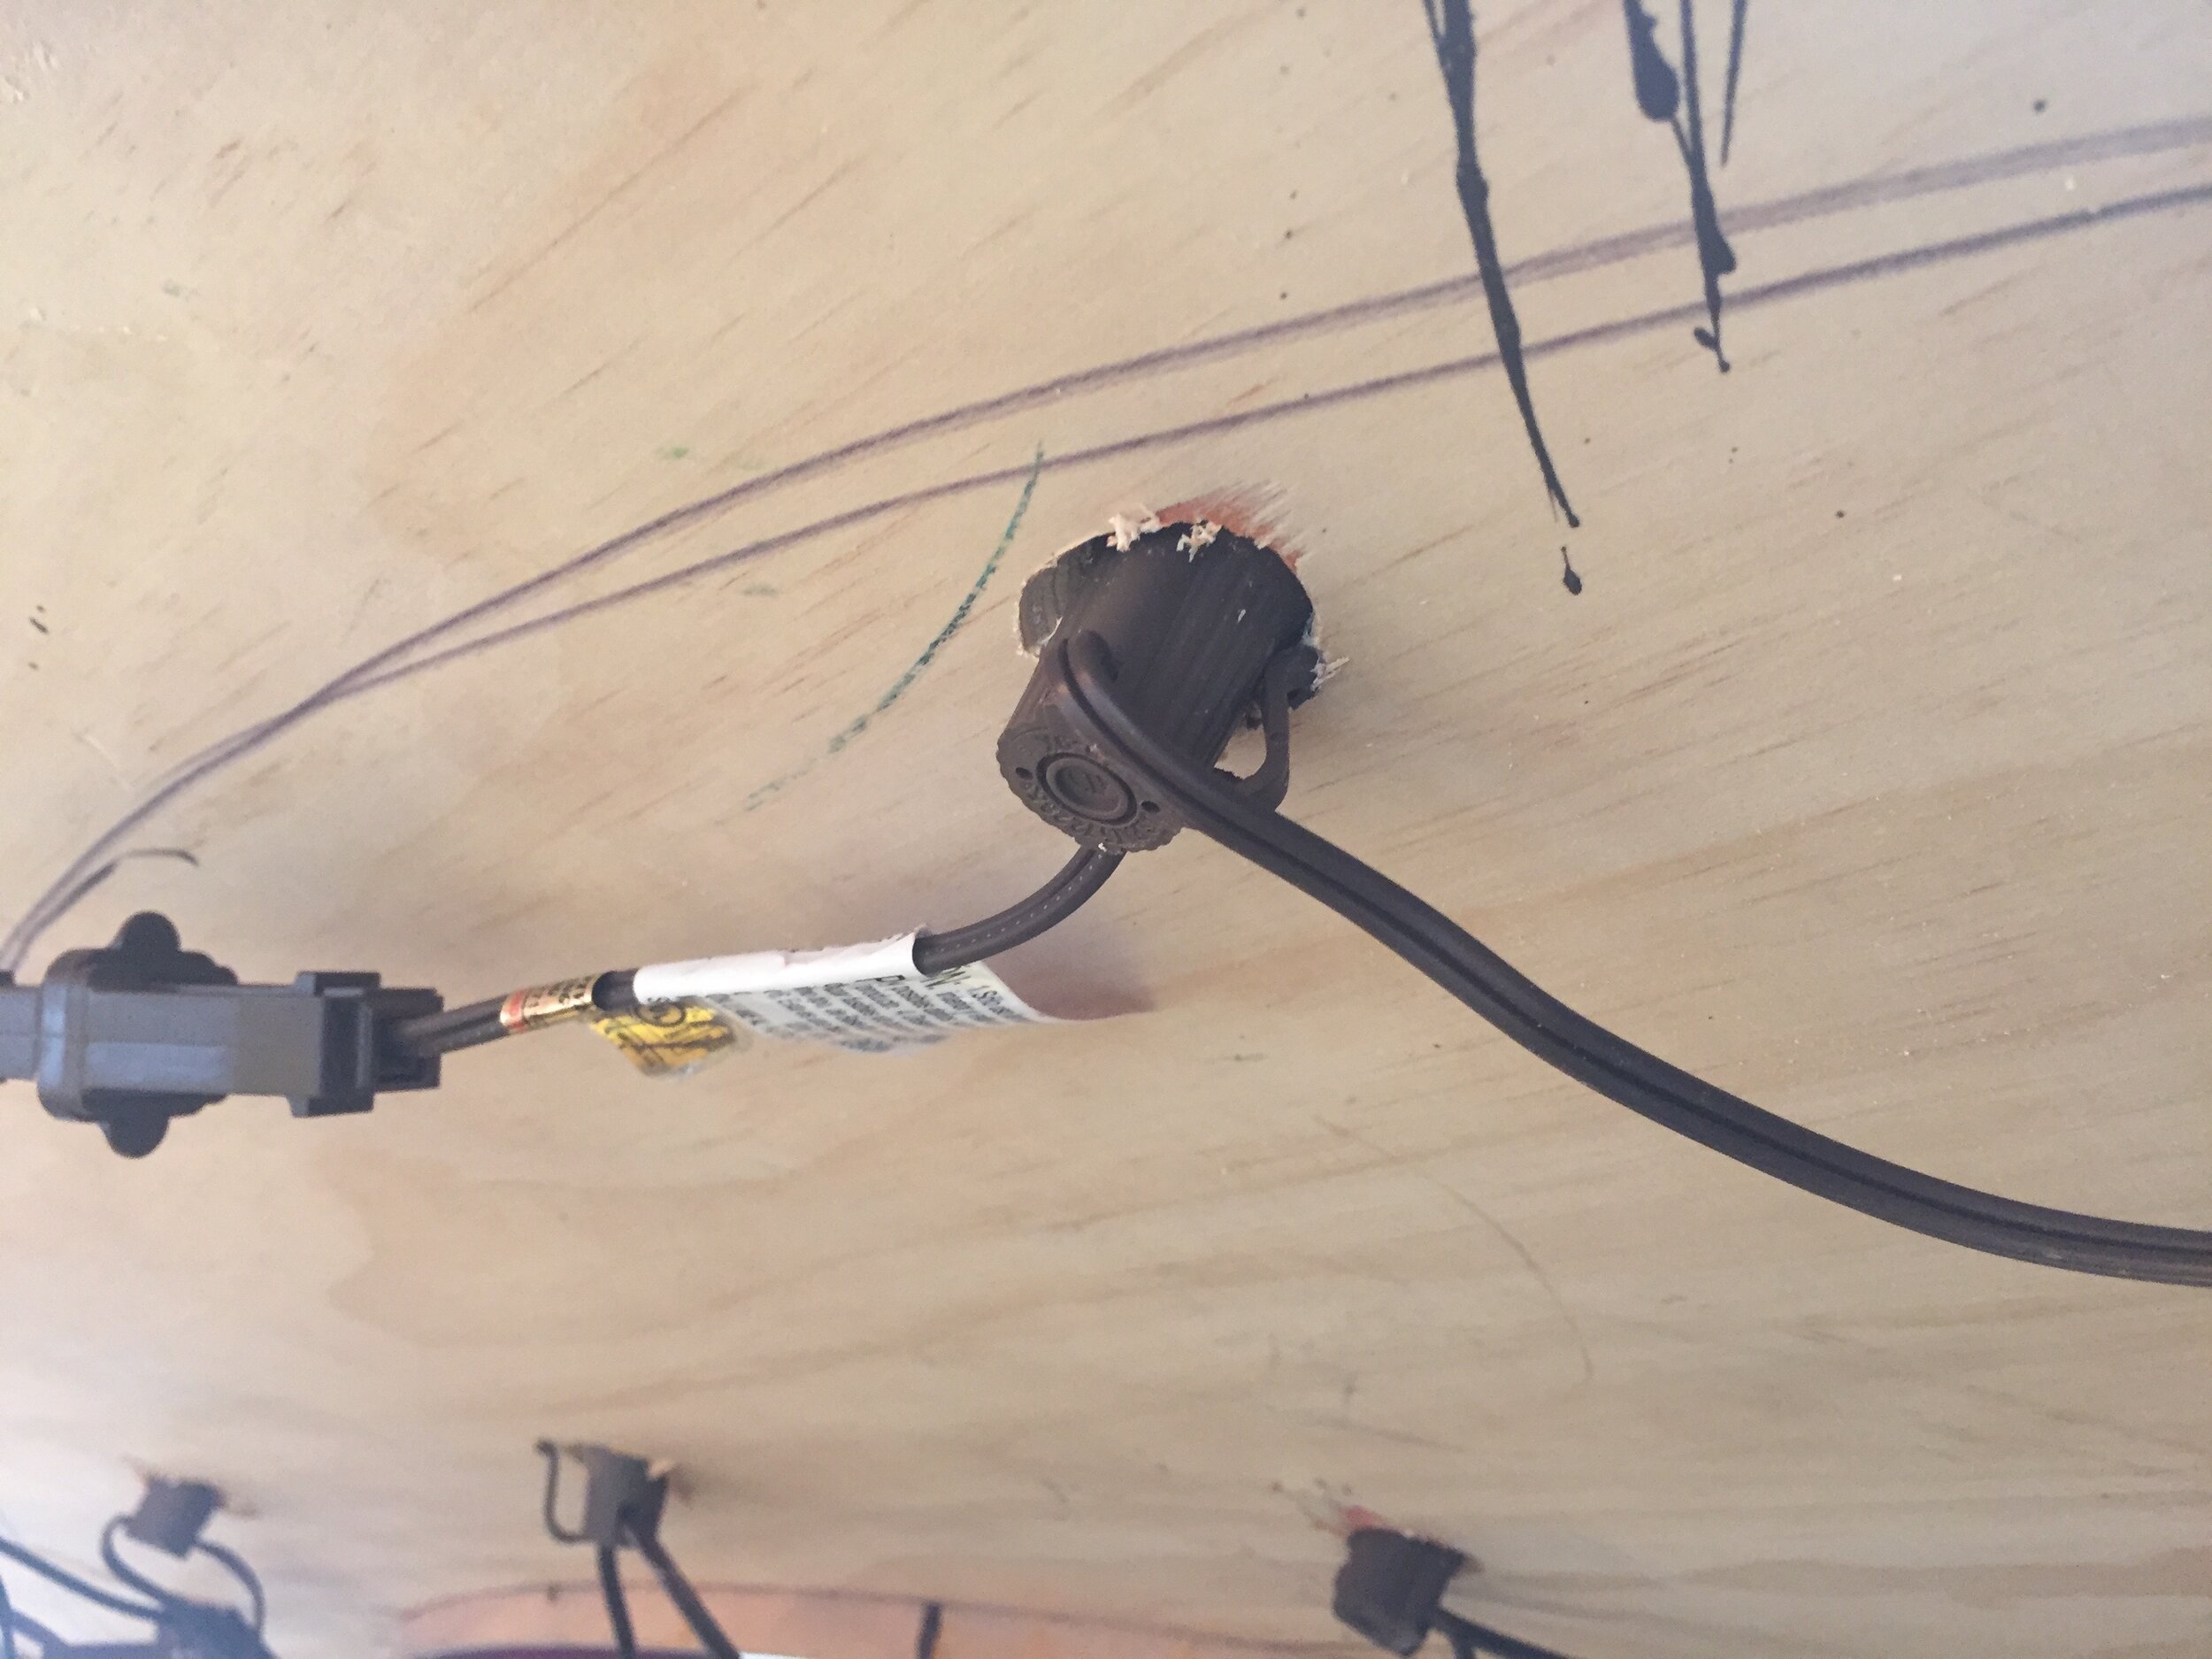
Now just add your Christmas lights from the back, inserting the sockets into the predrilled holes. Screw in clear round bulbs to hold them in place.
Hang it up and create your own story about how you found the sign while driving west on Route 66....

Home and Family 4107 Final Photo Assets