
Leather Mason Jar Koozies

IMG_0575
I wanted to create a fun drinking glass for us to use this summer. I love drinking from mason jars (we served cocktails in them at our wedding), but wanted a way to give them a little extra umph! So, Idecided to make leather koozies of course. You can make them as simple or decorative as you like. They look good, feel good and actually keep your hands from getting cold!

IMG_0568
MATERIALSLeather piece (mine was 11oz which is super heavy)Waxed heavy duty threadAwlMason jarLeather dye or paint (optional)Leather punch (optional)Rivet set (optional)Leather grooves (optional)
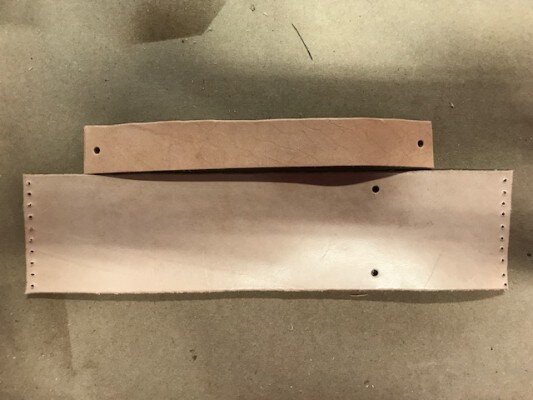
STEPSMeasure and cut your leather. You want a piece that will be long enough to wrap neatly around your mason jar with the edges just meeting. The width should be 3 to 4 inches depending on your jar and where it starts to curve - you want a piece that will lay on the flat part only. You can cut leather easily with a pair of heavy scissors.
If you want a handle cut a second piece about an inch wide and long enough to wrap around your fingers plus 2 inches.
With a pencil, make marks down the short end of the leather every 1/4” about 1/4” in from the edge. Repeat on the other end. Using the awl, pierce the leather to make a hole large enough for your needle at each mark. (If you’re handy with a drill, or have a drill press you can also drill them using a very small bit.)
If you’re adding a handle, punch a hole in each end of your handle piece and 1/2” down and 4” in from the end on your main piece. Make sure you hole matches the size of your rivets. Now go ahead and line up the handle holes with the body holes and rivet the handle on.
IMG_0551
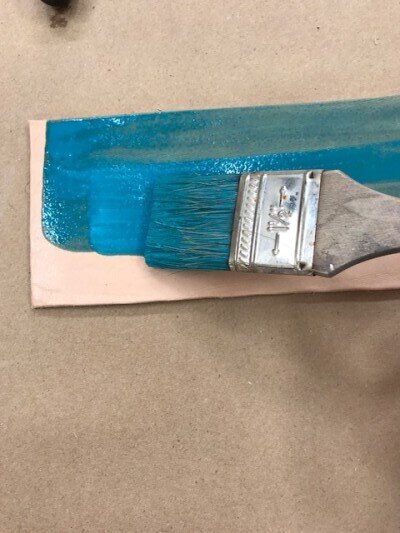
If you want to add color go ahead and do it now. You can use leather dye, shoe polish or even regular acrylic paint that’s been watered down. I wanted a slightly faded look, so I brushed it on ....
IMG_0555
And then quickly wiped off any excess with a paper towel.

IMG_0556
If you wish to had decorative lines, use the leather groover. Simply set the tool to the desired width, line up the guide with the edge and, with light pressure, drag it down the piece.

IMG_0557
To get really fancy, adjust it to be a different width and add a second line.

IMG_0558
Now you’re ready to stitch it all together! Thread your needle and knot the end. For my basic koozie I wanted the stitching to add a little zip, so I stitched it together with the stitches going at an angle (I just skipped the first hole on one side).

image1 (5)
And then went back in the other direction using the same holes, but slanting the stitches in the opposite direction to create an X.

IMG_0548
For the blue one, I wanted simple stitches so I just lined up the holes and did a straight stitch. When finished just cut the thread and tie it off.

image1 (6)
Now you’re all set to raise a glass all summer long. Cheers!
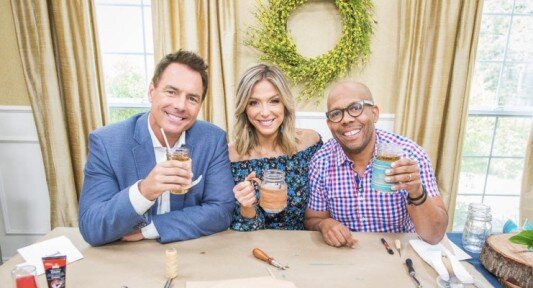
Mark Steines and Debbie Matenopoulos welcome Valerie Bertinelli and she whips up cherry coconut scuffins. “Hang Time” author, NBA legend Elgin Baylor visits our home. Chef Fabio Viviani cooks lavender pan-braised swordfish. Gastroenterologist and internist, Dr. Roshini Raj is breaking down the basics of probiotics. Debbie prepares a toasted farro breakfast salad with coconut bacon. Ken Wingard creates leather mason jar sleeves. Orly Shani shows us a DIY copper mail organizer. Lawrence Zarian and Ali Fedotowsky-Manno team up for adorable mommy and me fashions. Maria Provenzano has DIY lump of coal soap for Christmas. Our family members answer viewer questions. Credit: © 2018 Crown Media United States, LLC | Photo: Kim Nunneley / Alexx Henry Studios, LLC.