
Hypertufa Planters

HHAF6155-180418-144904
Hypertufa is a man-made rock meant to simulate tufa. Now, you ask, what exactly is tufa in the first place? Well, it’s a natural accusing permeable limestone that’s often found near water sources like springs, waterfalls, etc. For hundreds of years it’s been used in Alpine gardening both because of it’s aesthetics because plants love the permeability. Now that this rock is harder and harder (read more expensive and more expensive) to find, people have developed a way to make a man-made version of it. Still using natural materials and still permeable.

IMG_0005
MATERIALSPerlitePeat mossPortland cement (make sure its the pure stuff and not mixed in something like Quikrete.Concrete reinforcing fibers (you can find these on line or at a concrete supply place)A mold of your choice
STEPS
IMG_7013
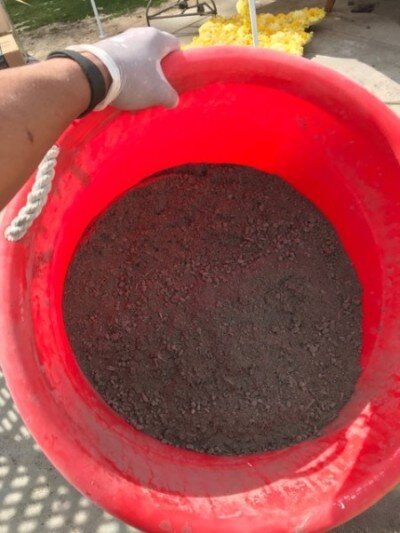
Mix 1.5 parts perlite and1.5 parts peat moss with 1 part cement. This means if you have 8 quart bags of the the first two, add about 5 quarts of the cement. Don’t stress too much, close enough will do it. You may want to wear a mask at this point, it gets pretty dusty.

IMG_7005
Now add a handful of the fibers. I found that this works much better when you pull them apart before you put them in. Rub them between your fingers so you don’t have any big lumps. This is going to make your pieces much stronger - especially the larger pieces.

IMG_7021
Add water and mix until you get something that resembles the texture of cottage cheese. When you squeeze it together a few drops of water should come out.
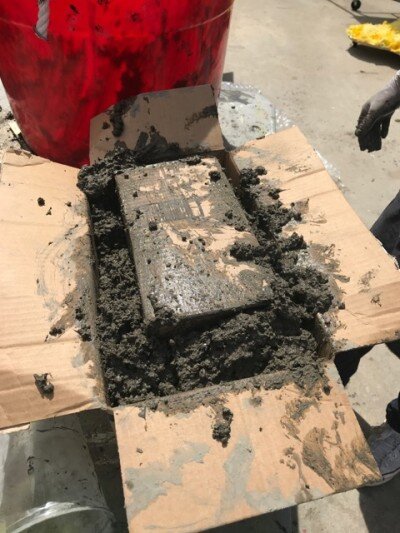
Now you’re ready to put it in your molds. You can really use anything.
For my more rectangular pieces I used a cardboard box. Fill it with a few inches of the hypertufa, sit a smaller box on top of the materials, and then fill in the sides. I found that the weight of made the sides sag some, which made for a more organic looking rectangle. You could use plastic bins and get a much more rigid looking shape.
IMG_7028
The rough “trough” looking piece were made by placing a box on a piece of plastic. I then just piled the hypertufa on top, rounding the corners and sides. If you want drainage holds, make sure to poke a dowel or two through the material in what would be the bottom (here it would be the top).

IMG_3670
My modern round piece was made by pouring the mixture into a 5 gallon bucket and then pushing a small can of paint into slightly off center to create a planting well.
Now that all of your pieces are poured, cover them with a tarp or drop cloth and let them dry for a day or so. Once they’ve set up, gently remove them from the molds. They’ll still be a little soft which give you the opportunity to rub off any rough spots, add texture or smooth out some areas. Now, let the pieces fully try for a couple of weeks. Because these do contain portland cement, there are inherent ingredients that are harmful to plants root system. To solve this problem, set you planters out side, fill them with water and just let the sit. The water will leach anything harmful out of them. Just keep filling them now and again, or better yet, place them where the sprinklers will hit them. Another couple of weeks of leaching and you’ll have perfect planters that will last a lifetime!

HHAF6155-180418-133133