Belt Art
Got a closet full of out-of-date belts? Fear not!!!! This project will empty your closet and fill your walls. Really easy and you're being green - what's better than that?MATERIALS

IMG_2652
Belts
Utility knife or rotary cutter
Plywood
Stain and/or paint
Glue
Butcher paper (optional)

STEPS

IMG_2636
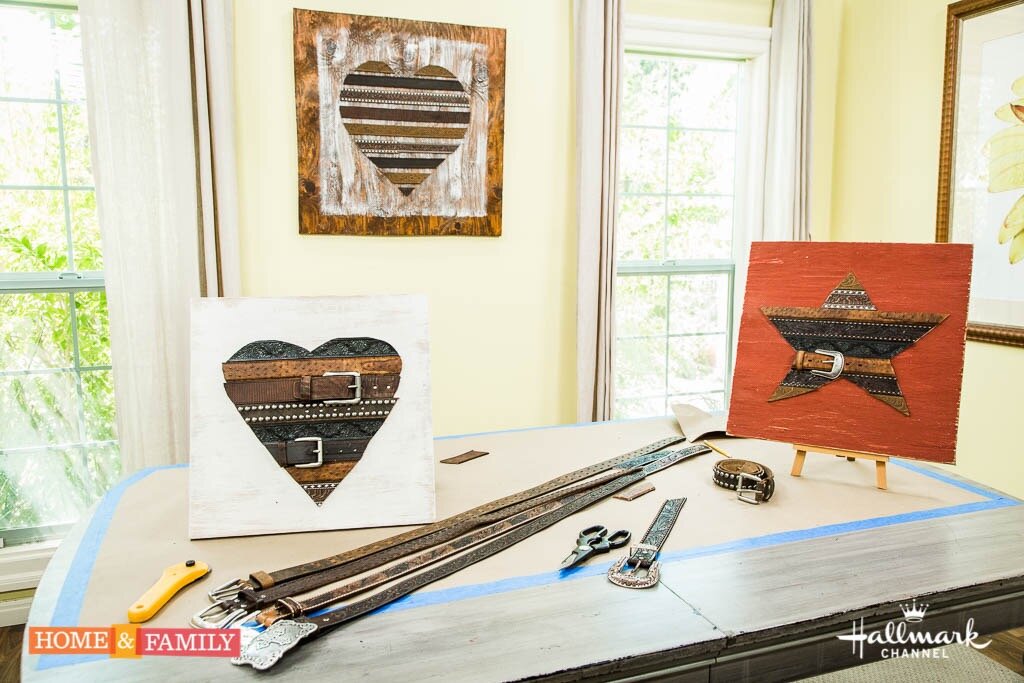
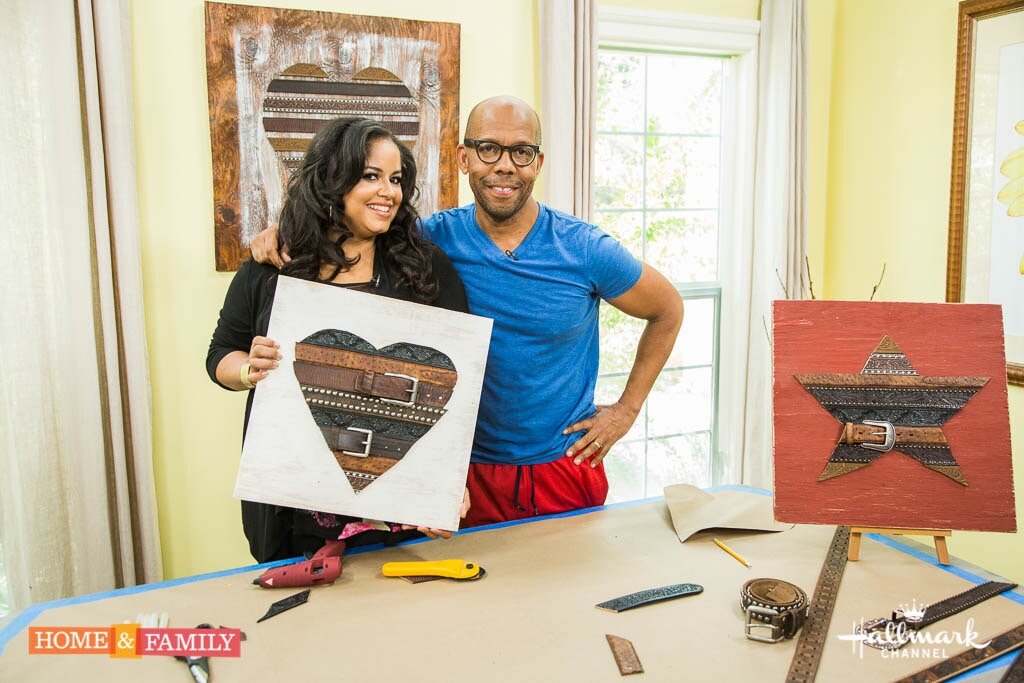
Stain or paint your plywood. For my smaller pieces I painted one white and one red. For the larger piece, I started with a medium dark stain and once it was dry added a light coat of white paint with a pretty dry brush to create an inner square.

IMG_2637
Decide on the shape you want and either draw it directly onto your board with a pencil, or cut a pattern out of the butcher paper and trace it.

IMG_2639
IMG_2640
Lay you first belt out on the board, starting at the bottom or the top, line it up over your pencil line. Use your utility knife or rotary cutter to cut the belt along the pencil line.

IMG_2643

IMG_2641
Keep repeating until you have your design filled in. For my larger piece I left a little space between the belts, for the smaller ones I put them edge to edge.

IMG_2644

IMG_2645
Once the design looks good, go back and affix them to the board. I used hot glue, but would recommend something more permanent as I had to reattach a few of mine after a couple of days (oops!) - especially the heavier belts and buckles.
IMG_2648
Hang or stand your new works of art up and admire with pride!