
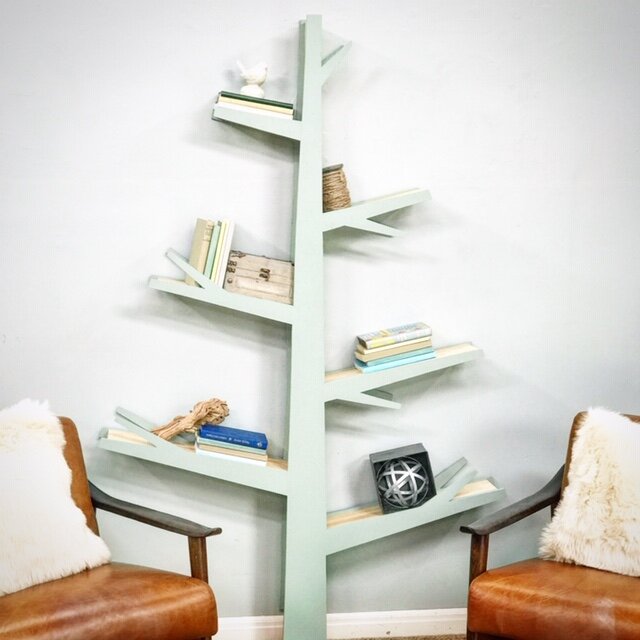
Tree Bookshelf
IMG_2389
I’ve been seeing a lot of sculptural tree bookcases in design magazines and blogs, from the very modern to the beautifully handcrafted. Unfortunately, they’re all either expensive or require extensive carpentry skills. So I put on my thinking cap, consulted with the team at Home & Family, and came up with this. Softly modern, inexpensive to make, and requires only basic crafting skills!
MATERIALS
2 - 4’x6’ sheets of plywood
1”x6” pine boards
Paint
Jigsaw
Screw gun and screws
Wood glue
Nail gun (optional)
STEPS
Draw out your tree shape on the plywood. The best way to do this is to create a stick figure tree using a ruler and yardstick.

Once you’re happy with your stick figure, go back and draw lines around your single lines creating tapered branches. Then go back and add little off shoot branches if you’d like.

IMG_2344
Cut the tree out with the jigsaw and use the tree as a pattern to trace and cut a second identical tree. Paint both trees.

IMG_2345
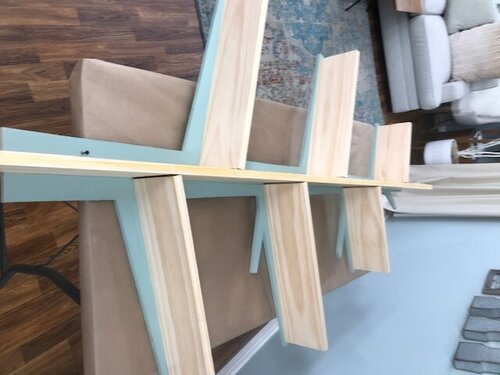
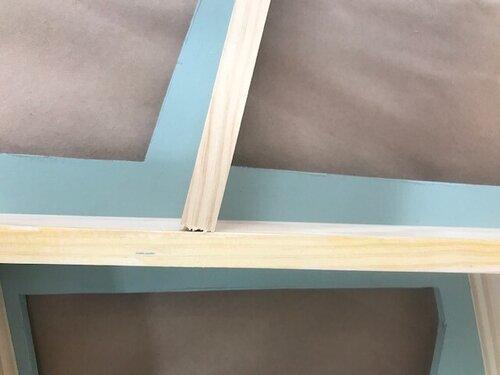
Measure and cut a piece of the 1”x6” to fit down the center of the tree as the trunk. Now measure and cut each branch the same way.The branches don’t need to be cut at an angle but can just butt up to the trunk piece.Use wood glue and then a nail gun or small screws to screw up through the tree into the shelving.
IMG_2346
IMG_2347
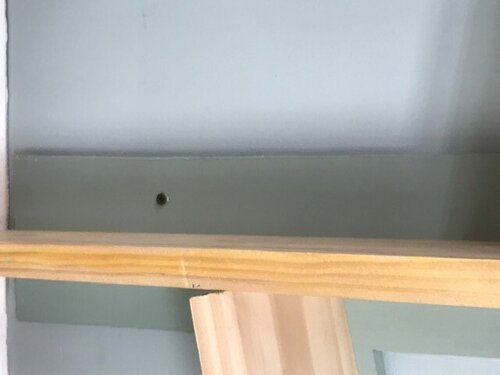
Now, attach your half tree to the wall. Use screws right through the back tree and into a stud or two in your wall.
IMG_2343
Once secure, take your second tree and attach it to the front of your book shelf. Again, secure using a nail gun or screws.

IMG_2336
Add your books and knick-knacks, sit back and enjoy!


image3